

Don’t Patch Out: How to Choose the Right Iron-On For Your Hats
2026-07-31
Table of Contents
Before you want to think about choosing the right patch for your hats, the very first step is to confirm whether the patch you have in hand is actually designed for heat application.
As highlighted in the guide "Not Sure If Your Patch Is Iron-On? Here’s How to Find Out," you can use whichever method works best for you to confidently verify its true nature.
1. Figure Out Purpose and Budget
Once you’ve confirmed your patch is iron-on, the next step is to define your goal. Are you looking for a quick, budget-friendly patch, or are you aiming for a premium, customized label? Your purpose will decide where you should invest your time and money.
A: For Mass-Market & Standard Styles
If you are buying in bulk or simply updating everyday casual hats, cost-effectiveness is likely your top priority. In this case, standard design and basic materials are the ideal answer. Simple ready-made options provide a practical, budget-friendly solution without the need for advanced features.
Woven patches are an excellent choice here: they require zero mold fees and have exceptionally low yarn costs, making them perfectly suited for budget-friendly, high-volume needs. However, the surface of woven patches is not perfectly smooth, which prevents the creation of highly intricate or delicate patterns. For high-end consumers who prioritize exceptional detail and premium aesthetics, this option may not fully satisfy their needs.
For example, there are strict color limitations for woven patches. Standard shuttle-woven labels typically max out at 6 to 8 yarn colors. While high-end large jacquard looms can push the limit to 12 colors, they fundamentally cannot achieve CMYK gradients, halftones, or photo-realistic patterns.
Besides, text smaller than 1.2 mm is highly prone to fraying, and the outlines of tiny logos will appear jagged. Even high-density woven labels (160 TPI) can only achieve a minimum clear line width of 0.2mm, which is significantly inferior to the 0.1mm precision offered by printing or heat transfer processes.
Finally, woven labels are not suitable for achieving cut-out or multi-layered 3D visual effects. Their embossing and tactile 3D capabilities are far inferior to those of silicone or embossed leather labels.

B. For Customization & Premium Upgrades
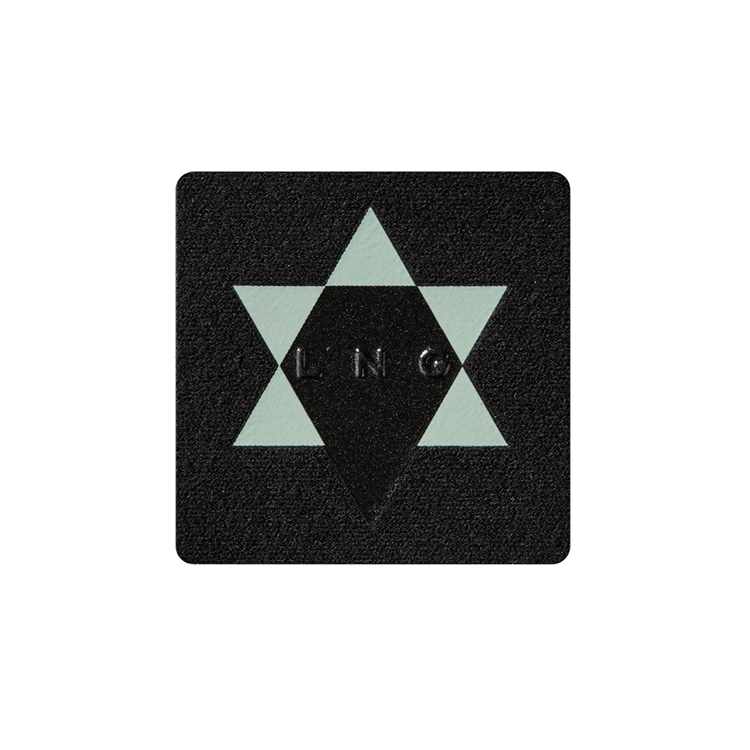
If you’re creating custom patches for upgrading a favorite hat, quality and looks are your top priority. You should consider these factors: premium durable silicone and TPU, sharp custom artwork, exact color matching, and extremely strong, long-lasting adhesive.
The silicone printing patch is your first choice.
First, it's incredibly soft. You can control the thickness down to 0.2–0.5mm, making it perfect for those ultra-thin, "tagless" designs. The surface is smooth and matte with zero hard edges or scratchy burrs—just nice, rounded transitions. Plus, it stretches right along with the fabric without losing its shape, making it the absolute best choice for yoga pants, activewear, and stretchy knits.
Second, the design possibilities are huge. You can easily pull off solid colors, semi-transparent looks, frosted, matte, or even high-glossy shiny finishes. Want to get fancy? It handles smooth color gradients and cool halftone (dot) effects beautifully.
Finally, this stuff is tough. It survives 50 standard washes with almost zero shrinkage (under 0.8% size change) and simply won't peel or crack. The color fastness is top-notch (grade 4-5 for dry rubbing and 4-4.5 for wet), and it resists chlorine and sweat, so it’s perfect for swimwear and outdoor gear. It also handles extreme temperatures from -30°C to 170°C.

2. Assess Your Hat’s Fabric
Not all fabrics play nice with high heat. Before you even turn on the iron, you need to know exactly what your hat is made of. Applying the wrong amount of heat can melt synthetics, leave shiny scorch marks, or completely ruin the hat's shape.
Here is how to evaluate your hat’s material:
A. The Heat-Friendly Fabrics
Materials: 100% cotton, denim, canvas, and cotton twill (the standard material for most classic baseball caps).
Why: These natural, durable fibers can easily handle the medium-to-high heat required to properly activate the patch’s adhesive without getting damaged.
B. The Tricky or Risky Fabrics
Materials: Polyester blends, nylon, and waterproof or coated fabrics.
Why: Synthetics can melt, warp, or develop permanent shiny "scorch" marks under a hot iron.
The Fix: If you must apply a patch here, use a lower heat setting, turn off the steam, and always place a thin cotton pressing cloth (like a pillowcase) between the iron and the hat.
C. Delicate Textures
Materials: Wool, corduroy, and thick knits (common in winter beanies or vintage "dad hats").
Why: High heat and heavy pressure will permanently crush the texture of corduroy or cause wool to shrink and felt.
The Fix: Use moderate heat, zero steam, and a thick pressing cloth. For knits or beanies, iron-on patches are generally not recommended; sewing or fabric glue is a much safer bet.
Hat-Specific Pro Tips:
The Trucker Hat Rule: If you’re customizing a trucker hat, only apply the patch to the solid front panel. Never try to iron anything onto the plastic mesh back—it will melt instantly.
Protect the Shape: Never iron a hat flat on a table! To keep the crown from getting squashed, stuff the inside of the hat tightly with a rolled-up towel, or balance it on the narrow, curved end of an ironing board while you press.
3. Match the Patch Style to Your Hat’s vibe.
A custom look is making sure the patch and the hat feel like they were meant to be together.
A. Classic & Minimalist
Best for: Clean, structured baseball caps or plain canvas hats.
The Match: Go for small, subtle patches. A tiny embroidered logo, simple typography, or a clean, single-color design works perfectly. You want it to look like a premium, intentional brand detail, not a loud billboard.
B. Streetwear & Bold
Best for: Dad hats, bucket hats, or distressed denim caps.
The Match: This is where you can go big. Large, colorful, and intricate designs are your friends. Thick, high-density embroidery, graffiti-style art, or even 3D PVC/silicone patches add that edgy, head-turning energy.
C. Vintage & Retro
Best for: Corduroy caps, washed-out cotton, or vintage-style beanies.
The Match: Look for patches that mimic an aged look. Retro typography, muted or earthy color palettes, and soft materials like felt or unpolished fabric blends add a cozy, authentic, thrifted vibe.
D. Outdoor & Utility
Best for: Wide-brim bucket hats, hiking caps, or tactical gear.
The Match: Durability meets style. Silicone, rubber, or reflective patches are ideal here. They not only look rugged and technical but also handle rain, mud, and sun without fading or peeling.
4. Wrap-Up: Choose What Fits, Not What Flash
When it comes to choosing the right iron-on patch, remember this golden rule: more isn’t always more.
A massive, overly complicated patch can easily overwhelm a simple hat or ruin the vibe of a well-loved jacket.
The best patch isn’t necessarily the most expensive, colorful, or intricate one.
It’s simply the one that perfectly matches your fabric, serves your purpose, and reflects your personal style.
Keep it intentional, keep it balanced, and choose the patch that feels like it was always meant to be there.
How do you get personalised biker patches that actually look cool?
Not Sure If Your Patch Is Iron-On? Here’s How to Find Out

SEND MESSAGE