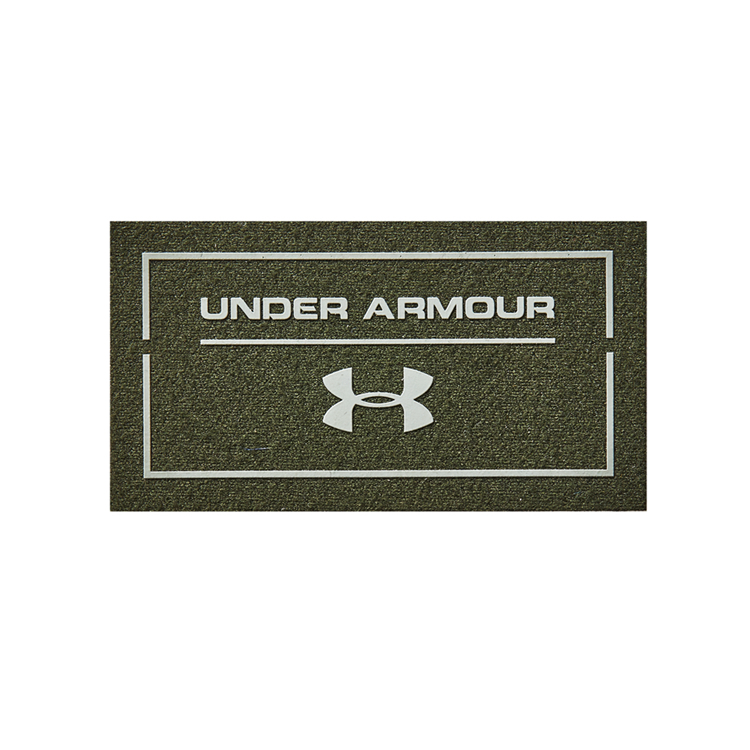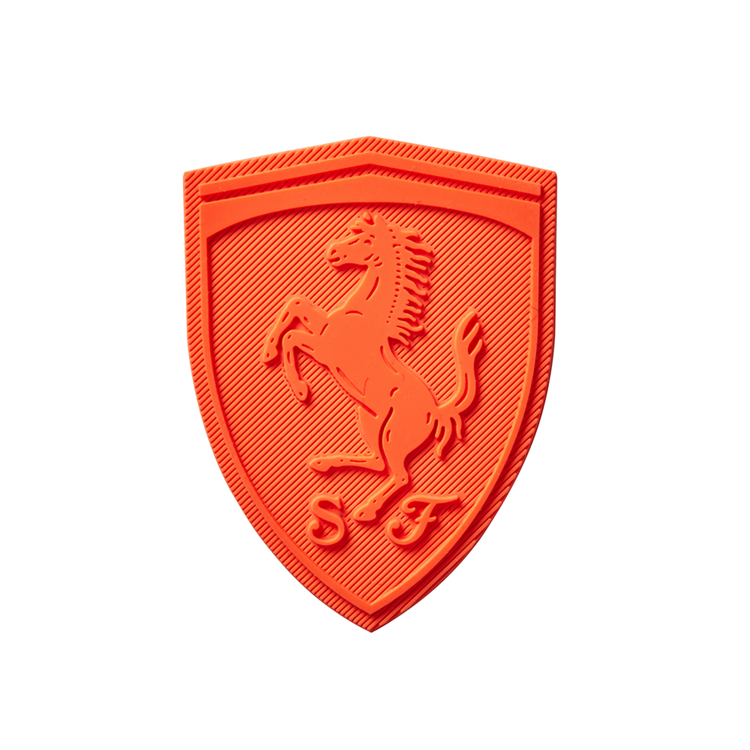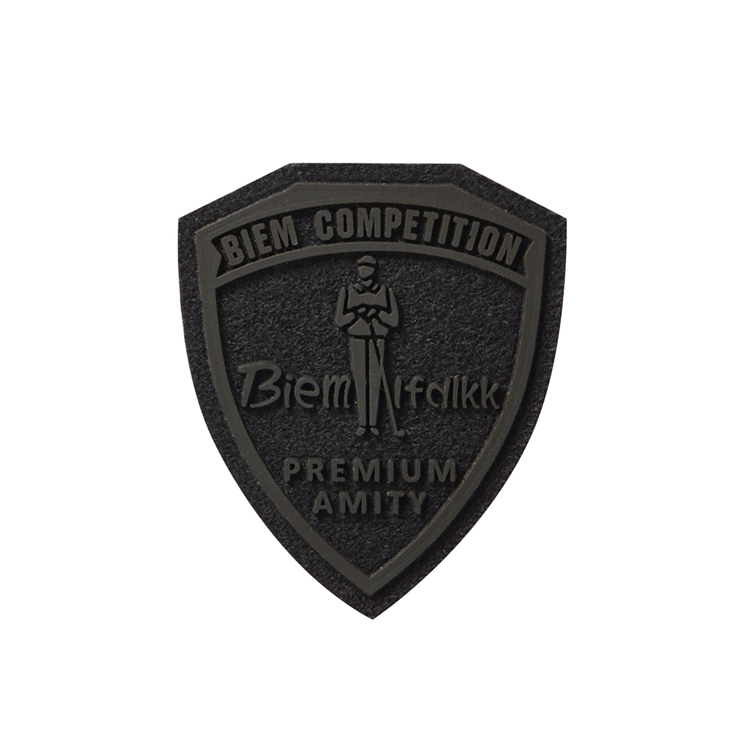
Why Is a Patch Logo Custom for Apparel Patch the Smartest Choice for Your Next Garment Line?
Table of Contents
- What Patterns Actually Work on a Patch?
- Pinpointing the Perfect Placement on the Garment
- Why Everyday Consumers Actually Care About Patches
- Real-World Application Fields Beyond Basic Tees
- Patches vs. Other Branding Methods: A Realistic Comparison
- Choosing the Right Backing: How Consumers Will Use It
- Final Thoughts from the Factory Floor
Need a patch logo custom for apparel patch? Get expert insights on design, placement, materials, and backings to elevate your brand's garment line today.
What Patterns Actually Work on a Patch?
The most frequent mistake I see from emerging brands is taking a highly complex, full-color digital illustration and demanding it be turned into an embroidered patch. A patch is a physical, textured medium, not a high-resolution computer monitor.
When refining your design for a patch logo custom for apparel patch, you must respect the physical limitations of the materials:
- Line Weight and Detail: If you are opting for traditional embroidery, any line thinner than 1 millimeter will simply disappear into a muddy blob of thread. You need bold, clean vectors. If your design is incredibly intricate, pivot to a woven patch, which uses thinner threads and a tighter weave to capture fine details.
- Color Count Management: Embroidery threads are physical spools. While you can do 12 colors, every color change increases production time and cost. Sticking to 4 to 6 core, high-contrast colors ensures the logo remains crisp, legible, and cost-effective.
- Typography Realities: Avoid ultra-thin, delicate cursive fonts. They will not translate well into physical threads. Block letters, bold serifs, or slightly rounded sans-serif fonts provide the necessary structural integrity for the stitching.
- Edge Finishing: The border defines the silhouette. A classic merrowed (overlocked) border gives a thick, traditional, and rugged edge, but it requires simple, rounded shapes. If your logo has sharp, intricate angles, a laser-cut (borderless) edge is the only way to achieve a clean finish without distorting the design.
Pinpointing the Perfect Placement on the Garment
Where you sew the patch completely alters the garment's visual weight and style. Based on years of observing what sells and what looks right, here is a practical guide to placement:
- The Left Chest: The undisputed heavyweight champion of branding. It is professional, instantly recognizable, and timeless. For a standard left chest patch logo custom for apparel patch, keep the size between 2 to 3 inches. It works flawlessly on polos, hoodies, and chore jackets.
- The Sleeve or Bicep: This placement screams utilitarian, outdoor, and tactical. A patch on the upper arm adds a rugged, military-inspired aesthetic. It is also a brilliant strategic choice if you want to keep the chest area completely clean for a different graphic or just prefer a minimalist front.
- Center Back: If you have a complex emblem, a large typographic logo, or a highly detailed illustration, the back of a jacket, hoodie, or oversized tee is your canvas. This is where you can scale up the patch size to make a bold, unapologetic statement.
- Hem, Cuff, or Nape of the Neck: For brands leaning into "quiet luxury" or minimalist streetwear. A tiny, subtle woven patch (often just 1 inch) placed at the bottom hem, on the cuff, or at the back of the neck acts as an understated signature. It rewards the consumer who looks closely.
Why Everyday Consumers Actually Care About Patches
You might wonder why the general consumer, who just wants a comfortable piece of clothing, cares about the difference between a patch and a print. The answer lies in sensory psychology and the current shift in fashion values.
Consumers are experiencing "print fatigue." Screen prints, while colorful, are flat and can feel stiff or crack over time. A custom patch introduces a 3D texture that consumers can physically feel. It gives the garment an immediate sense of heritage, craftsmanship, and perceived value. When a customer runs their thumb over a raised embroidered logo, their brain registers the garment as "premium."
Furthermore, everyday consumers love interactivity and personalization. Many buyers actively seek out apparel featuring iron-on or Velcro-backed patches. It allows them to customize their gear, swap out patches to match their mood, or even use patches to creatively repair a small tear or stain on a beloved jacket. It turns a static piece of clothing into a dynamic, evolving personal canvas.
Real-World Application Fields Beyond Basic Tees
The versatility of a patch logo custom for apparel patch means it easily transcends basic cotton t-shirts. Here is where they are currently dominating the market:
- Streetwear & Heavyweight Denim: Thick embroidered or fuzzy chenille patches on denim jackets, cargo pants, and heavyweight hoodies are foundational in urban fashion. They add a necessary layer of texture to heavy fabrics.
- Outdoor, Tactical & Workwear: PVC (rubber) patches and hook-and-loop (Velcro) setups are essential here. They are waterproof, mud-resistant, and easily wiped clean, making them perfect for hiking gear, tactical vests, and heavy-duty work uniforms.
- Premium Hospitality & Corporate Uniforms: Moving away from stiff, direct embroidery, modern high-end hotels, cafes, and boutique retail stores are using soft leather, suede, or minimalist woven patches on canvas aprons and dad hats. It projects a premium, approachable, and modern brand image.
Patches vs. Other Branding Methods: A Realistic Comparison
To truly understand the value of patches, we need to look at the alternatives. Let’s compare custom patches against other common apparel branding methods to see where they truly shine.
Table 1: Branding Method Dimension Comparison
| Feature / Dimension | Custom Patches (Embroidered/Woven) | Screen Printing | Direct Embroidery (On Garment) | Silicone Heat Transfer Labels |
|---|---|---|---|---|
| Texture & Tactile Feel | High 3D texture, raised, highly tactile and premium | Flat, smooth, can feel heavy or rubbery on the skin | Flat to slightly raised, feels integrated into the fabric | Smooth, rubbery, modern flat feel, very thin |
| Durability & Lifespan | Extremely high; often outlasts the garment itself | Moderate; prone to cracking, peeling, or fading over time | High; but heavy stitching can pucker or weaken thin fabrics | High; resistant to washing, UV, and stretching |
| Setup Cost & Lead Time | Moderate setup (digitizing/molding), fast production once approved | Low setup for simple designs; high cost/time for many colors | High setup (complex digitizing), moderate production speed | Low setup, very fast production, ideal for rush orders |
| Best Application Scenario | Jackets, hats, workwear, vintage styles, heavy fabrics | Large back graphics, simple front logos on lightweight tees | Polo shirts, corporate uniforms, towels, fleece | Activewear, swimwear, minimalist streetwear, tags |
| Consumer Perception | Heritage, rugged, high-quality, collectible, vintage | Casual, everyday, standard, graphic-heavy | Professional, clean, traditional, corporate | Sporty, modern, tech-wear, seamless |
Choosing the Right Backing: How Consumers Will Use It
The base material is only half the battle; the backing determines how the patch logo custom for apparel patch interacts with the garment and the end-user.
Table 2: Patch Backing & Application Comparison
| Backing Type | Application Method | Durability & Washability | Flexibility for Consumer | Best Use Case Scenario |
|---|---|---|---|---|
| Sew-On (No Backing) | Must be stitched manually or by machine onto the garment. | Excellent; the most permanent and durable option. | Low; requires sewing skills or a tailor to apply/remove. | High-end fashion, heavy workwear, garments requiring maximum longevity. |
| Iron-On (Heat Seal) | Applied using a standard household iron or heat press. | Very Good; holds up well to washing, but sewing the edges is recommended for heavy use. | High; allows consumers to easily apply the patch at home without sewing. | DIY apparel, merch sales, casual jackets, hats, and bags. |
| Velcro (Hook & Loop) | The patch has soft loop backing; sewn onto a stiff hook base on the garment. | Excellent; the patch itself is highly durable and removable. | Very High; consumers can swap, change, or remove patches instantly without tools. | Tactical gear, outdoor backpacks, modular uniforms, interchangeable fashion. |
| Adhesive (Peel & Stick) | Features a temporary sticky backing for positioning before sewing. | N/A (The adhesive is only for temporary placement, not permanent bonding). | Low; strictly a manufacturing aid to make the sewing process faster and cleaner. | Factory production lines where workers need to perfectly align patches before stitching. |
Final Thoughts from the Factory Floor
At the end of the day, choosing the right custom patch is about balancing aesthetics, physical durability, and production reality. As someone who watches these products come off the production line every single day, my advice is always grounded in practicality: start with a simplified, bold design, choose a material that genuinely matches your brand's physical vibe, and place it strategically to maximize visual impact.
Where Can You Find the Best Patches for Jackets Near Me?
Can Heat Press Patches Truly Deliver Premium Quality Without the Traditional Hassle?
Related Article