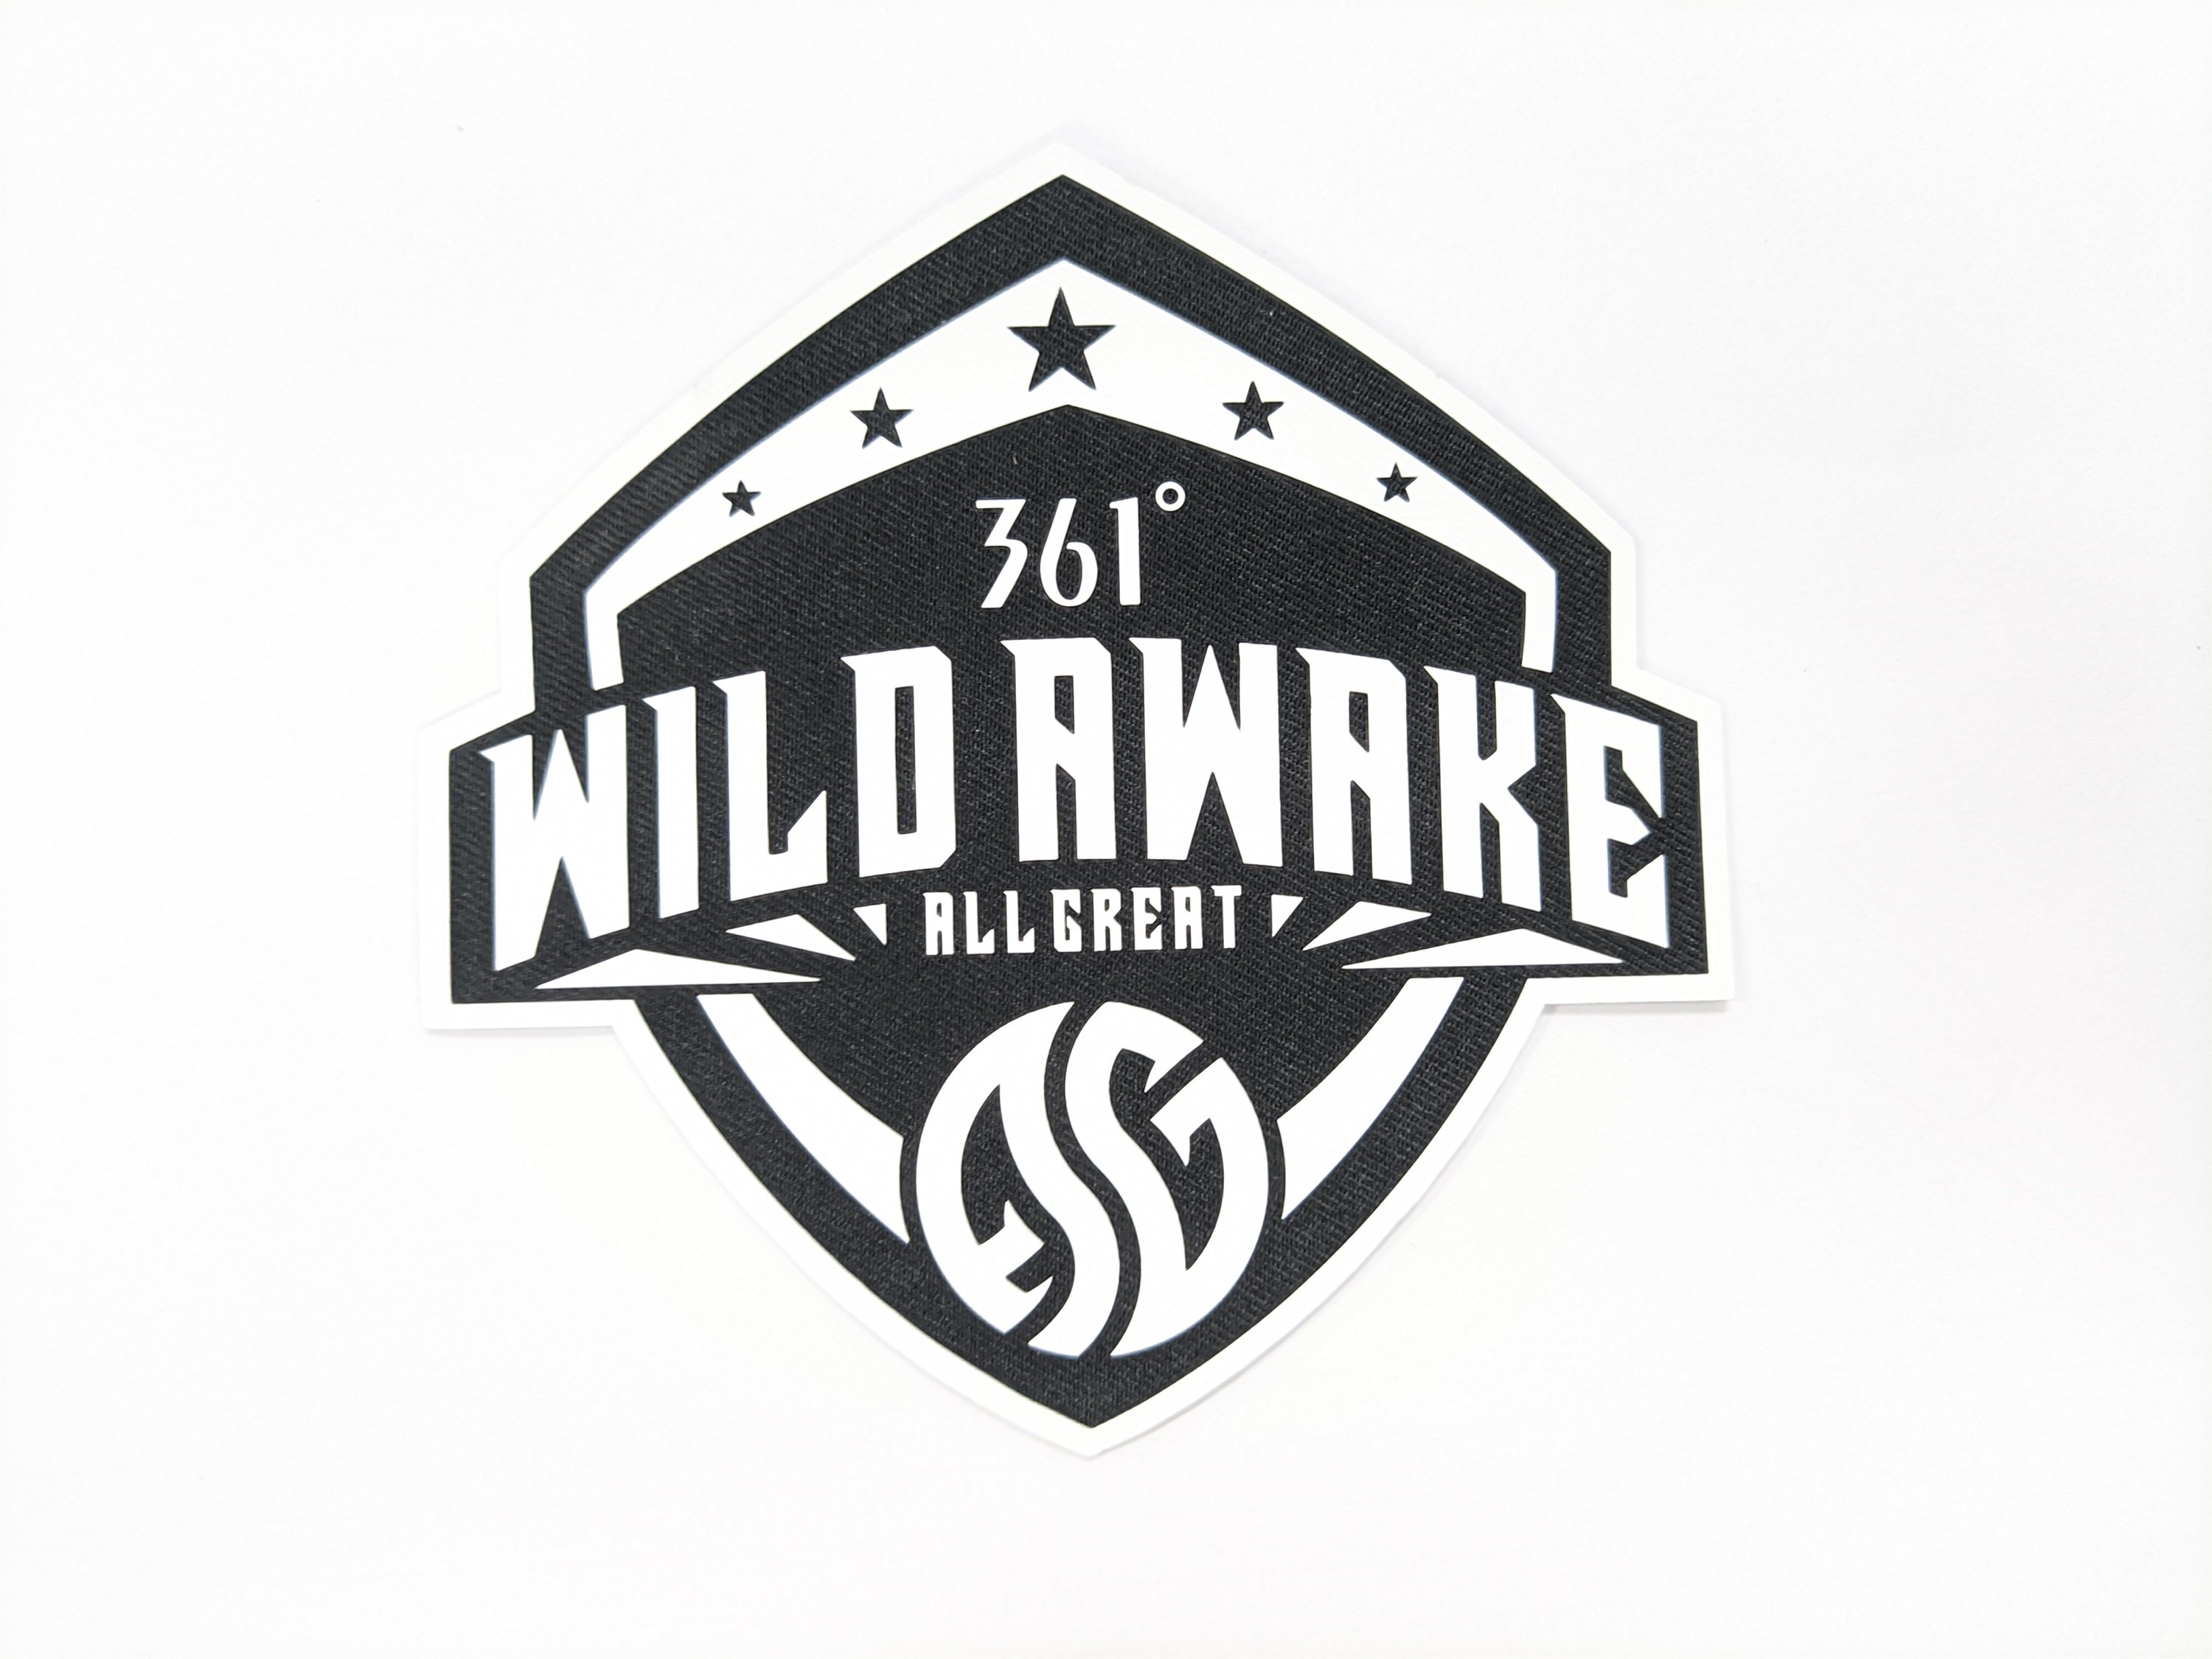
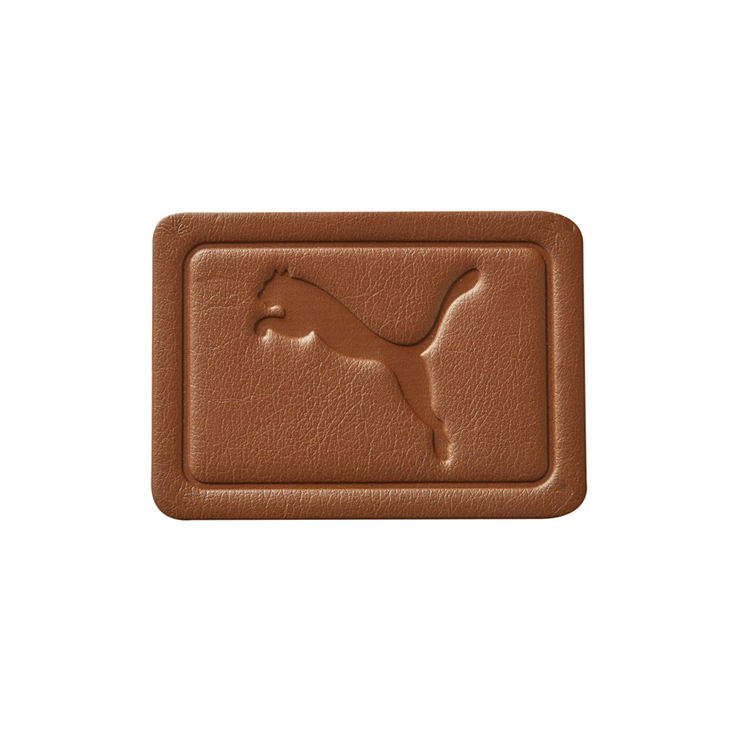
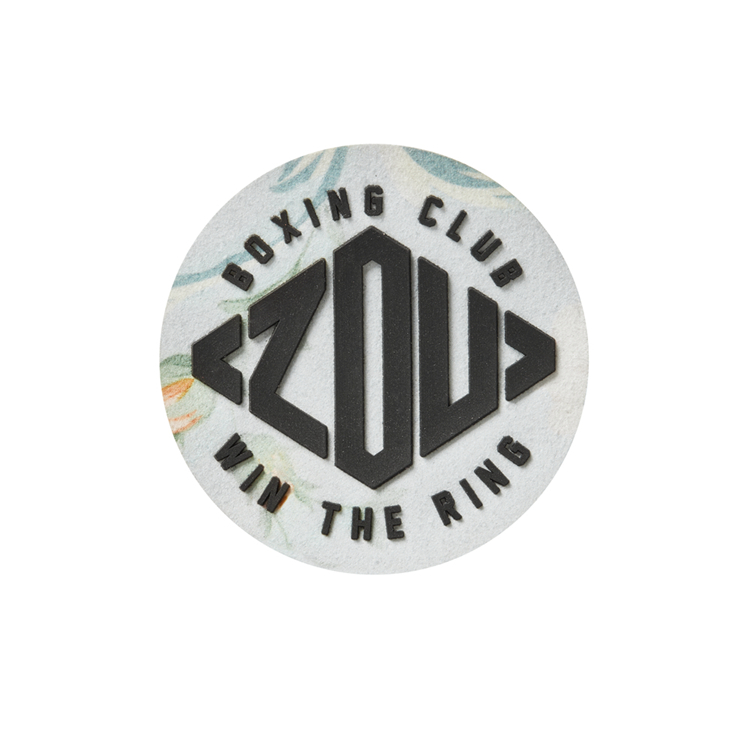
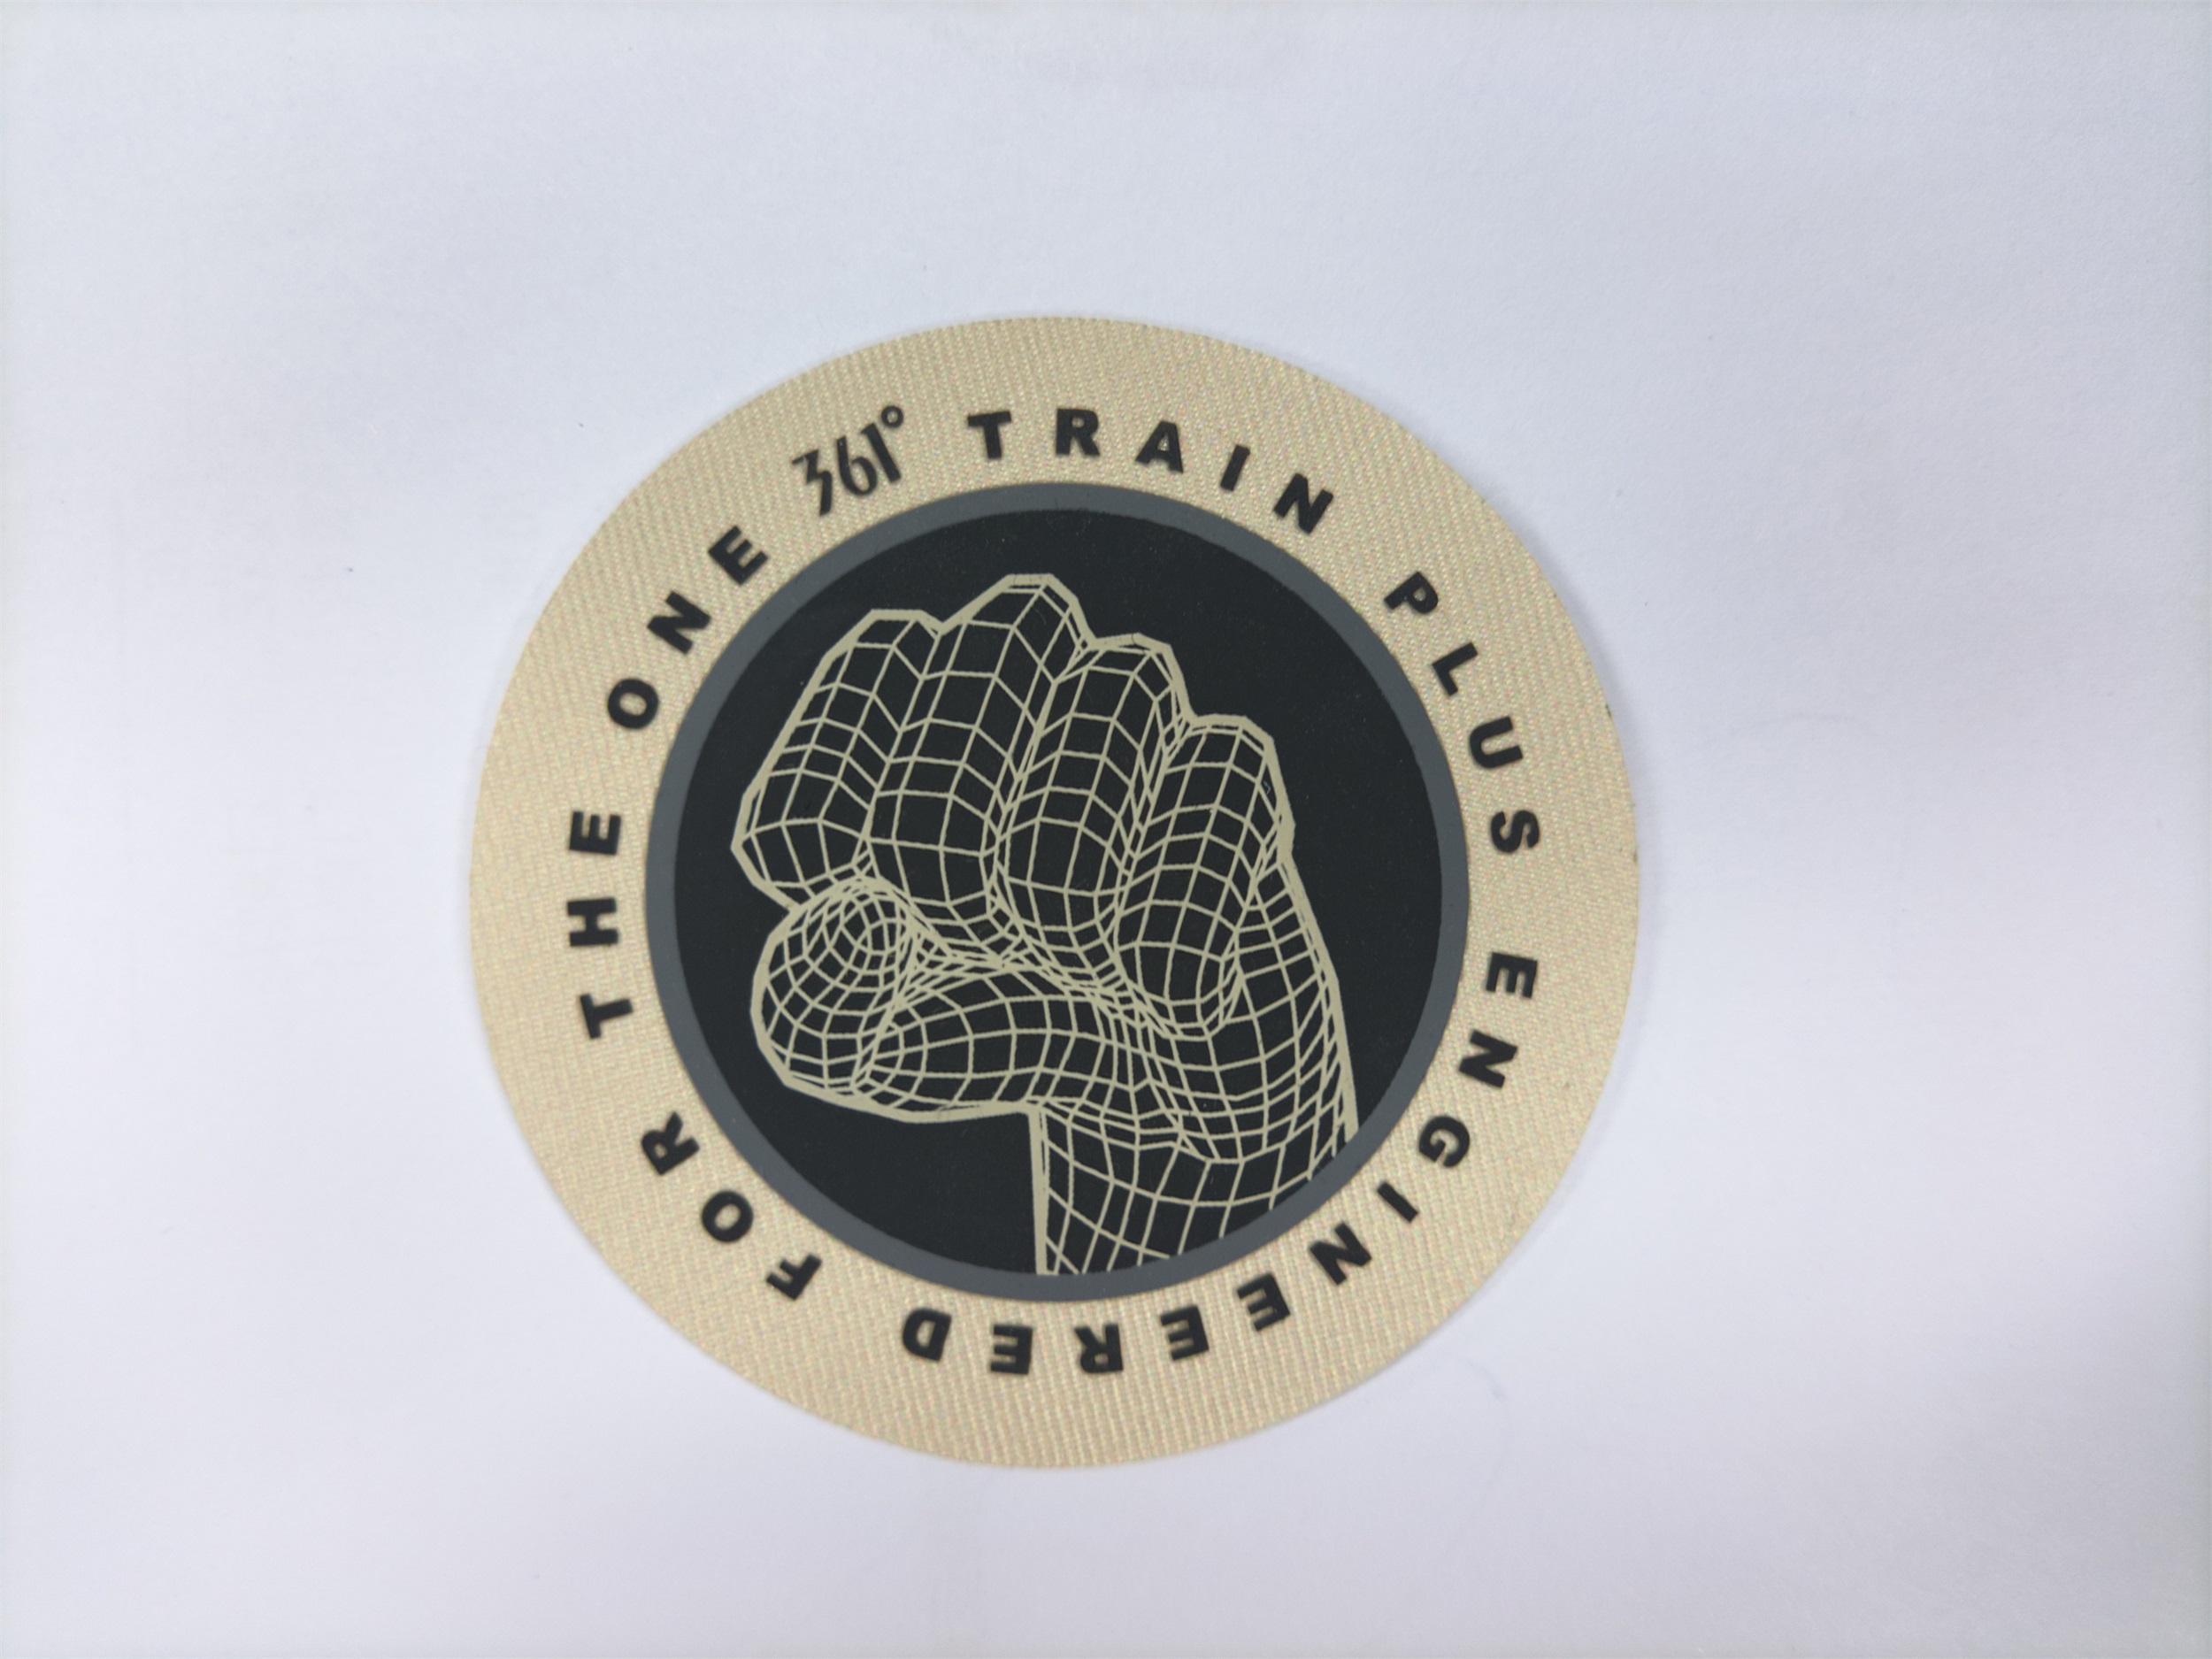
Why Choose a Patch in Velcro?
Table of Contents
Do you want to change the look of your jacket? Do you need to put a logo on your bag? A patch in velcro is the best choice. You can put it on your gear. You can take it off. You can move it. You do not need a needle. You do not need thread.
This guide tells you about this product. We will show you the details. We will show you the parameters. We will show you how to use it. The hook and loop fastener is a very old invention. A Swiss man made it many years ago. He saw burrs on his dog. The burrs stuck to the dog hair. He looked at the burrs under a microscope. He saw tiny hooks. He made a machine to make plastic hooks. He made soft loops too. This is how the fastener started. Today, a patch in velcro uses this same idea. It is very popular.
Product Definition
A patch in velcro is a small piece of material. It has a picture or text on the front. The back has a rough side. This rough side is the hook part of a fastener. You put a soft loop panel on your clothes. Then you press the patch in velcro onto the loop panel. The hooks catch the loops. The patch stays in place. You can take it off when you want. You can put a different patch in velcro on the same panel. This is very easy. The front of the patch can be made of cloth. It can be made of plastic. Makers sew threads on the cloth to make a picture. Makers call this embroidery. Makers can also melt plastic into a shape. Both methods make a good patch in velcro. The edge of the patch has a border. This border keeps the threads from coming loose.

Key Features
A good patch in velcro has many good features. First, it is fast to use. You can change your patch in one second. This is good for soldiers. This is good for workers. Second, you can use the patch many times. The hooks are strong. They do not break easily. You can wash the patch. Third, the colors are bright. Makers use good thread or plastic. The picture looks clear. The colors do not mix. Fourth, it is strong against weather. Rain does not hurt it. The sun does not make the colors fade. Fifth, it is light. The patch does not add much weight to your bag. Sixth, it is safe. The edges are smooth. The patch will not scratch your skin.
Product Specifications
You must know the numbers before you buy. Here are the standard details for a patch in velcro.
| Specification | Details |
|---|---|
| Product Name | Custom Patch in Velcro |
| Backing Type | Hook side velcro with loop panel |
| Standard Sizes | 2x3 inches, 3x3 inches, 3x5 inches, 4x4 inches |
| Custom Size Range | 1x1 inches to 6x8 inches |
| Shape Options | Rectangle, circle, shield, custom cut shape |
| Attachment Method | Press on hook and loop fastener |
| Weight per Patch | 5 to 20 grams depending on size |
| Color Options | Full spectrum with up to 12 thread colors |
| Border Type | Sewn border or laser cut edge |
| Minimum Order | 50 pieces for custom designs |
| Lead Time | 7 to 14 business days for production |

Material Parameters
The materials make the patch in velcro strong. You must choose the right grade. Here are the parameters for standard grade and premium grade.
| Parameter | Standard Grade | Premium Grade |
|---|---|---|
| Base Fabric | Polyester twill | Ballistic nylon |
| Embroidery Thread | Standard rayon | Resistant to UV polyester |
| Velcro Hook Density | 120 hooks per sq cm | 200 hooks per sq cm |
| Wash Durability | Up to 30 machine washes | Up to 100 machine washes |
| UV Fade Resistance | 1 to 2 years outside | 3 to 5 years outside |
| Temperature Tolerance | -10 C to 60 C | -30 C to 80 C |
| Water Resistance | Splash proof | Fully waterproof |
| Flame Retardancy | Not rated | Available on special request |
| Backing Adhesive | None | Optional adhesive loop panel |
Application Steps
Follow these steps to put the patch in velcro on your gear.
Step 1
Clean the surface. Make sure the cloth is dry. Remove all dirt and dust. Use a clean cloth to wipe the area.
Step 2
Choose the location. Look at your jacket or bag. Find a flat place. Make sure the place is big enough for the patch.
Step 3
Put the loop panel on your gear. Sew the loop panel or use glue. If you use glue, press it hard. Follow the instructions for the loop panel. Let the glue dry for 24 hours.
Step 4
Hold the patch in velcro over the loop panel. Look at the position. Make sure it is straight. Look at it from different angles.
Step 5
Press the patch down. Push hard with your hand. Push for five seconds. This makes the hooks catch the loops. Push on all parts of the patch.
Step 6
Pull the patch a little bit. Check if it is tight. The patch in velcro is now ready for use.
Care Instructions
You must clean the patch in velcro to keep it good. Take the patch off before you wash the clothes. The hooks can catch other clothes in the machine. This will break the clothes. Look at the hook side. Is there dirt or hair on it? Use a small comb to clean it. Pull the dirt out. The hooks will be strong again. You can also use a piece of tape. Put the tape on the hooks. Pull the tape off. The dirt will come off with the tape. Do not put the patch in a hot dryer. The heat will melt the plastic hooks. Keep the patch away from high heat. Do not iron the patch directly. If you must iron the clothes, put a cloth over the patch. Store the patches in a dry place. Keep them away from direct sunlight when you do not use them.
Ordering Steps
You can order a custom patch in velcro from a maker. Follow these steps to get the best result.
Step 1
Make your design. Draw your picture on paper or use a computer. Make sure the lines are clear. Choose your colors. Remember, you can use up to 12 colors.
Step 2
Choose the size and shape. Look at the size chart. Pick a size that fits your bag or jacket. Pick a shape that matches your design.
Step 3
Choose the materials. Look at the material parameters table. Choose the standard grade for indoor use. Choose the premium grade for outdoor use.
Step 4
Send the design to the maker. The maker will look at your picture. The maker will make a digital proof. A proof is a picture of the final patch.
Step 5
Check the proof. Look at the colors. Look at the size. Look at the text. Make sure everything is correct. Tell the maker to change it if it is wrong.
Step 6
Approve the proof. Tell the maker to start production. The maker will sew the patches. The maker will cut the velcro. The maker will pack the patches and send them to you.
Common Uses
People use a patch in velcro in many places. Here are some common uses.
| Industry | Typical Use | Reason for Velcro |
|---|---|---|
| Military | Unit badges, flag patches, name tapes | Fast changes between missions and areas |
| Airsoft | Team logos, morale patches, call signs | Easy swaps during different game scenarios |
| Outdoor | Trail club badges, achievement patches | Light weight and high weather resistance |
| Corporate | Company logos on uniforms and bags | Professional look without permanent sewing |
| Fashion | Decorative emblems on jackets and caps | Easy style changes for new trends |
| Medical | Blood type indicators, allergy alerts | Fast update of critical patient information |
| Aviation | Pilot wings, unit logos on flight suits | Quick removal for cleaning the flight suit |
Comparison with Sewn Patches
Is a patch in velcro better than a sewn patch? It depends on what you need. A sewn patch stays on the clothes forever. It is very flat. It looks very neat. But you need a needle and thread to put it on. You need a machine to take it off. The needle leaves holes in the cloth. The holes let water in. A patch in velcro does not have these problems. You do not need tools. You can change the design every day. You do not make holes in the cloth. A patch in velcro also saves money. You can buy one jacket with a loop panel. Then you can buy many patches in velcro. You do not need to buy many jackets. The sewn patch is good for formal uniforms. The patch in velcro is good for active work and daily use.
Common Questions
Can I wash the patch in velcro in a machine?
Yes. Take the patch off first. Wash the loop panel on a slow cycle. Use cold water. Do not use bleach.
Will the velcro break after some time?
No. Good velcro lasts for a long time. You can attach and detach it many times. The hooks are made of strong nylon.
Can I make a custom shape?
Yes. You can make circles, shields, or animals. Send your picture to the maker. The maker will cut the edge to your shape.
Is the glue on the loop panel strong?
The glue is good for light use. It works well on smooth plastic or metal. Sew the loop panel for heavy use on cloth.
How do I take off the old glue?
Put some alcohol on the glue. Wait for a few minutes. Scrape the glue off with a plastic card. Wipe the area clean.
Can I put the patch on a curved surface?
Yes. The hook backing is flexible. It will bend with the cloth. But the loop panel must be sewn well to stay on the curve.
How long does it take to make custom patches?
It takes 7 to 14 days. The maker needs time to sew the threads and cut the velcro.
Final Summary
A patch in velcro is a very good product. It is better than sewing for many reasons. It is cheap. You can change it easily. You can use it for work. You can use it for fun. The hook and loop system is very reliable. Now you know the details. You know the parameters. You know how to use it. You know how to clean it. Go and buy your patch in velcro today. Put it on your jacket. Put it on your bag. Put it on your hat. Change your look in three seconds. Show your team spirit. Show your personality. Enjoy the easy use of a patch in velcro.
How Does An Adhesive Cloth Patch Change Your Clothes?
Discover stickers high quality That Make Your Brand Pop
Related Article