How to Create and Apply Custom Iron-Ons Patches Unique Logo Designs for Your Brand?
Table of Contents
- What Are Iron-Ons Patches Unique Logo Designs?
- Why Choose Custom Iron-Ons Patches Unique Logo for Your Business?
- Step-by-Step Guide: Designing Your Perfect Patch
- Step-by-Step Guide: Applying Iron-On Patches Correctly
- Technical Specifications and Material Parameters
- Maintenance and Care Instructions
- Frequently Asked Questions (FAQs)
- Conclusion
One of the most effective and trendy ways to elevate your brand identity is by using custom apparel accessories. If you are searching for high-quality iron ons patches unique logo designs, you have come to the right place.
What Are Iron-Ons Patches Unique Logo Designs?
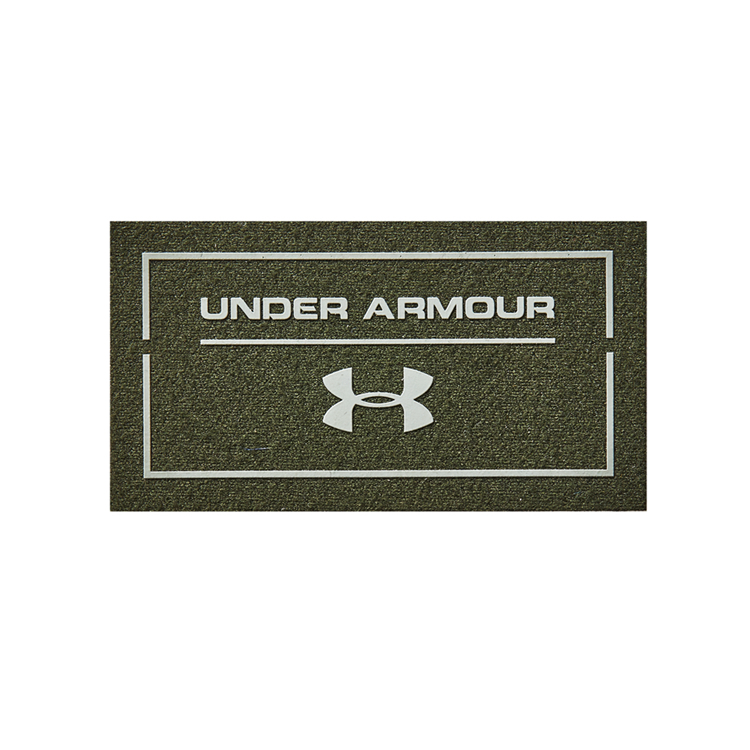
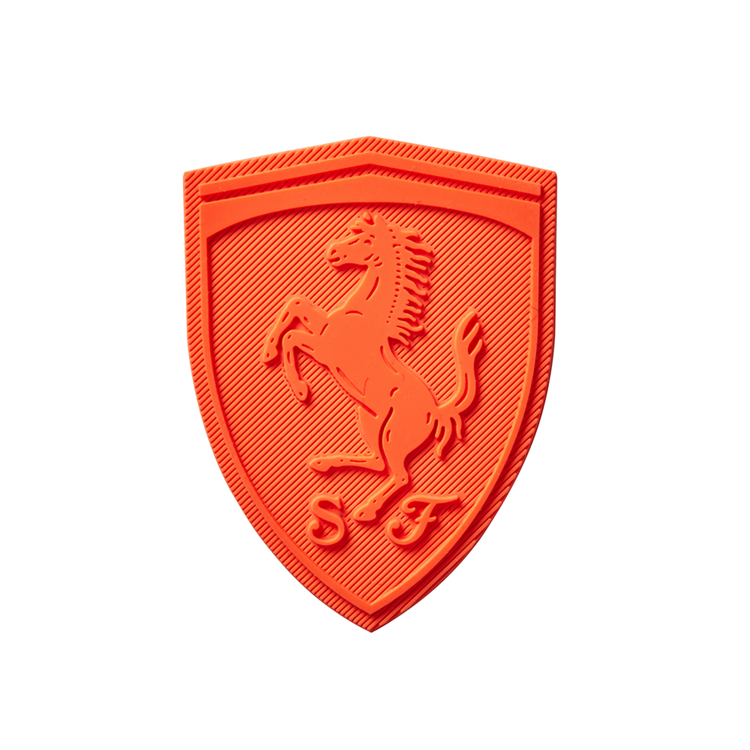
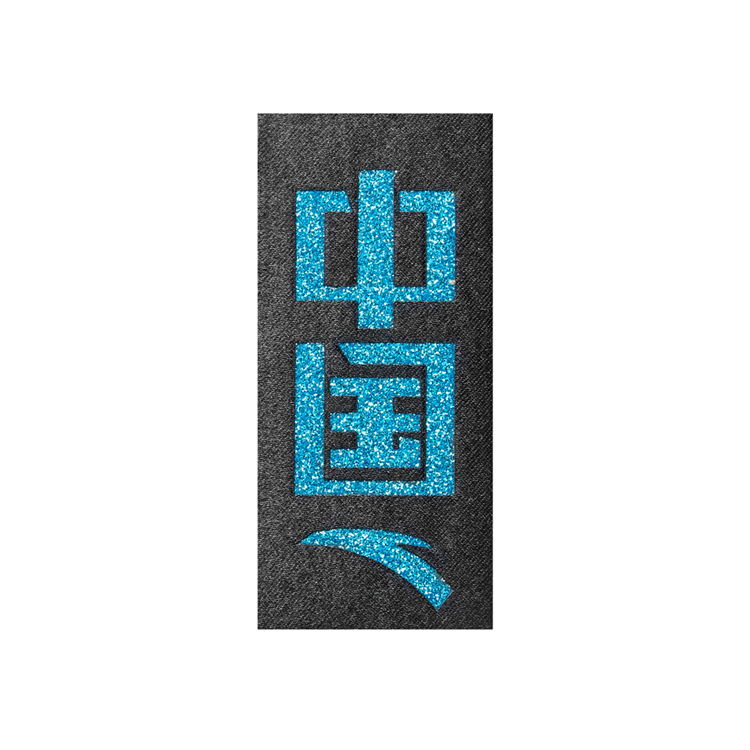
Before we get into the technical details, it is essential to understand the product. Iron ons patches unique logo items are custom-made fabric emblems featuring a heat-activated adhesive backing. Unlike traditional sew-on patches, these can be permanently attached to garments, bags, and hats using just a household iron or a heat press.
The term "unique logo" refers to the fully customized nature of these patches. You can incorporate your exact brand colors, intricate typography, and distinct graphical elements. This makes iron ons patches unique logo products an invaluable tool for corporate branding, team uniforms, streetwear labels, and promotional merchandise.
Why Choose Custom Iron-Ons Patches Unique Logo for Your Business?
You might be wondering why you should invest in iron ons patches unique logo merchandise instead of direct embroidery or screen printing. Here are the primary benefits:
- Cost-Effective for Small Batches: Screen printing requires high minimum order quantities. Custom patches are highly economical even for small runs.
- Versatility: They can be applied to almost any fabric surface, including thick jackets, denim, and canvas bags.
- Premium Texture: Patches offer a 3D tactile feel that flat prints simply cannot replicate.
- Easy Application: End-users can apply them at home, making them perfect for DIY kits and interactive marketing campaigns.
Step-by-Step Guide: Designing Your Perfect Patch
Creating the perfect iron ons patches unique logo design requires attention to detail. Follow these specific steps to ensure a flawless final product.
Step 1: Prepare Your Vector File
Your design must be created in a vector format. Acceptable files include AI, EPS, PDF, or SVG. Vector files ensure that your logo can be scaled to any size without losing resolution or becoming pixelated.
Step 2: Select the Right Colors
Limit your design to a maximum of 9 colors for optimal results. Use Pantone (PMS) solid coated colors to ensure exact color matching. Keep in mind that thread colors may have a slight texture variation compared to digital screens.
Step 3: Determine the Size and Shape
Standard sizes for iron ons patches unique logo designs range from 2 inches to 4 inches in diameter or width. For the shape, you can choose classic circles, rectangles, or custom die-cut shapes that follow the contour of your logo.
Step 4: Choose the Border Style
The border frames your logo. The most popular choice is a merrowed border (a thick, raised stitched edge), which is ideal for simple shapes. For complex or irregular shapes, a laser-cut (heat-cut) border is the best option.
Step-by-Step Guide: Applying Iron-On Patches Correctly
Proper application is crucial for the longevity of your iron ons patches unique logo items. Follow this step-by-step guide to achieve a professional, permanent bond.
Step 1: Preheat and Prepare
Preheat your iron to the correct temperature (refer to the parameters table below). Ensure the garment is clean, dry, and free of wrinkles. Place the garment on a hard, flat, and heat-resistant surface. An ironing board is too soft; use a wooden table or a dedicated heat press mat.
Step 2: Position the Patch
Place the iron ons patches unique logo patch face up on the desired location. Ensure it is perfectly aligned. You can use heat-resistant tape to hold it in place if necessary.
Step 3: Apply Heat and Pressure
Cover the patch with a thin piece of cotton cloth or Teflon sheet to protect the embroidery threads. Press the iron down firmly. Do not slide the iron around; apply direct, downward pressure. Hold for the recommended time.
Step 4: Cool and Press
Remove the iron and let the patch cool down completely for at least 30 seconds. The adhesive needs to cool to set properly. Once cool, press the edges firmly with your fingers to ensure a tight seal.
Step 5: Optional Sewing for Extra Durability
For heavy-duty workwear or items that will undergo frequent washing, sew around the edges of the patch after ironing. This guarantees the iron ons patches unique logo design will never peel off.
Application Parameters Table
To achieve the best results, strict adherence to temperature and time parameters is required. Below is the standard parameter guide for applying your patches.
| Parameter | Household Iron Setting | Commercial Heat Press Setting | Notes |
|---|---|---|---|
| Temperature | High / Cotton Setting (approx. 270°F - 300°F / 130°C - 150°C) | 270°F - 300°F (130°C - 150°C) | Do not use the steam setting. Steam prevents the adhesive from melting properly. |
| Time | 30 to 45 seconds | 10 to 15 seconds | Heat presses apply more consistent pressure, requiring less time. |
| Pressure | Firm, downward pressure | Medium to Firm (40-60 PSI) | Ensure even pressure across the entire surface of the patch. |
| Peel Type | Cold Peel | Cold Peel | Always wait for the patch to cool completely before checking the edges. |
Technical Specifications and Material Parameters
When ordering iron ons patches unique logo products in bulk, it is important to understand the technical specifications. This ensures the final product meets your quality standards and functional requirements.
Material and Construction Details
The quality of the materials dictates the lifespan and appearance of your patches. High-quality patches use premium polyester threads and robust adhesive backings.
Specifications Table
Below is a detailed breakdown of the standard technical parameters for premium custom patches.
| Specification Category | Standard Options / Parameters | Details & Benefits |
|---|---|---|
| Base Fabric | 100% Polyester Twill, Felt, or Canvas | Twill is the most durable and provides a classic embroidered look. Felt offers a vintage, soft texture. |
| Embroidery Thread | Madeira or Coats Polyester Thread | High tensile strength, colorfast, and resistant to fading from UV light and washing. |
| Backing / Adhesive | Heat-seal (Thermoplastic Polyurethane - TPU) | A high-tack, industrial-grade adhesive that melts at specific temperatures to bond with fabric fibers. |
| Border / Edging | Merrowed Border or Laser-Cut | Merrowed is for simple shapes (up to 7 columns). Laser-cut is for complex, detailed custom shapes. |
| Standard Sizes | 2", 2.5", 3", 3.5", 4" (Width/Diameter) | Custom sizes are available. Sizes over 4" may require additional stitching for structural integrity. |
| Thickness | 1.5mm to 2.5mm | Thicker patches provide a more premium, 3D raised effect on the garment. |
Maintenance and Care Instructions
To ensure your iron ons patches unique logo apparel lasts for years, proper care and maintenance are essential. Improper washing can degrade the adhesive and fade the embroidery threads.
Washing and Drying Guidelines
Always turn the garment inside out before washing. This protects the raised surface of the patch from friction against other clothes in the washing machine. Use cold or warm water; avoid hot water, as it can reactivate the adhesive and cause the edges to lift.
Care Instructions Table
Follow this comprehensive care guide to maintain the pristine condition of your patched garments.
| Care Activity | Recommended Method | What to Avoid |
|---|---|---|
| Washing | Machine wash cold or warm (max 104°F / 40°C) on a gentle cycle. | Avoid hot water, heavy-duty cycles, and washing with heavy items like jeans or zippers. |
| Detergent | Use mild, color-safe liquid detergent. | Avoid bleach, harsh chemicals, or fabric softeners, which can break down the adhesive. |
| Drying | Air dry flat or hang dry is highly recommended. | Avoid high-heat tumble drying. If using a dryer, use the lowest heat setting or air-fluff. |
| Ironing (Post-Wash) | If the edges lift, cover with a cloth and re-press with an iron for 15 seconds. | Do not iron directly on the embroidery threads, as high heat can melt or shine the polyester. |
| Dry Cleaning | Generally safe, but inform the dry cleaner about the heat-seal backing. | Avoid strong chemical solvents that might dissolve the thermoplastic adhesive. |
Frequently Asked Questions (FAQs)
To further assist you in your journey with iron ons patches unique logo products, we have compiled answers to the most common questions.
Q1: Can I apply iron-on patches to leather or vinyl?
A: It is not recommended to use standard heat-seal iron ons patches unique logo designs on leather, vinyl, or nylon. The high heat required to melt the adhesive can melt or scorch these synthetic materials. For these fabrics, sewing or using specialized fabric glue is required.
Q2: How long do custom iron-on patches last?
A: When applied correctly using the proper temperature and pressure parameters, high-quality patches can last the lifetime of the garment. They are designed to withstand 50+ standard wash cycles without peeling or fading.
Q3: What is the minimum order quantity (MOQ) for custom patches?
A: MOQs vary by manufacturer, but because of the digital nature of modern embroidery and laser cutting, many suppliers offer low MOQs starting from 50 or 100 pieces for iron ons patches unique logo orders.
Q4: Can I reorder the exact same design later?
A: Yes. Reputable manufacturers keep your digitized files and design proofs on record. You can easily reorder your iron ons patches unique logo designs at any time without having to pay the setup or digitizing fees again.
Conclusion
Creating and applying custom apparel accessories is a fantastic way to boost brand recognition and create memorable merchandise. By understanding the design process, adhering to strict application parameters, and following proper care instructions, you can ensure your iron ons patches unique logo products look professional and last for years.
Whether you are outfitting a corporate team, launching a streetwear brand, or creating promotional giveaways, custom iron-on patches offer the perfect blend of durability, aesthetics, and cost-effectiveness. Start designing your unique logo today, and let your brand make a lasting, tactile impression on your audience.
How Can You Use an Iron on Patch for Leggings to Fix Tears and Extend Their Lifespan?
How to Apply Iron On Patch Flawlessly Using Modern Polymer Technology
Related Article