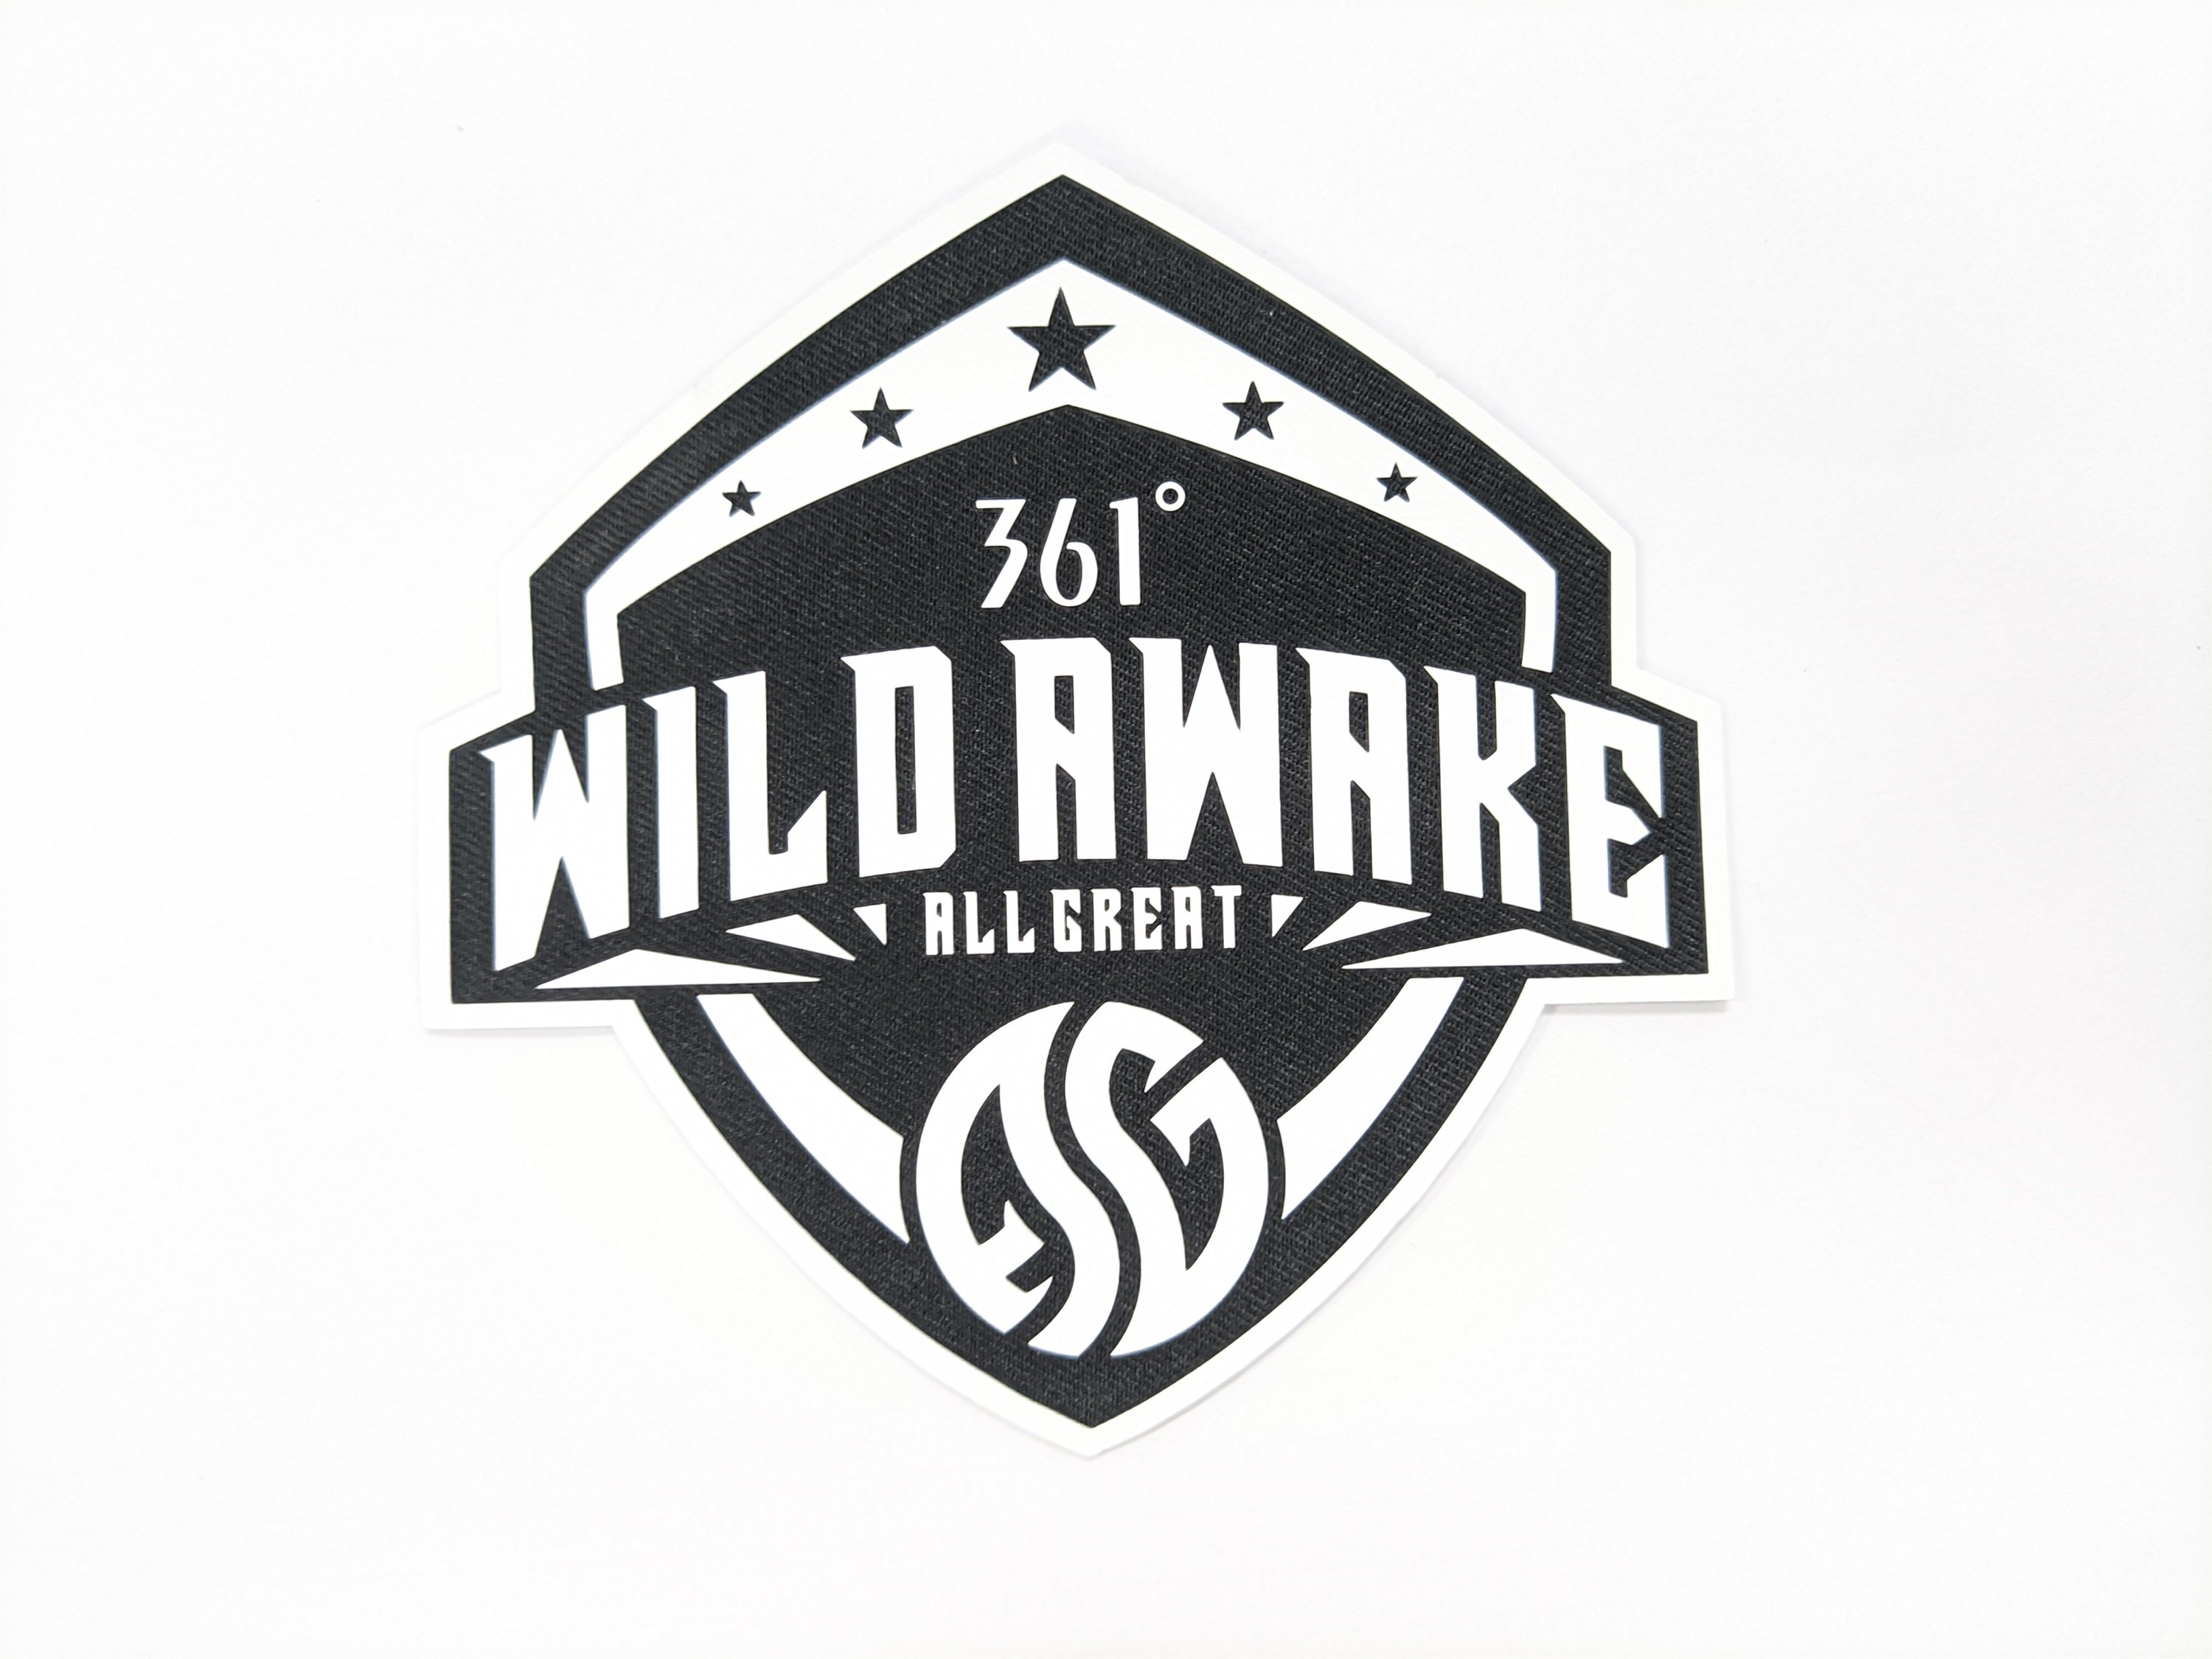
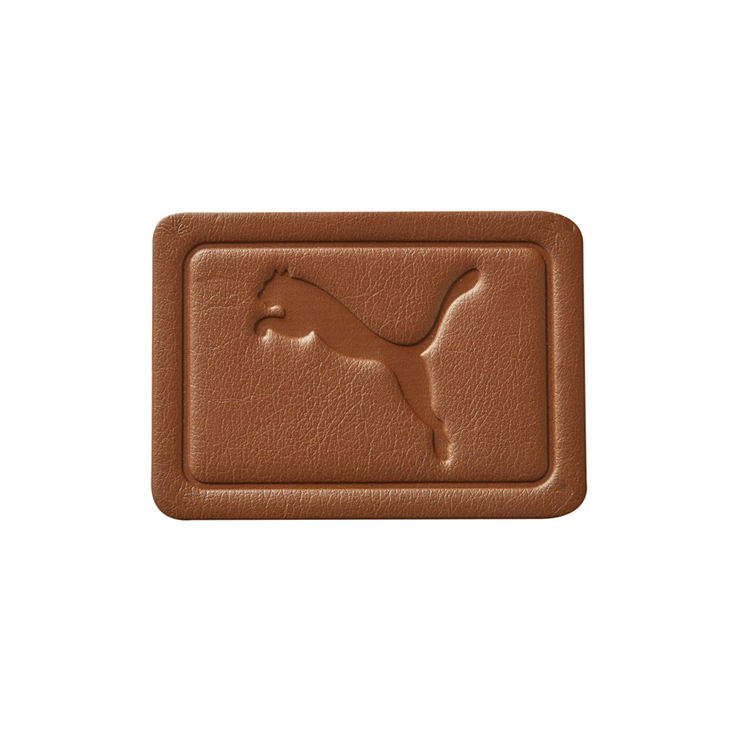
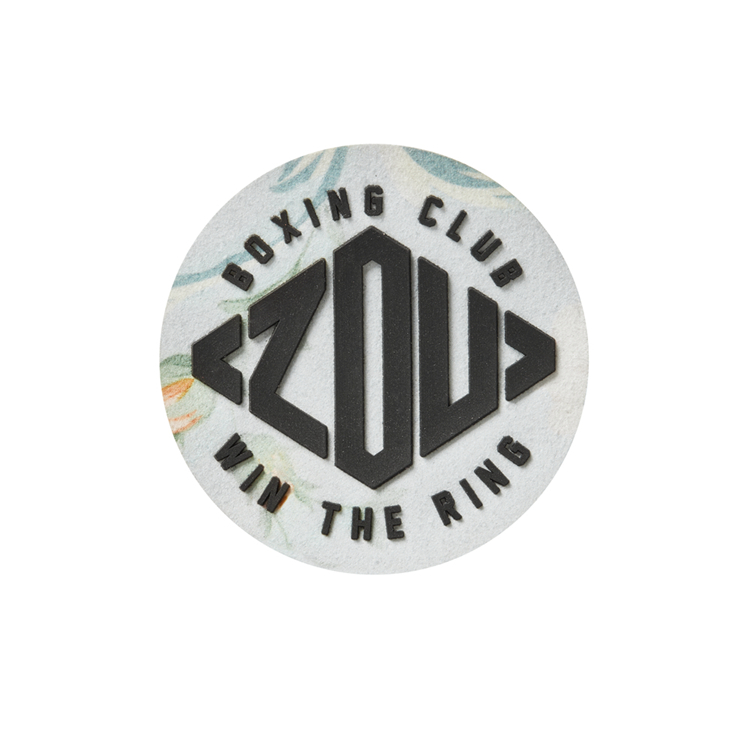
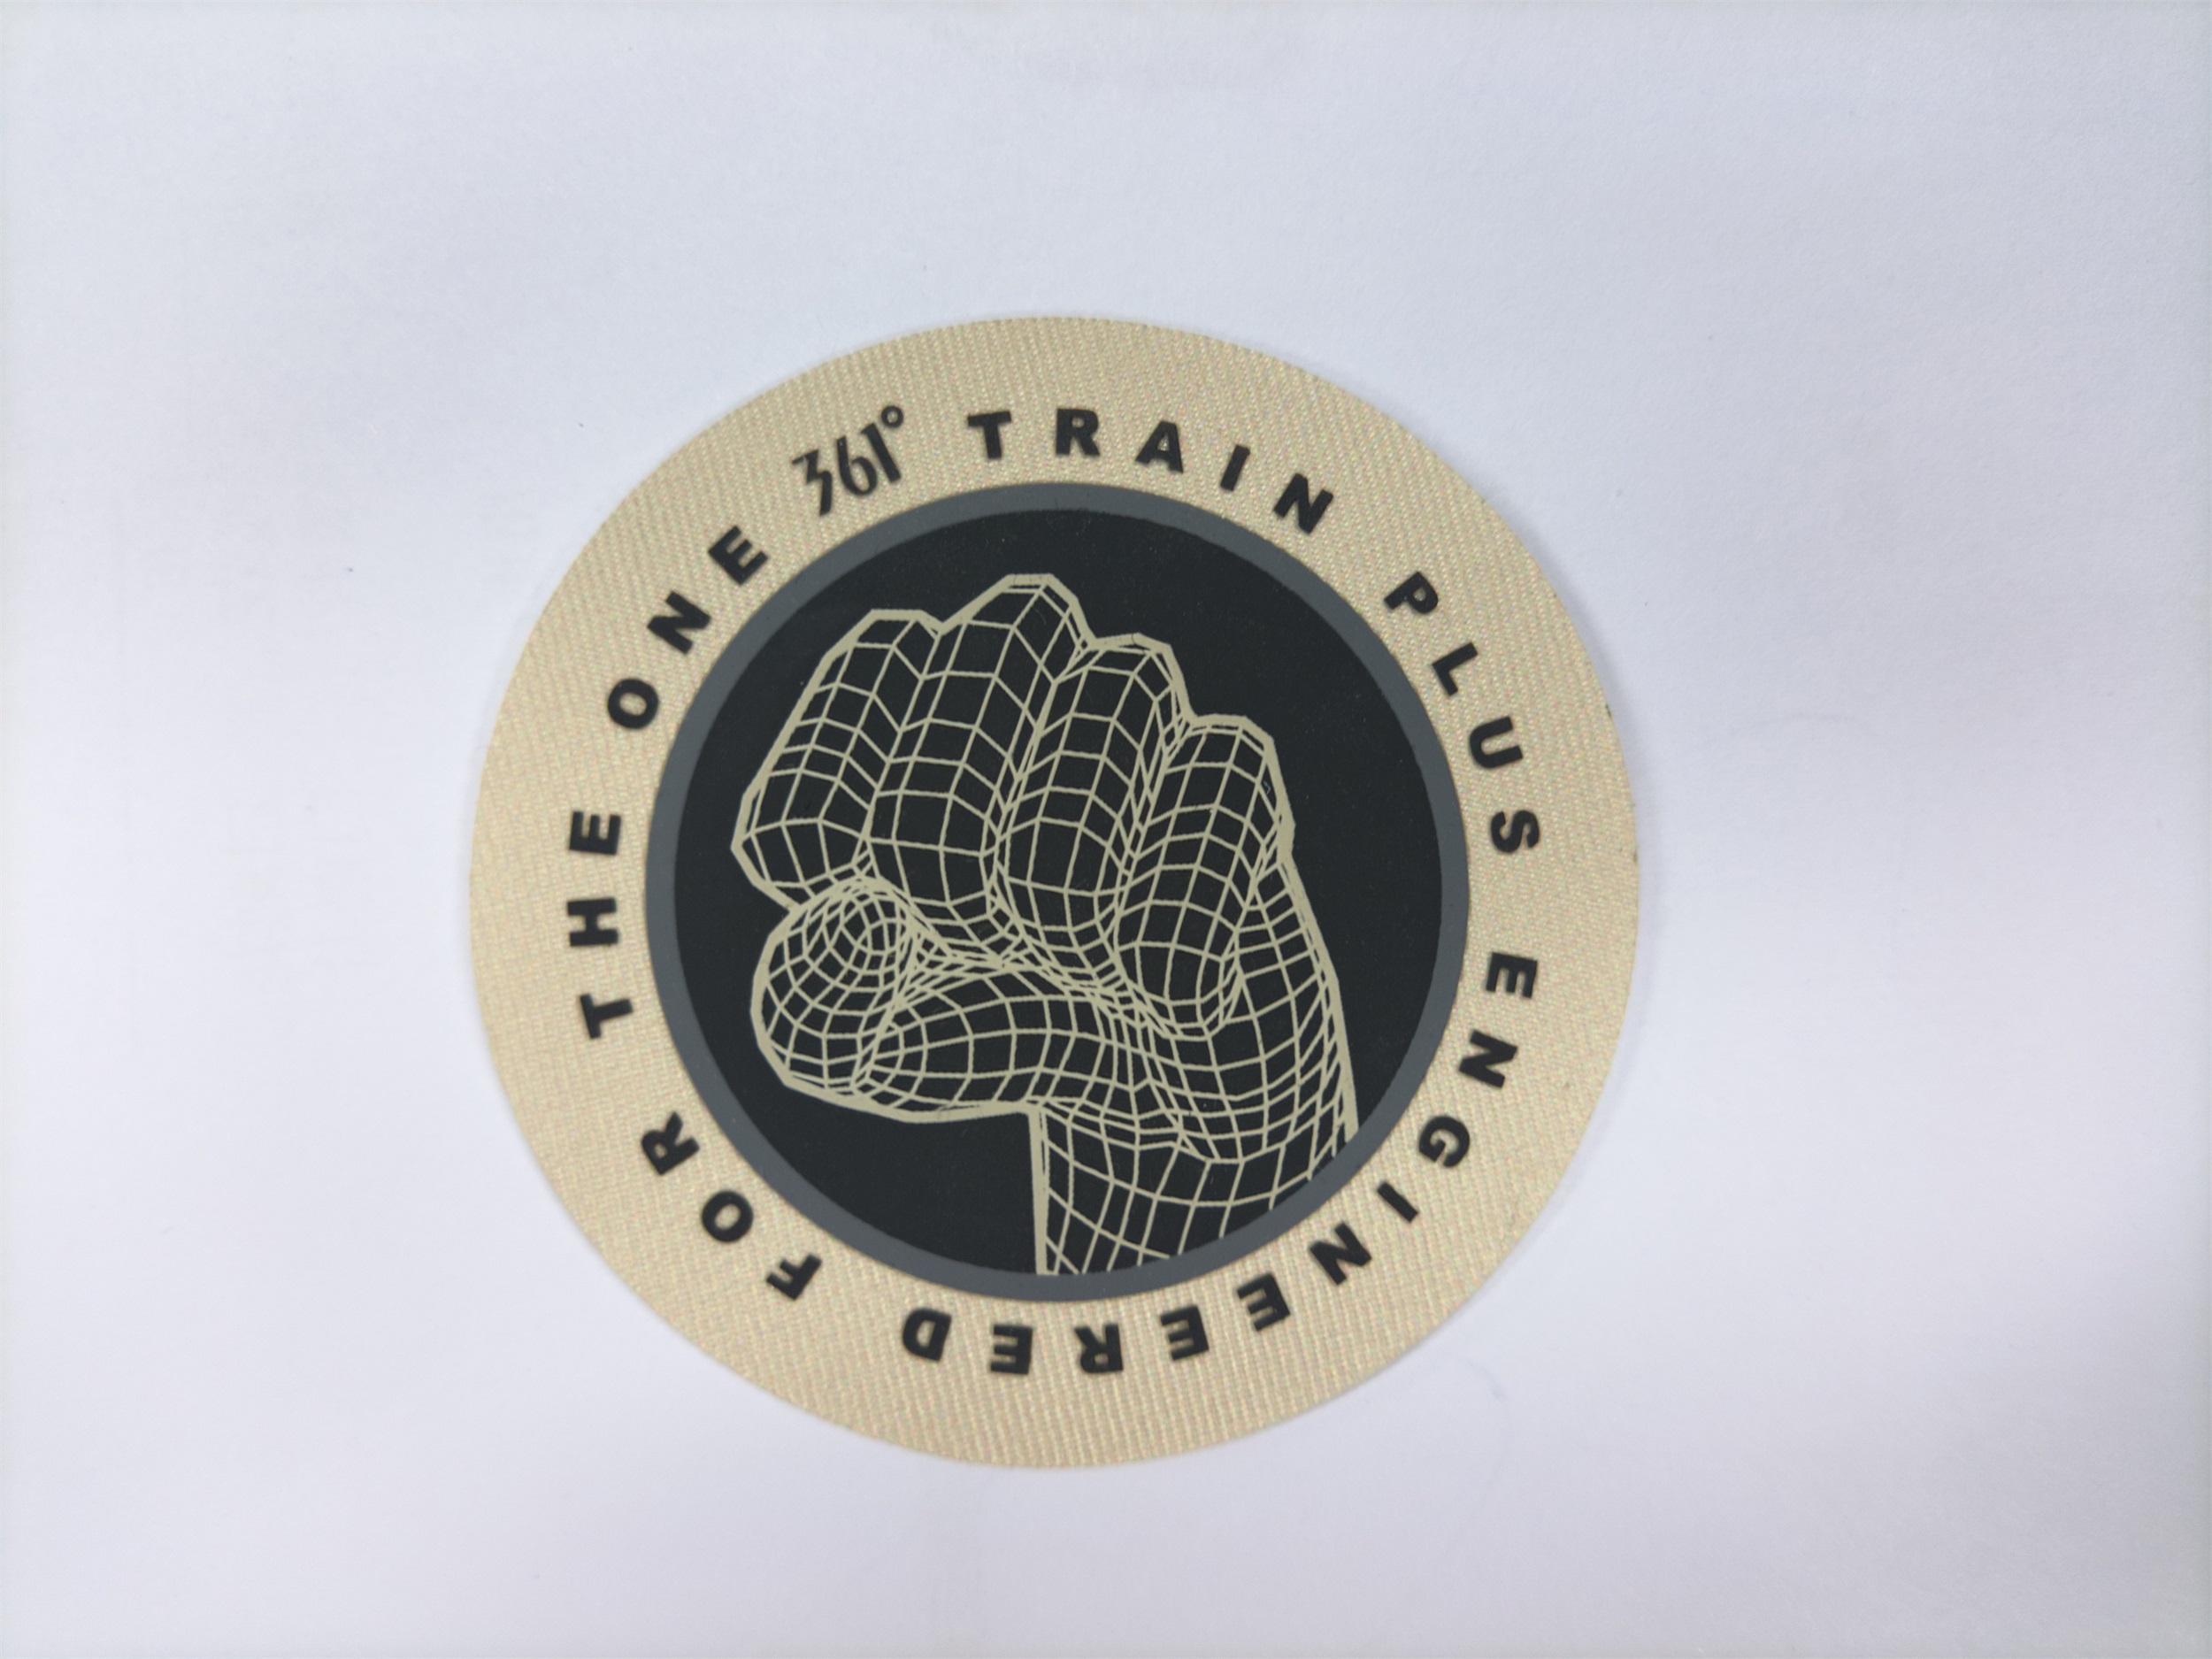
How to Use Iron On Patches Permanently Without Ruining Your Favorite Garments?
Table of Contents
Wondering how to use iron on patches correctly? Avoid common mistakes with our step-by-step guide on temperature, fabric compatibility, and professional application.
Applying a fabric patch should be a straightforward way to upcycle clothing or hide a stubborn stain, but it often ends in frustration. Peeling edges, scorched fabrics, and melted embroidery threads are common disasters that send ruined garments straight to the trash. If you have ever searched the internet wondering how to use iron on patches without destroying your favorite clothes, you need to understand the science behind the adhesive and the fabric. Modern premium patches have evolved significantly, but achieving a permanent, factory-grade bond requires precise technique. This comprehensive guide breaks down the mechanics of heat-activated adhesives, explores how different materials react to heat, and provides a step-by-step scientific approach to flawless application.
The Science Behind Modern Premium Patches
To master the application process, you first need to understand the product itself. The market is flooded with low-quality patches that use cheap, thick layers of standard glue. In contrast, modern premium iron-on patches utilize advanced manufacturing innovations that fundamentally change how they interact with textiles.
The most significant innovation is the shift from basic Ethylene Vinyl Acetate (EVA) glues to Polyamide (PA) hot melt adhesive webs. PA adhesives have a higher melting point and superior wash resistance, allowing them to penetrate fabric fibers deeply without becoming brittle over time. Furthermore, top-tier patches now feature ultrasonic or laser-cut edges. Unlike traditional die-cut patches that leave raw threads that fray after a few washes, laser-cutting melts the synthetic border just enough to seal it perfectly, ensuring the edges never lift. Finally, high-density embroidery combined with a rigid stabilizer backing prevents the patch from wrinkling or puckering when exposed to the heat and pressure of an iron.
| Innovation Feature | Traditional Low-Grade Patches | Modern Premium Patches |
|---|---|---|
| Adhesive Composition | Thick EVA glue, prone to cracking | Polyamide (PA) hot melt web, flexible and durable |
| Edge Finishing | Die-cut raw edges, high fraying risk | Laser-cut sealed edges, completely fray-proof |
| Structural Backing | Thin or no backing, causes puckering | Rigid tear-away stabilizer, maintains flat shape |
| Wash Durability | Degrades after 5 to 10 wash cycles | Engineered to survive 50 plus industrial washes |
Fabric Compatibility and Thermodynamic Details
Understanding how to use iron on patches is impossible without understanding your garment's material. The adhesive on the back of the patch must melt and flow into the microscopic pores of the fabric. If the fabric melts before the glue, or if the fabric repels the glue, the application will fail.
Cotton and Heavy Denim These are the ideal substrates. Cotton and denim have high heat tolerance and a porous, woven structure. When the Polyamide adhesive melts, it easily penetrates the deep weave of the denim, creating a strong mechanical interlock. They can withstand the 300°F to 320°F required to activate premium adhesives without degrading.
Polyester and Poly-Blends Polyester introduces a significant challenge. While it is a durable fabric, its melting point is surprisingly low, often around 300°F. If you apply maximum heat, the garment itself can melt, shrink, or develop a permanent shiny scorch mark. When working with polyester blends, you must use a lower temperature, apply a protective pressing cloth, and rely on heavy pressure rather than extreme heat to force the adhesive into the fibers.
Nylon and Waterproof Coatings Applying standard iron-on patches to pure nylon, Gore-Tex, or garments with a DWR (Durable Water Repellent) coating is highly discouraged. Nylon melts at an even lower temperature than polyester. More importantly, waterproof coatings are chemically designed to repel substances. The hot melt adhesive will simply bead up and fail to penetrate the fabric, resulting in a patch that peels off immediately. For these materials, sewing is the only permanent solution.
Silk, Wool, and Delicate Synthetics These materials are extremely heat-sensitive and lack the structural density required for a mechanical adhesive bond. The high heat will scorch silk and felt wool, while the adhesive will not grip the smooth, tight weave. Iron-on patches should never be used on these fabrics; they must be sewn.
| Fabric Type | Heat Tolerance | Adhesive Penetration | Recommended Application Method |
|---|---|---|---|
| 100% Cotton / Denim | Excellent (High) | Deep mechanical interlock | Standard Iron-On (300°F - 320°F) |
| Polyester / Blends | Moderate (Medium) | Surface to mid-level bond | Iron-On with Pressing Cloth (Lower Heat) |
| Nylon / Waterproof | Poor (Low) | Repelled by chemical coating | Sew-On Only (Do Not Iron) |
| Silk / Wool / Rayon | Very Poor (Very Low) | Fails to grip smooth fibers | Sew-On Only (Do Not Iron) |

Step-by-Step Guide with Scientific Explanations
Now that we understand the materials, here is the exact methodology for how to use iron on patches correctly. Every step includes the physical reason behind the action to ensure you understand the mechanics of the bond.
Step 1 Prepare a Rigid Surface and Pre-Press the Fabric
The Action: Move away from your standard ironing board. Place a thick, folded cotton towel over a solid, heat-resistant surface like a wooden table or a kitchen counter. Lay your garment flat. Set your iron to the cotton setting (no steam) and press the empty area where the patch will go for 15 seconds.
The Reason: Ironing boards are padded. When you push down with the iron, the padding absorbs the downward pressure, preventing the adhesive from being forced into the fabric fibers. A hard surface provides the necessary resistance. Pre-pressing the garment evaporates microscopic moisture trapped in the fibers. If you skip this, the iron's heat will turn that moisture into steam, creating a microscopic barrier that prevents the adhesive from touching the fabric.
Step 2 Position the Patch and Apply a Thermal Shield
The Action: Place the patch exactly where you want it. Cover the patch entirely with a piece of parchment paper, a thin cotton pillowcase, or a Teflon pressing sheet.
The Reason: Premium patches use synthetic embroidery threads that can melt or become shiny if they touch the bare metal soleplate of the iron. The thermal shield protects the intricate design from direct heat and prevents any residual adhesive from oozing out and gumming up your iron.
Step 3 Execute the Primary Heat Application
The Action: Set your iron to 300°F - 320°F (Cotton setting) and ensure the steam function is completely turned off. Place the iron directly on the protective shield. Apply your body weight to press down firmly. Hold it in place for 30 to 45 seconds. If the patch is large, move the iron in small circles while maintaining heavy downward pressure.
The Reason: The temperature must be high enough to reach the melting point of the Polyamide adhesive (around 250°F at the glue line). Heavy downward pressure is non-negotiable; it physically forces the molten polymer chains into the microscopic gaps of the fabric weave. Steam is strictly forbidden because water absorbs thermal energy. If steam is present, the iron's temperature drops, and the adhesive will not melt properly.
Step 4 Perform the Reverse Pressure Seal
The Action: Remove the iron and the protective shield. Carefully flip the garment inside out so you are looking at the back of the fabric where the patch is attached. Place the hot iron directly onto the fabric backing and press firmly for another 20 to 30 seconds.
The Reason: The primary press melts the glue onto the surface of the fabric. The reverse press pushes the molten adhesive completely through the garment's weave. This creates a dual-sided mechanical lock, ensuring the patch is anchored from both the front and the back, which is the secret to preventing edge lifting.
Step 5 The Crucial Cooling and Crystallization Phase
The Action: Leave the garment completely alone. Do not touch it, stretch it, or check the edges while it is hot. Let it sit at room temperature for at least 20 minutes until it is completely cool to the touch.
The Reason: Hot melt adhesives are thermoplastics. They only achieve their maximum structural strength when they cool down and crystallize. If you pull at the edges or stretch the fabric while the glue is still in a liquid or semi-liquid state, you will physically break the polymer chains as they set, ruining the bond permanently.
Core Product Parameters for Premium Patches
When sourcing high-quality patches to ensure the steps above work effectively, look for these specific physical parameters.
| Parameter Category | Ideal Specification for Premium Patches |
|---|---|
| Adhesive Type | Polyamide (PA) Hot Melt Web |
| Adhesive Weight | 25 to 30 grams per square meter (GSM) |
| Embroidery Density | 100% coverage, minimum 80,000 stitches per sq meter |
| Backing Stabilizer | Heavy-duty tear-away non-woven interfacing |
| Edge Finish | Ultrasonic or Laser cut and sealed |
| Overall Thickness | 1.5mm to 2.0mm (including adhesive and backing) |
Other Parameters Care Washing and Longevity
Knowing how to use iron on patches also means knowing how to maintain them. The chemical bond of the adhesive can be degraded by harsh detergents and extreme thermal shock.
Always wash the patched garment inside out. This protects the embroidery threads from abrasion against other clothes in the wash cycle. Use cold or warm water, never hot. Hot water can re-soften the Polyamide adhesive, causing it to lose its grip on the fabric fibers. Avoid bleach and strong enzymatic stain removers directly on the patch, as these chemicals can break down the dye in the embroidery and weaken the adhesive matrix.
While modern PA adhesives are technically dryer-safe, the rapid temperature changes in a dryer can cause the fabric and the patch to expand and contract at different rates, eventually stressing the bond. Air drying is always the safest method to guarantee the patch lasts as long as the garment itself.
| Care Parameter | Recommended Guideline |
|---|---|
| Washing Temperature | Cold or Warm (Maximum 104°F / 40°C) |
| Washing Cycle | Gentle or Normal, always inside out |
| Detergent Restrictions | No bleach, avoid direct application of stain removers |
| Drying Method | Air dry flat or hang dry (Highly Recommended) |
| Machine Drying | Tumble dry low only, remove immediately when dry |
| Ironing After Wash | Do not iron directly over the patch after washing |

Frequently Asked Questions
Why did my patch peel off after the first wash?
This usually happens for one of three reasons. First, you used an ironing board, which absorbed the necessary downward pressure. Second, you used the steam setting, which lowered the temperature and introduced moisture. Third, you did not let the patch cool completely before moving it, breaking the adhesive before it crystallized.
Can I use a hair straightener for small patches?
Yes, a hair straightener is an excellent tool for small patches or patches placed on collars and cuffs where a standard iron cannot reach flat. Ensure the straightener reaches at least 300°F, and always place a thin cloth between the metal plates and the patch to protect the embroidery.
Is it necessary to sew around the edges after ironing?
If you are using a premium patch with a Polyamide adhesive and have followed the heat and pressure steps correctly, sewing is not strictly necessary for standard wear. However, if the patch is being applied to a high-stress, high-friction area like the knee of a pair of jeans or the elbow of a work jacket, adding a simple running stitch around the perimeter will provide absolute, fail-proof durability.
Conclusion
Repairing and customizing your wardrobe does not have to result in ruined fabrics and wasted money. By understanding the thermodynamics of hot melt adhesives, respecting the limitations of different fabric materials, and applying precise, scientifically backed techniques, you can achieve professional results at home. You now know exactly how to use iron on patches to create a permanent, flexible, and invisible bond that breathes new life into your favorite garments. Invest in premium patches with Polyamide adhesives and laser-cut edges, follow the preparation and cooling steps meticulously, and your customized clothing will withstand years of wear and washing.
Want to learn how to patch jeans with fabric for a stylish upgrade?
How Do You Apply an Iron on Patch Like a Total Pro?
Related Article