How to Iron Patches on Jeans for a Professional, Long-Lasting Finish?
Table of Contents
Understanding how to iron patches on jeans correctly is essential to prevent peeling, fabric damage, or misalignment.
Categorizing Mainstream Patch Types for Denim Applications
Before applying a patch, it is critical to select the right material. Not all patches are created equal, and their compatibility with denim—and specifically with heat application—varies significantly. Here is a breakdown of the most common patch categories available in the global market:
- Embroidered Patches: The industry standard for decades. Made by stitching polyester or rayon threads onto a sturdy twill backing. They offer a classic, textured look that pairs beautifully with rugged denim.
- Woven Patches: Manufactured using finer threads woven tightly together on a loom. They allow for highly intricate details, gradients, and small text that embroidery cannot achieve, while remaining relatively thin and flexible.
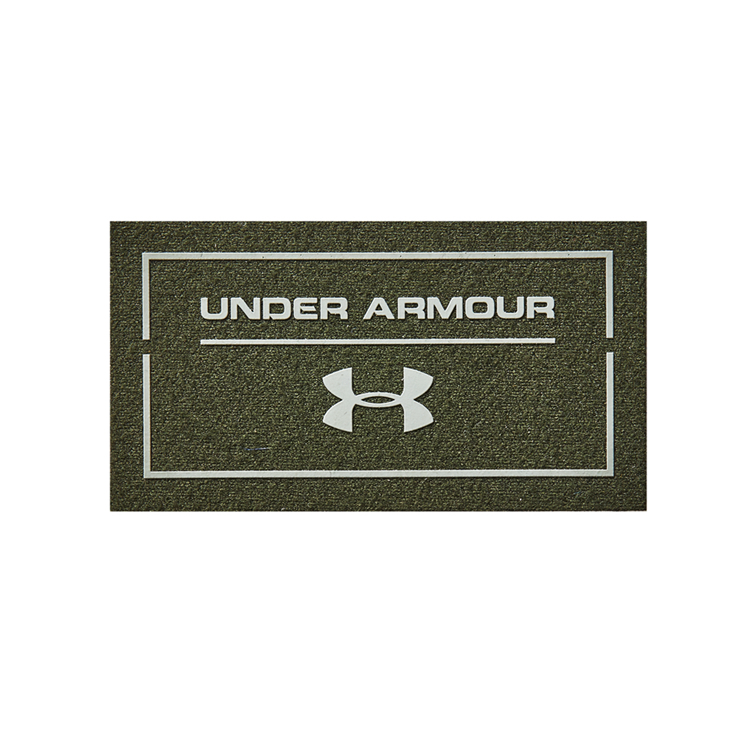
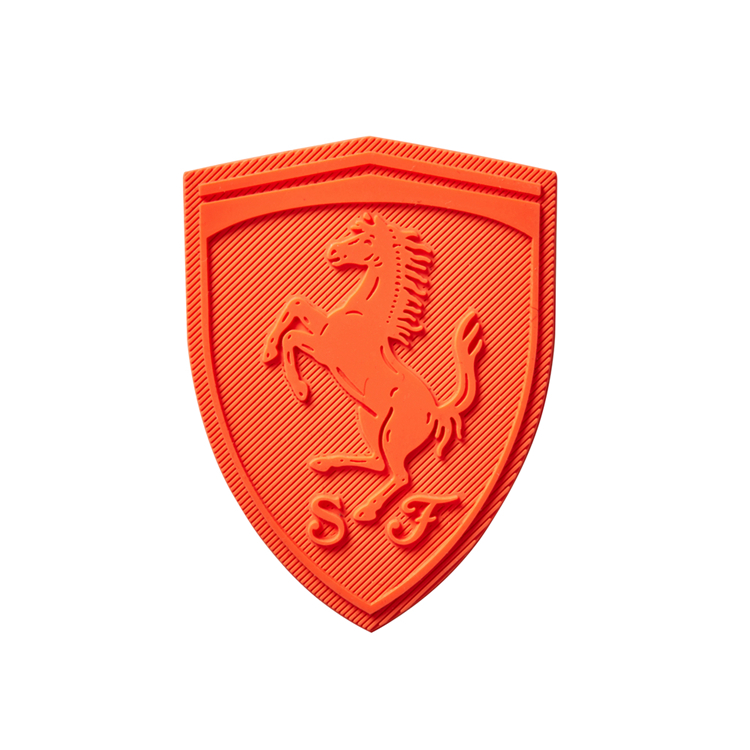
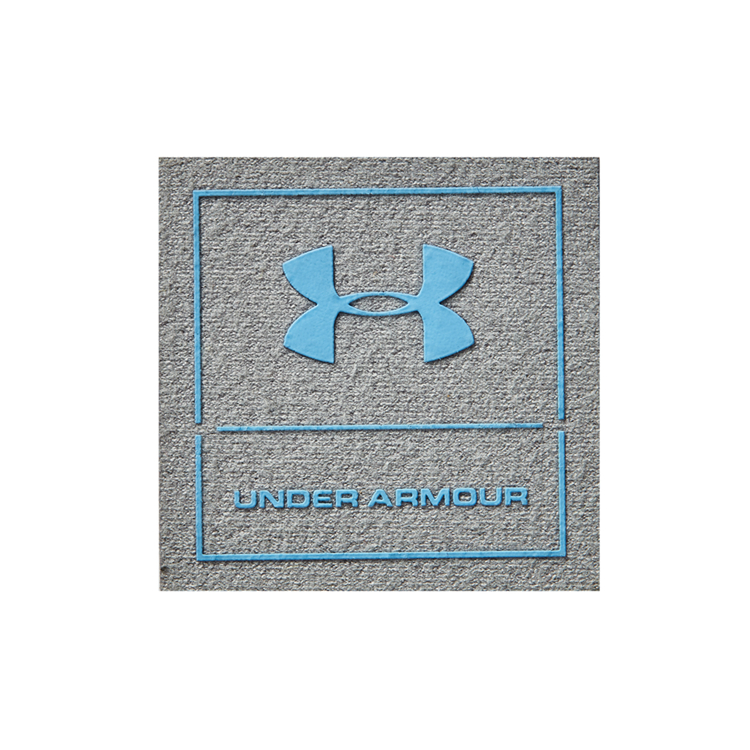
- PVC and Silicone Rubber Patches: Created by injecting liquid polymers into precision molds. These provide a modern, tactical, or streetwear aesthetic. They are 100% waterproof and highly durable, though they require specific heat-seal backing formulations to adhere to fabric.
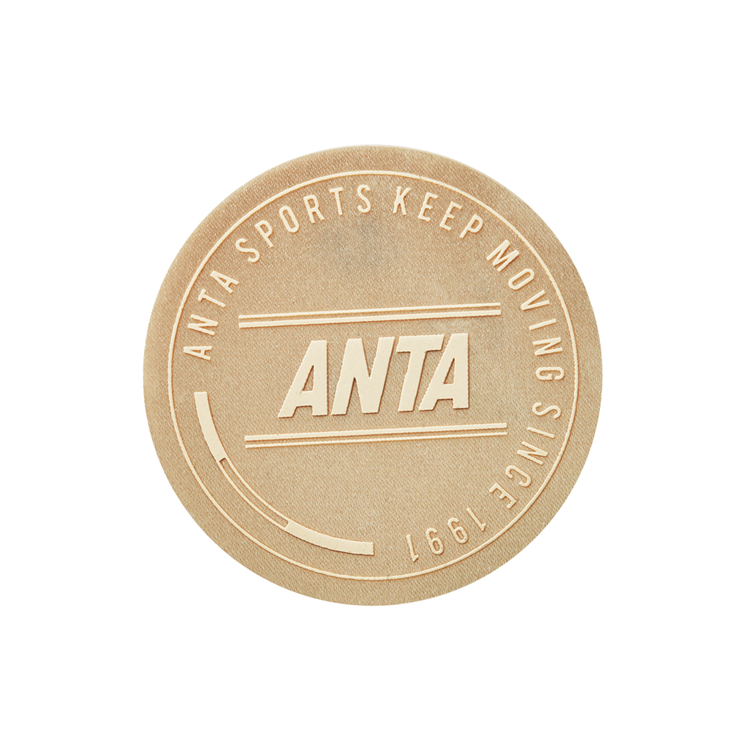
- Leather and Suede Patches: Typically debossed, embossed, or laser-engraved. These offer a premium, heritage aesthetic, frequently used on the back waistband of high-end denim jeans.
- Chenille Patches: Known for their fuzzy, tufted texture, these are heavily associated with varsity jackets and collegiate-style denim jackets. They provide high tactile appeal but require careful heat application to avoid crushing the pile.
Table 1: Mainstream Patch Categories vs. Denim Compatibility
| Patch Category | Detail Resolution | Texture & Aesthetic | Heat-Seal Compatibility | Ideal Denim Application |
|---|---|---|---|---|
| Embroidered | Medium (Thick lines) | Classic, raised, textured | Excellent (Standard offering) | Back pockets, jacket backs, knee repairs. |
| Woven | High (Fine text/logos) | Flat, smooth, detailed | Excellent (Thin profile) | Small branding labels, intricate artistic designs. |
| PVC / Rubber | Very High (3D layers) | Modern, tactile, waterproof | Good (Requires specialized adhesive) | Streetwear, tactical denim, outdoor gear accents. |
| Leather / Suede | Low (Debossed/Engraved) | Premium, rustic, vintage | Moderate (Heat can damage surface) | Waistband branding, minimalist aesthetic accents. |
| Chenille | Medium (Bold shapes) | Fuzzy, soft, retro | Moderate (Risk of crushing pile) | Collegiate denim jackets, decorative pocket accents. |
Step-by-Step Guide: How to Iron Patches on Jeans Correctly
Applying a heat-seal patch to denim requires precision. Denim is a thick, durable fabric, often treated with dyes, starches, or distressing chemicals that can interfere with adhesive bonding. Follow this professional, step-by-step methodology to ensure a permanent, bubble-free application.
Step 1: Verify Patch and Fabric Compatibility
Ensure your custom patch is explicitly manufactured with a heat-activated adhesive backing (often called iron-on or heat-seal backing). Additionally, check the composition of your jeans. Patches adhere best to 100% cotton or high-cotton-blend denim. Stretch denim (with high elastane or spandex content) may warp under high heat, requiring a lower temperature and supplemental sewing.
Step 2: Pre-Wash the Denim (Crucial Step)
New jeans often contain sizing chemicals, starches, or fabric softeners that create a barrier between the patch adhesive and the fabric fibers. Wash the jeans without fabric softener and allow them to dry completely. This ensures a clean, porous surface for maximum adhesive bonding.
Step 3: Preheat the Iron to the Correct Setting
Set your household iron to the "Cotton" or "High" setting (approximately 300°F to 350°F or 150°C to 175°C). Disable the steam function entirely. Moisture from steam will cool the iron plate and prevent the adhesive from melting and penetrating the denim fibers properly.
Step 4: Position the Patch and Use a Pressing Cloth
Place the jeans on a hard, flat, heat-resistant surface (an ironing board is acceptable, but a solid wooden table covered with a cotton towel is better for applying downward pressure). Position the patch exactly where you want it. Once aligned, place a thin, clean cotton cloth (like a pillowcase) or a sheet of parchment paper directly over the patch. Never apply the iron directly to the patch, as this can melt embroidered threads, scorch PVC, or leave shiny iron marks.
Step 5: Apply Firm, Consistent Heat and Pressure
Press the iron firmly down onto the pressing cloth over the patch. Do not slide or glide the iron, as this will shift the patch out of alignment. Apply steady, heavy pressure for 30 to 45 seconds. For larger patches or thick denim seams, lift the iron, reposition, and repeat the process, ensuring every edge and corner receives adequate heat.
Step 6: The Cooling Phase and Adhesion Test
Remove the iron and the pressing cloth. Do not touch or move the patch. Allow it to cool completely to room temperature (approximately 2 to 3 minutes). The heat-activated adhesive cures and hardens as it cools. Once cool, gently attempt to peel the edges with your fingernail. If it lifts easily, re-cover and apply heat for another 15-20 seconds.
Step 7: Supplemental Sewing (Highly Recommended for Denim)
While heat-seal backing is strong, denim undergoes significant stress, stretching, and frequent washing. For a truly permanent, professional finish, sew around the perimeter of the patch using a heavy-duty needle and matching thread. This acts as a mechanical lock, guaranteeing the patch will never detach.
How Your Patch is Made
For brands and merchandisers, knowing how to iron patches on jeans is only half the equation. Sourcing a high-quality patch that actually survives the ironing process and subsequent washes requires a reliable manufacturing partner. Here is the step-by-step workflow of how professional custom patches are produced in our facility:
Phase 1: Digital Artwork and Vector Optimization
The process begins with your logo. Our design team converts your raster images (JPG, PNG) into clean, scalable vector files (AI, EPS). We optimize the design for the chosen manufacturing method, adjusting line thicknesses and color separations to ensure the final product matches your brand guidelines perfectly.
Phase 2: Material Selection and Prototyping
Based on your aesthetic and functional requirements, we select the base material (twill, woven polyester, or PVC). A digital mockup or a physical pre-production sample is generated for your approval. This step prevents costly errors during mass production.
Phase 3: Precision Manufacturing
- For Embroidered/Woven: Computerized multi-head machines stitch the design with high-tensile polyester threads.
- For PVC/Rubber: Liquid polymer is injected into CNC-machined metal molds and vulcanized under heat to create multi-layered 3D effects.
- For Leather: Precision laser cutters shape the hide, and heat presses deboss the logo.
Phase 4: Heat-Seal Backing Application
This is the most critical step for customers searching how to iron patches on jeans. A specialized thermoplastic adhesive film is applied to the back of the finished patch. It is heated to a precise temperature to bond it to the patch base without degrading the adhesive's future activation potential.
Phase 5: Die-Cutting and Edge Finishing
The patches are cut to their final shape. Embroidered and woven patches receive a "merrowed" (overlocked) border to prevent fraying, or a "hot-cut" border for a sleek, modern look. PVC patches are laser-trimmed for flawless edges.
Phase 6: Rigorous Quality Control (QC)
Every batch undergoes strict QC. We perform random wash tests on heat-seal patches to verify adhesion strength. We check for color consistency, thread snags, and backing integrity before secure, export-ready packaging.
Table 2: Custom Manufacturing Methods Comparison
| Production Metric | Embroidery | Woven | PVC / Silicone Rubber |
|---|---|---|---|
| Setup / Mold Cost | Low | Low | Medium (Requires CNC mold) |
| Minimum Order Qty (MOQ) | 50 - 100 pcs | 100 - 200 pcs | 100 - 300 pcs |
| Detail Capability | Medium (Best for bold logos) | High (Best for small text) | Very High (Best for 3D effects) |
| Production Lead Time | 7 - 10 Days | 10 - 14 Days | 12 - 18 Days |
| Denim Wash Durability | High (With merrowed edge) | High (Tightly woven) | Exceptional (Waterproof) |
Optimizing Attachment: Backing Options for Denim
While the iron-on method is highly popular, different use cases demand different attachment strategies. Understanding backing options helps B2B buyers specify the exact product their end-customers need.
Table 3: Patch Backing Mechanisms for Denim
| Backing Type | Application Method | Durability on Denim | Removability | Best Use Case |
|---|---|---|---|---|
| Heat-Seal (Iron-On) | Household iron or heat press | High (Permanent if cooled properly) | No (Leaves residue) | Retail apparel, quick customization, DIY kits. |
| Sew-On (No Backing) | Needle and thread (manual or machine) | Maximum (Mechanical bond) | No (Requires cutting) | Heavy-duty workwear, high-end fashion, thick seams. |
| Velcro (Hook Side) | Sewn or heat-sealed to patch | Medium (Hook can wear over time) | Yes (Instant detachment) | Tactical gear, interchangeable branding, morale patches. |
| Peel-and-Stick | Pressure-sensitive adhesive | Low (Fails after 1-2 washes) | Yes (Easily repositioned) | Temporary promotional events, craft projects. |
Frequently Asked Questions (FAQ)
Q1: Can you iron patches on ripped or distressed jeans?
A: Yes, but with caution. Distressed denim has weaker structural integrity. Apply the patch over a solid, undamaged section of the fabric. If placing it over a rip, insert a piece of stabilizing fabric or interfacing inside the jeans behind the rip before ironing to provide a solid surface for the adhesive to bond to.
Q2: What temperature should the iron be to apply patches on jeans?
A: Set your iron to the "Cotton" or highest dry-heat setting, typically between 300°F and 350°F (150°C - 175°C). Always ensure the steam function is turned off, as moisture prevents the heat-seal adhesive from activating properly.
Q3: How do you make an iron-on patch stay on jeans permanently?
A: To guarantee permanence, follow the cooling phase strictly after ironing. For maximum longevity, especially on areas of high friction like knees or pockets, add a simple zigzag or straight stitch around the perimeter of the patch using a heavy-duty denim needle and matching thread.
Q4: Can PVC or rubber patches be ironed onto jeans?
A: Yes, provided the manufacturer has applied a compatible heat-activated adhesive backing to the flat rear surface of the rubber patch. However, because PVC can be sensitive to extreme direct heat, using a pressing cloth and strictly adhering to the manufacturer's time and temperature guidelines is mandatory to avoid warping.
How Can Custom Patch Shapes Transform Your Apparel Logo and Brand Identity?
How Do You Design and Source a Custom 3d Raised Rubber Logo Patch for Your Brand?
Related Article