How to Attach a Patch Perfectly?
Table of Contents
Custom patches have become one of the most versatile branding and personalization tools across industries worldwide.
Yet despite their growing popularity, a surprising number of buyers and end-users find themselves stuck on one fundamental question: how to attach a patch correctly without ruining the garment or compromising the patch's longevity.
Choosing the wrong attachment method can lead to peeling edges, fabric damage, or a patch that falls off after the first wash cycle. Worse still, many B2B buyers order custom patches in bulk without fully understanding which backing type best suits their target market, resulting in costly returns and dissatisfied customers. This comprehensive guide eliminates the guesswork. We will walk you through the mainstream patch categories available on the market today, break down the complete custom patch manufacturing process step by step, and provide definitive, actionable methods on how to attach a patch securely and professionally — no matter the fabric, the backing, or the use case.
What Are the Mainstream Types of Custom Patches?
Before you can decide how to attach a patch, you first need to understand the different patch types available. The material, construction method, and thickness of a patch directly influence which attachment method will work best. Here is a breakdown of the five most popular custom patch categories in the global market.
Embroidered Patches are the industry standard and the most recognizable patch type. Constructed by stitching colored threads onto a sturdy twill base fabric, they offer a classic three-dimensional texture that conveys quality and tradition. Embroidered patches are exceptionally durable and are the go-to choice for military insignia, law enforcement badges, school uniforms, and motorcycle club cuts.
Woven Patches take a different approach. Instead of stitching threads on top of a base, the design is woven directly into the fabric using thinner threads on a tighter loom. This allows for significantly higher detail resolution, making woven patches ideal for intricate logos, small text, and complex gradients that embroidered patches struggle to reproduce. They sit flatter against the garment, offering a sleek, modern appearance.
PVC and Rubber Patches represent the modern, tactical end of the spectrum. Made from soft, flexible polyvinyl chloride or silicone rubber, these patches are fully waterproof, UV-resistant, and virtually indestructible. They are the preferred choice for outdoor equipment brands, tactical gear manufacturers, and any application where the patch will be exposed to harsh weather conditions.
Chenille Patches bring a nostalgic, vintage aesthetic. Created using looped yarn that produces a soft, fuzzy surface, chenille patches are synonymous with American varsity letterman jackets and retro streetwear. While they may not offer the fine detail of woven patches, their bold, textured look makes them a standout choice for fashion-forward brands.
Leather and Suede Patches deliver a premium, rugged finish. Often debossed or laser-engraved with a brand logo, these patches are frequently seen on the back waistband of denim jeans, on canvas tote bags, and on high-end outdoor apparel. They add an unmistakable touch of craftsmanship and heritage to any product.
Custom Patch Types: Dimension Comparison
| Patch Type | Detail Level | Texture & Feel | Durability | Best Application | Cost Efficiency |
|---|---|---|---|---|---|
| Embroidered | Medium | Thick & Textured | High | Uniforms, Caps, Jackets | Moderate |
| Woven | Very High | Smooth & Thin | High | Small Logos, Badges, Labels | High |
| PVC / Rubber | High | Flexible & 3D | Very High | Tactical Gear, Outdoor | Moderate |
| Chenille | Low | Fuzzy & Soft | Medium | Varsity Jackets, Streetwear | Low |
| Leather | Medium | Premium & Stiff | High | Denim, Fashion, Bags | Low |
Step-by-Step Guide: How to Make Custom Patches
Understanding how to attach a patch becomes much easier when you know what goes into making one. A well-manufactured patch with the correct backing will attach cleanly and last for years. Here is the complete production workflow used by professional custom patch manufacturers.
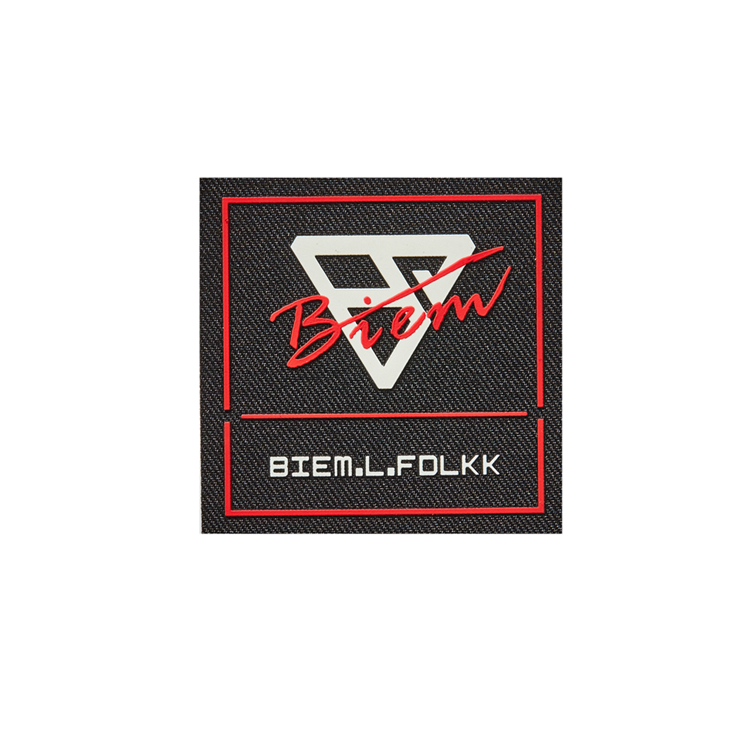
Step 1: Artwork Design and Digitizing. Every custom patch begins with a digital design file. Once the client's logo or artwork is finalized in vector format (AI, EPS, or PDF), it undergoes a process called digitizing. For embroidered patches, specialized software converts the vector art into a stitch file that tells the embroidery machine exactly where to place each thread, what stitch direction to use, and how many layers to build. This step is critical — poor digitizing results in puckering, thread breaks, and misaligned details.
Step 2: Material and Backing Selection. The production team selects the appropriate base fabric — typically polyester twill for embroidered patches or a fine-weave damask for woven patches. Simultaneously, the backing type is determined based on the client's intended application. This is where the decision of how to attach a patch is effectively made at the factory level. Options include plain backing (for sewing), heat-activated adhesive (for iron-on), hook-and-loop Velcro, peel-and-stick adhesive, or magnetic backings.
Step 3: Production. Depending on the patch type, the design is brought to life through embroidery machines, high-speed weaving looms, or injection molding (for PVC patches). Embroidered patches may require multiple thread color changes and can take several minutes per unit, while woven patches are produced in continuous rolls and cut later.
Step 4: Cutting and Edge Finishing. Once the patch design is complete, individual patches are cut from the base material. The two most common edge finishes are the Merrow border — a thick, overlocked stitch that wraps around the edge for a classic, raised look — and the laser-cut (hot cut) edge, which uses a laser to precisely trim the patch to its exact shape, allowing for intricate contours that a Merrow machine cannot achieve.
Step 5: Quality Control and Packaging. Every batch undergoes rigorous inspection for thread density, color accuracy against Pantone standards, backing adhesion strength, and edge integrity. Defective units are removed before the patches are counted, sorted, and packaged for shipment.
The Core Question: How to Attach a Patch? (Methods & Backings Explained)
Now we arrive at the most important section of this guide. The method you use to attach a patch depends almost entirely on the backing type selected during manufacturing. Below, we detail the four primary attachment methods and when to use each one.
Patch Backing & Attachment Methods Comparison
| Backing Type | How to Attach a Patch (Method) | Best Fabric Match | Removability | Wash Durability |
|---|---|---|---|---|
| Sew-On (No Backing) | Hand or Machine Stitching | All Fabrics, Including Delicate | Difficult | Excellent |
| Iron-On (Heat Seal) | Heat Press or Household Iron | Cotton, Polyester, Denim | Moderate | Good |
| Velcro (Hook & Loop) | Sew Loop Side to Garment | Tactical Gear, Uniforms, Bags | Very Easy | Excellent |
| Adhesive (Peel & Stick) | Peel and Press | Smooth Surfaces, Crafts, Paper | Easy | Poor (Not Washable) |
| Magnetic | Snap onto Metal Receptacle | Specialized Tactical / Military | Very Easy | Excellent |
Method 1: How to Attach a Patch by Sewing. Sewing is the most secure and universally compatible attachment method. It works on every fabric type, including delicate materials like silk or nylon that cannot withstand heat. For hand sewing, use a strong polyester thread and a simple whip stitch or running stitch around the patch border. For machine sewing, a zigzag stitch along the edge provides excellent hold. Sewing is the recommended method for leather jackets, where iron-on heat would damage the material, and for high-value garments where permanence is essential.
Method 2: How to Attach a Patch with Iron-On Backing. Iron-on patches feature a layer of heat-activated adhesive on the reverse side. To attach, preheat your iron to approximately 270°F–300°F (the cotton setting). Place the patch adhesive-side down on the garment, cover it with a thin pressing cloth to protect the threads, and apply firm, even pressure for 15 to 30 seconds. Flip the garment inside out and press the back for an additional 10 seconds. Allow the patch to cool completely before handling.
Pro tip: For maximum durability on frequently washed items, combine iron-on application with a few reinforcing stitches around the perimeter.
Method 3: How to Attach a Patch with Velcro. Velcro-backed patches use a two-part system. The soft "loop" side is permanently sewn onto the garment, while the "hook" side is attached to the back of the patch during manufacturing. This allows the patch to be attached, removed, and swapped in seconds — making it the gold standard for military name tapes, morale patches, and modular tactical gear.
Method 4: How to Attach a Patch with Adhesive. Peel-and-stick adhesive patches are designed for temporary, no-heat, no-sew applications. Simply peel off the protective backing and press the patch firmly onto a clean, smooth surface. These are ideal for event giveaways, craft projects, and paper packaging, but they are not suitable for washable garments.
Expert Tips for a Flawless and Long-Lasting Application
To ensure your patches look professional and stay put through dozens of wash cycles, keep these expert recommendations in mind:
- Match the backing to the fabric. Never apply a high-heat iron-on patch to nylon, rayon, or other heat-sensitive synthetics. The adhesive requires temperatures that will melt or scorch these materials. Opt for sew-on or adhesive backings instead.
- Use the "belt and suspenders" approach. For heavy-duty workwear, firefighter uniforms, or any garment subjected to extreme wear, combine an iron-on backing with perimeter stitching. The heat seal holds the patch in place during sewing, and the stitches provide permanent reinforcement.
- Follow proper washing instructions. Always turn patched garments inside out before washing. Use cold water and a gentle cycle. Avoid high-heat tumble drying, which can reactivate or degrade the adhesive layer over time.
- Pre-wash blank garments. If you are applying iron-on patches to new garments, wash and dry the blank item first. This removes manufacturing sizing chemicals and pre-shrinks the fabric, preventing future shrinkage from pulling the patch away from the surface.
Frequently Asked Questions
What is the best way to attach a patch to a leather jacket?
For leather, hand sewing is the most professional and permanent method. Use a leather needle and waxed thread for best results. If you want to avoid needle holes, use a high-strength fabric adhesive specifically formulated for leather. Avoid standard iron-on methods, as the required heat can permanently damage the leather surface.
Can I attach a patch without sewing or ironing?
Yes. You can use fabric glue for a no-sew, no-iron solution, or choose Velcro (hook and loop) or magnetic backings during the custom manufacturing process for patches that can be attached and removed without any tools.
How long do iron-on patches last?
When applied correctly with the proper temperature, pressure, and cooling time, iron-on patches can last for years through regular washing. However, for items that undergo heavy use or frequent laundering, adding a few reinforcing stitches around the border will significantly extend the patch's lifespan.
Do you offer wholesale custom patches with specific backings?
Absolutely. As a professional custom patch manufacturer, we offer all major backing types — including iron-on, Velcro, adhesive, plastic, and magnetic — fully customized to your project specifications. We support low minimum order quantities and provide free design assistance.
Need to Remove Iron On Patch Backings for a Rebrand?
How Do You Go About Getting Custom Patches Made?
Related Article