How Do You Go About Getting Custom Patches Made?
Table of Contents
- Why Are Custom Patches So Popular?
- What Are the Main Types of Custom Patches?
- Step-by-Step: How to Go About Getting Custom Patches Made
- What Factors Affect the Cost of Getting Custom Patches Made?
- How Do You Choose a Reliable Custom Patch Maker?
- Common Mistakes to Avoid When Getting Custom Patches Made
- Frequently Asked Questions (FAQ)
- Conclusion
Getting custom patches made can feel like an overwhelming process filled with unfamiliar terminology, confusing material choices, and a maze of supplier options.
Many first-time buyers make the mistake of rushing into a bulk order without understanding the nuances of patch manufacturing. This often leads to wasted money and subpar products. Fortunately, it doesn't have to be complicated. This comprehensive guide breaks down every single step, compares all major patch types, and provides actionable expert tips so you can confidently navigate the process and bring your vision to life.
Why Are Custom Patches So Popular?
Before diving into the "how-to," it is worth understanding why custom patches have seen a massive resurgence in popularity. Across almost every industry, patches are the go-to solution for branding and identification.
Fashion brands use them to add a vintage or streetwear edge to denim and jackets. Military, law enforcement, and first responders rely on them for clear, durable unit identification. Corporate teams and outdoor clubs use them for morale and branding.
The primary reason for this widespread adoption is their unique combination of cost-effectiveness, durability, and versatility. Unlike direct embroidery, which can pucker delicate fabrics, or screen printing, which cracks and fades over time, high-quality patches are built to last. They can be easily transferred between garments, collected, and displayed, making them a highly valued item for end-users.
What Are the Main Types of Custom Patches?
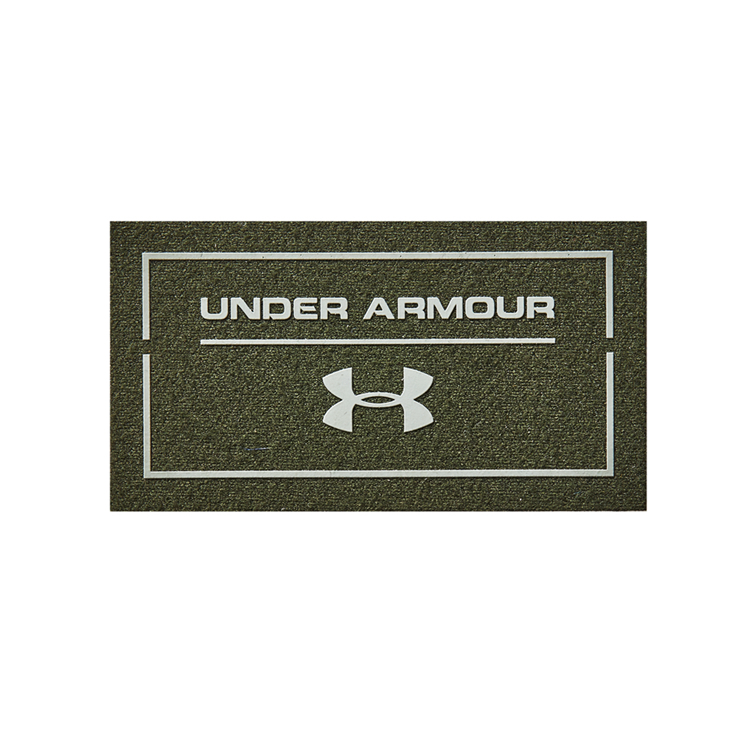
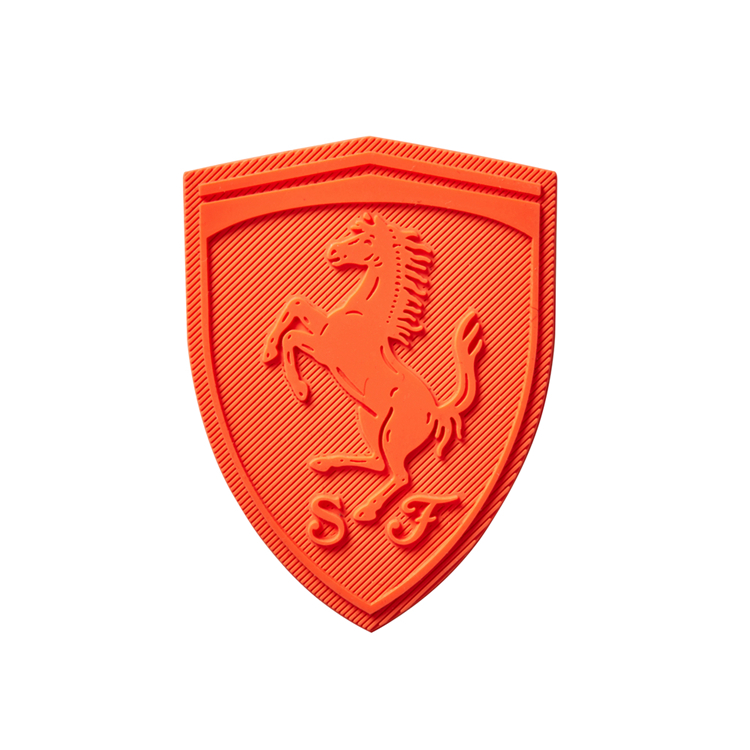
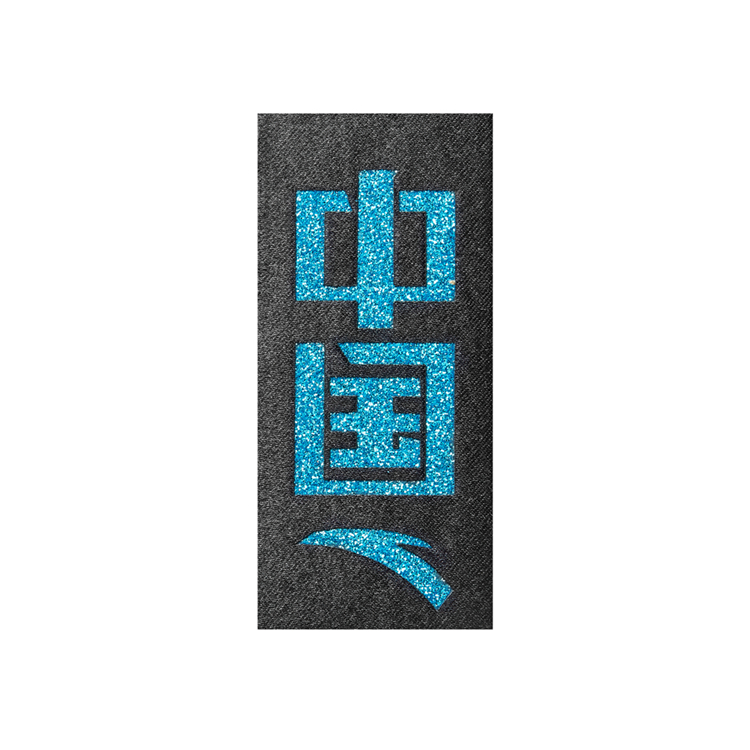
The first major decision you will face is selecting the right material and manufacturing technique. Each type of patch offers a distinct look, feel, and level of durability. Choosing the right type is the first critical step in getting custom patches made that truly represent your brand's quality standards.
Here is a breakdown of the most common options:
Table 1: Comparison of Custom Patch Types
| Patch Type | Material / Technique | Best Use Case | Durability | Min. Order Qty | Approx. Cost per Patch |
|---|---|---|---|---|---|
| Embroidered Patches | Thread stitched on twill backing | Military, uniforms, classic logos | ★★★★★ | 50–100 | $1.00–$3.50 |
| Woven Patches | Thin thread woven tightly | Detailed artwork, small text | ★★★★☆ | 100 | $0.80–$2.50 |
| PVC / Rubber Patches | Soft rubber molded in 2D/3D | Tactical gear, outdoor, morale | ★★★★★ | 100 | $1.50–$4.00 |
| Chenille Patches | Yarn looped for a fuzzy texture | Varsity jackets, streetwear, retro | ★★★★☆ | 50 | $2.00–$5.00 |
| Leather Patches | Genuine or faux leather, debossed | Hats, denim, premium lifestyle brands | ★★★★☆ | 50 | $1.50–$4.50 |
| Printed Patches | Dye-sublimation on fabric | Photo-realistic designs, gradients | ★★★☆☆ | 25–50 | $0.70–$2.00 |
- Embroidered Patches are the classic choice, offering a raised, textured 3D look. However, they struggle with very fine details.
- Woven Patches use thinner threads, allowing for intricate details and smaller text that embroidery cannot capture.
- PVC Patches are waterproof, rugged, and perfect for harsh outdoor environments.
- Chenille Patches provide that nostalgic, fuzzy "letterman jacket" aesthetic.
- Leather Patches offer a premium, minimalist look, often debossed or laser-engraved.
- Printed Patches are the only option if your design requires full-color photographs or complex gradients.
Step-by-Step: How to Go About Getting Custom Patches Made
Now that you understand the materials, let’s walk through the exact process of ordering your patches. Follow these eight steps to ensure a smooth production run.
Step 1: Define Your Purpose and Budget
Before contacting a manufacturer, clarify exactly what the patches will be used for. Are they for retail resale, employee uniforms, event giveaways, or personal use? This dictates the quality level you need. Simultaneously, set a realistic per-unit budget. Higher quality materials and lower order quantities will naturally increase the price per patch.
Step 2: Choose the Right Patch Type
Refer back to Table 1. Match your design complexity, desired aesthetic, and end-use environment to the ideal patch type. If your logo has tiny text, skip embroidery and go with woven. If it’s for a muddy hiking boot, choose PVC.
Step 3: Create or Finalize Your Artwork
Your patch is only as good as your design file. Manufacturers prefer vector files (AI, EPS, PDF) because they can be scaled infinitely without losing quality. If you only have a raster image (JPEG, PNG), ensure it is at least 300 DPI. Keep in mind color limitations: embroidered patches typically cap at 9 to 12 thread colors. If you have more colors, you may need to simplify the design or opt for a printed patch. Many manufacturers offer free design assistance to help you optimize your artwork for production.
Step 4: Select Patch Size, Shape, and Border Style
Standard sizes range from 2 to 5 inches, but custom sizes are entirely possible. Shapes can be standard (circle, square, shield) or custom die-cut to match your logo's exact outline. You must also choose a border style. A merrowed border is a thick, overlocked stitch that covers the edge (best for simple shapes). A hot-cut or laser-cut border melts the edge to prevent fraying, allowing for intricate, custom shapes with tight corners.
Step 5: Pick the Backing / Attachment Method
How will the patch attach to the garment?
- Sew-on: The most durable and traditional method.
- Iron-on (Heat Seal): Features a glue backing activated by a home iron or heat press. Great for quick application.
- Velcro® (Hook and Loop): Ideal for tactical gear and uniforms that need to be swapped out.
- Adhesive or Magnetic: Used for temporary placement or specialized gear.
Step 6: Request Quotes from Multiple Manufacturers
Never accept the first quote you receive. Reach out to at least three different suppliers. Compare them not just on price, but on lead time, sample policies, and customer reviews. When getting custom patches made overseas versus domestically, you must carefully weigh the lower per-unit cost of overseas manufacturing against longer shipping times and potential communication barriers.
Step 7: Order a Physical Sample
This is the most crucial step. Never skip the pre-production sample. A digital proof only tells you what the design looks like on a screen; a physical sample tells you how the threads actually look, how the colors blend, and how the backing feels. Samples typically cost between $25 and $75, but this fee is almost always credited toward your final bulk order.
Step 8: Approve and Place the Bulk Order
Once you receive and approve the physical sample, you are ready to greenlight the bulk production. Do a final checklist: check spelling, verify colors, confirm size and backing, and clarify packaging requirements (e.g., polybagged in batches of 50). Confirm the exact turnaround time and shipping method before making the final payment.
What Factors Affect the Cost of Getting Custom Patches Made?
Pricing in the patch industry is rarely flat; it is highly variable based on your specific choices. Understanding these variables is crucial when getting custom patches made on a strict budget.
The biggest cost driver is order quantity. The setup costs (like creating the mold for PVC or digitizing for embroidery) are fixed. Therefore, ordering 500 patches will result in a much lower per-unit cost than ordering 50. Size also matters; larger patches require more material and more machine time. Color count increases costs in embroidery and woven patches because the machine must stop and re-thread for every new color. Finally, hidden costs like digitizing fees, mold fees, rush production charges, and expedited shipping can add up quickly.
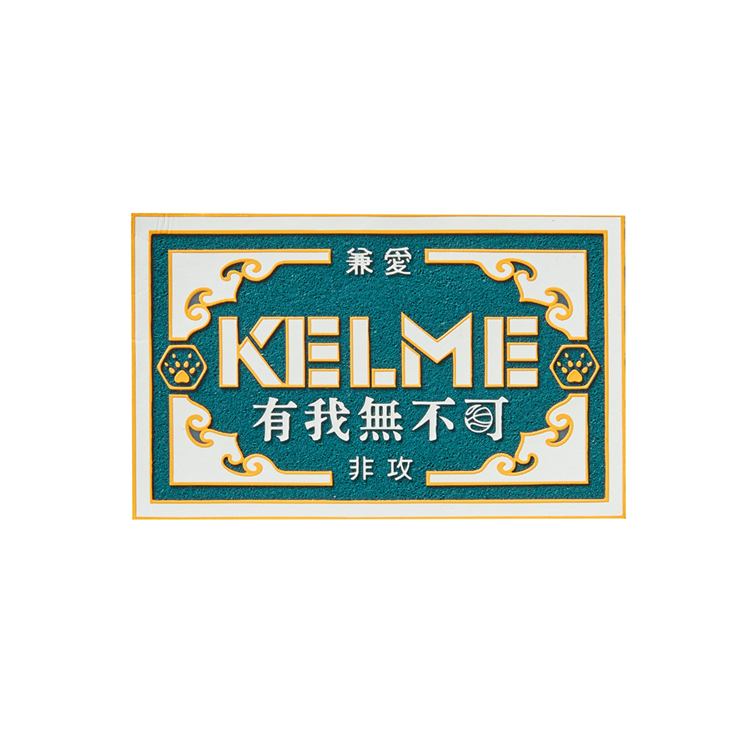
Table 2: Key Cost Factors at a Glance
| Cost Factor | Low-Cost Scenario | High-Cost Scenario |
|---|---|---|
| Order Quantity | 500+ units | Under 50 units |
| Patch Size | ≤ 3 inches | 5+ inches |
| Color Count | 1–4 colors | 9–12+ colors |
| Backing Type | Sew-on (standard) | Velcro® or magnetic |
| Turnaround Time | 3–4 weeks (standard) | 7–10 days (rush) |
| Origin of Production | Overseas (Asia) | Domestic (USA/EU) |
How Do You Choose a Reliable Custom Patch Maker?
The manufacturer you choose will make or break your experience. Red flags include suppliers who refuse to send physical samples, offer pricing that seems "too good to be true," or lack a clear portfolio of past work. Green flags include transparent communication, verified customer reviews, and a clear money-back guarantee for defective batches.
When deciding between a domestic and an overseas manufacturer, consider your specific project needs.
Table 3: Domestic vs. Overseas Patch Manufacturers
| Comparison Point | Domestic Manufacturer | Overseas Manufacturer |
|---|---|---|
| Average Lead Time | 2–3 weeks | 3–6 weeks (incl. shipping) |
| Per-Unit Cost | Higher | 30–50% lower |
| Communication | Same time zone, native language | Possible language/time barriers |
| Minimum Order | Often lower (25–50) | Often higher (100+) |
| Quality Control | Easier to inspect/visit | Must rely on pre-shipment photos |
| Best For | Rush orders, small batches, high-end | Large-volume, budget-conscious orders |
Common Mistakes to Avoid When Getting Custom Patches Made
To ensure getting custom patches made is a smooth and successful process, avoid these common pitfalls:
- Skipping the sample stage: Relying solely on a digital mockup often leads to shock when the physical threads look different than the screen pixels. Always get a physical sample.
- Using low-resolution artwork: Sending a blurry, pixelated JPEG will result in a patch with jagged edges and unreadable text. Always provide high-res vectors.
- Ignoring thread-color limitations: If you try to force a 15-color gradient into an embroidered patch, the manufacturer will either reject it or produce a muddy mess. Simplify your design for thread-based patches.
- Forgetting to specify the backing type: It is incredibly frustrating to receive 500 sew-on patches when your event requires iron-on patches for quick application. Double-check your backing choice before approving the final quote.
Frequently Asked Questions (FAQ)
Q1: How long does getting custom patches made typically take?
Standard production usually takes 2 to 4 weeks, depending on the patch type and order volume. If you choose an overseas manufacturer, add another 1 to 3 weeks for international shipping. Rush orders can cut production down to 7–10 days but will incur extra fees.
Q2: What is the minimum order quantity (MOQ) for custom patches?
The MOQ varies by manufacturer and patch type. Domestic makers often have lower MOQs, sometimes as low as 25 to 50 pieces. Overseas manufacturers typically require a minimum of 100 pieces to make the production setup worthwhile.
Q3: Can I get custom patches made with no minimum?
While rare, some domestic manufacturers and online print-on-demand services offer "no minimum" options. However, be aware that the per-unit cost will be significantly higher, and your material choices (like custom PVC molds) may be limited.
Q4: What file format should I send for my patch design?
Vector files such as AI, EPS, or SVG are highly preferred because they allow the manufacturer to scale the design without losing quality. If you must use a raster image, ensure it is a high-resolution PNG or JPEG (at least 300 DPI at the actual size of the patch).
Q5: Are iron-on patches as durable as sew-on patches?
Iron-on patches are very durable for standard wear and washing if applied correctly with a heat press. However, for heavy-duty use, tactical gear, or items that undergo frequent industrial washing, sew-on patches are always the more secure and long-lasting option.
Conclusion
Ultimately, getting custom patches made is a highly rewarding process once you understand the different materials, the step-by-step ordering procedure, and the factors that drive pricing. By carefully selecting the right patch type, providing high-quality artwork, and insisting on a physical sample, you can avoid costly mistakes and achieve a premium final product.
How to Attach a Patch Perfectly?
How Do You Build a Premium Collection With World Cup Badges?
Related Article