Why Are Top Streetwear Brands Obsessed with the Embossed Leather Patch?
Table of Contents
Offering a perfect blend of luxury, durability, and tactile appeal, an embossed leather patch elevates ordinary products into premium brand statements.
But with so many materials, styles, and manufacturing processes available, how do you navigate the customization journey? This comprehensive guide will walk you through the mainstream patch categories, explain why the embossed leather patch stands out, and provide a detailed, step-by-step breakdown of the custom manufacturing process.
What Are the Main Types of Custom Patches?
Before diving into the specifics of leather, it is crucial to understand the broader landscape of custom patches. Different materials offer distinct aesthetic and functional benefits. Here is a categorization of the mainstream patch types used in the global market:
- Embroidered Patches: Made by stitching threads onto a fabric backing. They offer a classic, textured look but lack fine detail.
- Woven Patches: Created using thinner threads woven tightly together. They allow for higher detail and smaller text compared to embroidered patches.
- PVC/Rubber Patches: Made from soft, flexible plastic. They are highly durable, waterproof, and ideal for outdoor or tactical gear.
- Chenille Patches: Known for their fuzzy, towel-like texture, commonly used on varsity jackets and sportswear.
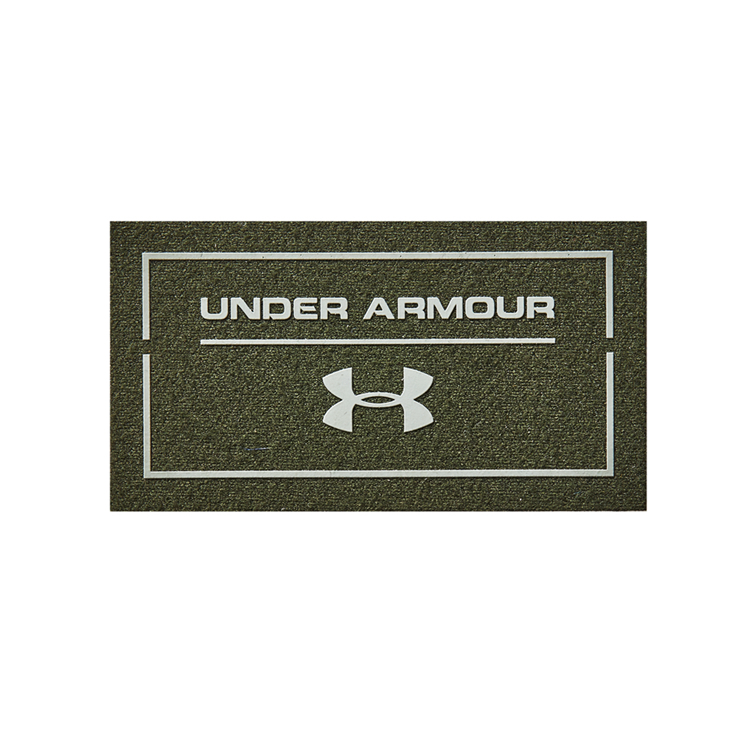
- Leather Patches: Crafted from genuine leather, PU (vegan leather), or suede. They provide a high-end, sophisticated finish, with the embossed leather patch being the most popular variant for a 3D raised effect.
Table 1: Dimension Comparison of Mainstream Patch Materials
| Feature | Embroidered Patches | Woven Patches | PVC/Rubber Patches | Embossed Leather Patch |
|---|---|---|---|---|
| Texture & Feel | Thick, raised threads | Flat, smooth surface | Soft, flexible rubber | Premium, natural, 3D raised |
| Detail Level | Low to Medium | High | Medium | Medium to High (Vector based) |
| Durability | High | High | Very High (Waterproof) | High (Water-resistant) |
| Best Application | Uniforms, military, casual | Small logos, intricate designs | Outdoor gear, morale patches | Hats, premium bags, hoodies |
| Cost Efficiency | Low to Medium | Medium | Medium | Medium to High (Premium feel) |
Why Choose an Embossed Leather Patch Over Other Styles?
When it comes to headwear (like beanies and snapbacks) and premium outerwear, the embossed leather patch is the undisputed king of branding. But what exactly makes it superior?
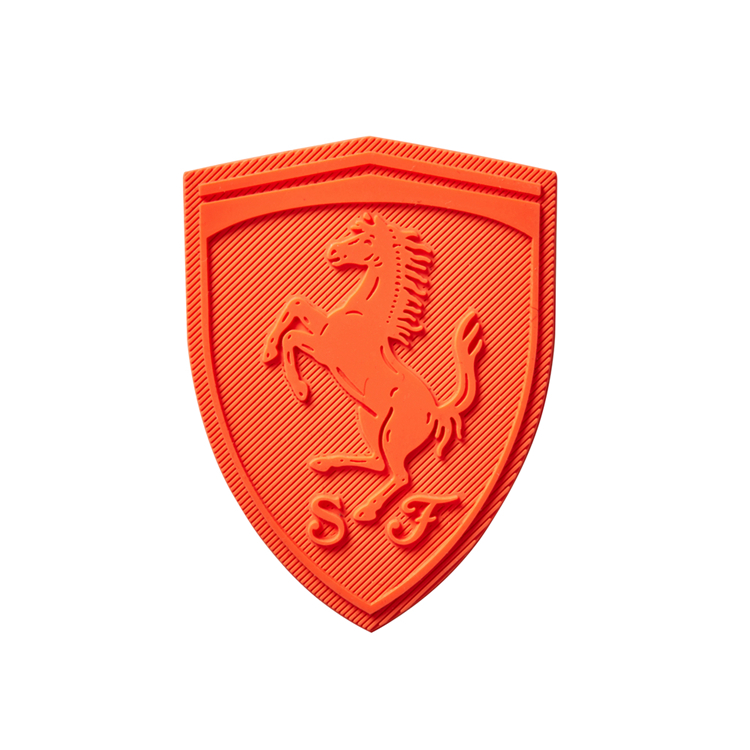
An embossed leather patch is created using a custom metal mold and high heat/pressure to push the leather outward, creating a raised, 3D logo. This technique captures light beautifully and offers a tactile experience that flat prints simply cannot match. Furthermore, as consumers become more eco-conscious, the availability of high-quality PU (vegan) leather allows brands to achieve this luxury look without using animal products.
To help you decide on the exact finishing technique for your leather branding, let's compare the three main leather customization methods:
Table 2: Leather Patch Customization Techniques Compared
| Dimension | Embossed Leather Patch | Debossed Leather Patch | Laser Engraved Leather Patch |
|---|---|---|---|
| Visual Effect | Logo is raised above the surface | Logo is sunken/pressed into the surface | Logo is burned/etched into the surface |
| Tactile Feel | Smooth surface with raised text/graphics | Smooth surface with indented text/graphics | Rough, textured, burned feel |
| Color Options | Can be color-filled (painted) for contrast | Usually single color (natural leather tone) | Natural burn color (dark brown/black) |
| Mold Requirement | Requires a custom copper/brass mold | Requires a custom copper/brass mold | No mold required (Digital file driven) |
| Best For | Bold logos, luxury branding, high-end hats | Minimalist designs, subtle branding | Vintage looks, rustic styles, detailed art |
Step-by-Step Guide: How to Customize Your Embossed Leather Patch
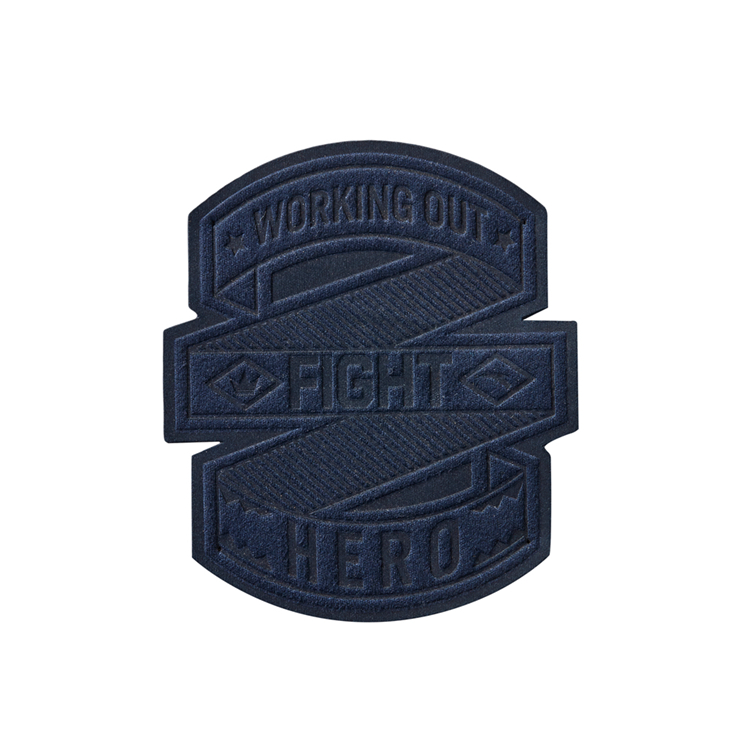
Creating the perfect embossed leather patch requires precision and expertise. Whether you are a startup launching your first clothing line or an established brand refreshing your look, here is the complete manufacturing workflow.
Step 1: Design & Artwork Preparation
The foundation of a great patch is a great design. For an embossed leather patch, vector files (AI, EPS, PDF, or SVG) are mandatory. Because the design will be physically raised, intricate gradients or tiny text will not translate well. The artwork must be simplified into solid, distinct shapes.
- Pro Tip: Ensure your design has a minimum line thickness of 1.5mm to guarantee the mold can capture the details accurately.
Step 2: Material Selection
Choosing the right material dictates the final look, feel, and price point.
- Genuine Leather: Offers the highest quality, unique natural grain, and ages beautifully. Best for ultra-premium brands.
- PU/Vegan Leather: The most popular choice for modern apparel. It is cruelty-free, cost-effective, consistent in texture, and available in various colors and finishes (matte, glossy, suede-like).
- Suede Leather: Provides a soft, fuzzy, and highly tactile finish, perfect for winter beanies and cozy hoodies.
Step 3: Mold Making & The Embossing Process
Once the material is selected, the digital design is CNC-carved into a solid brass or copper mold. This mold is then placed into a high-tonnage heat pressing machine. The leather (or PU) is placed under the mold, and the machine applies intense heat (usually around 150°C - 200°C) and heavy pressure. This process permanently alters the structure of the material, pushing the logo areas upward to create the signature 3D embossed leather patch effect. If color is required, artisans will carefully hand-paint or screen-print the raised areas after embossing.
Step 4: Cutting & Edge Finishing
After the leather is embossed, it is fed into a precision clicking press or laser cutter to cut out the individual patches. The edges can be finished in several ways:
- Raw Edge: For a rustic, natural look.
- Folded Edge: The edges are folded under and glued for a clean, premium finish.
- Stitched Edge: A perimeter stitch is added for extra durability and a classic aesthetic.
Step 5: Backing & Attachment Options
The final step is adding the backing so the patch can be attached to your product. Choosing the right backing is critical for the end-user experience.
Table 3: Patch Backing & Attachment Options Comparison
| Backing Type | Description | Pros | Cons | Best Application |
|---|---|---|---|---|
| Sew-On (No Backing) | Plain back, meant to be stitched manually or by machine. | Most secure, durable, flexible. | Requires sewing labor during garment production. | High-end jackets, premium bags, permanent apparel. |
| Iron-On (Heat Seal) | Backed with a thermal adhesive that melts with heat. | Easy application, great for DIY or quick production. | Can peel off after multiple heavy washes. | Hats, casual wear, quick-turnaround orders. |
| Velcro (Hook & Loop) | Backed with the soft "loop" side of Velcro. | Removable, interchangeable, tactical. | Adds thickness, not suitable for delicate fabrics. | Tactical gear, military uniforms, modular bags. |
| Adhesive (Sticky) | Backed with a peel-and-stick glue (like a sticker). | Instant application, no heat or sewing needed. | Least durable, meant for temporary use. | Promotional items, temporary branding, crafts. |
Best Applications for Embossed Leather Patches
The versatility of the embossed leather patch makes it suitable for a wide array of products across different industries:
- Headwear: The absolute classic application. Whether it is a distressed dad hat, a structured snapback, or a winter beanie, a leather patch adds instant credibility and style.
- Outerwear & Hoodies: Sewn onto the chest or sleeve of heavy-weight hoodies, flannels, and denim jackets to create a rugged, heritage aesthetic.
- Bags & Backpacks: Used as a premium branding element on canvas totes, leather messenger bags, and tactical backpacks.
- Accessories: Miniature embossed leather patches are frequently used for custom keychains, zipper pulls, and even pet collars.
Frequently Asked Questions (FAQ)
To further assist you in your sourcing journey, here are answers to the most common questions regarding embossed leather patch production.
Q1: What is the Minimum Order Quantity (MOQ) for custom embossed leather patches?
A: Most manufacturers require an MOQ of 50 to 100 pieces per design. This is because the cost of creating the custom copper mold is fixed, and spreading this cost over a larger quantity significantly reduces the per-unit price.
Q2: How long does it take to produce a custom leather patch?
A: The standard production time is 7 to 12 business days after the digital proof and physical sample are approved. This includes 3-4 days for mold making and sampling, and 5-8 days for bulk production. Rush orders can often be accommodated for an additional fee.
Q3: Can I match a specific Pantone color for my PU leather patch?
A: Yes. While natural leather comes in standard earth tones (brown, tan, black), high-quality PU leather can be custom-dyed to match almost any Pantone color. You can also opt for color-filled embossing on natural leather to achieve exact brand colors.
Q4: Is the embossed leather patch waterproof?
A: Genuine leather is water-resistant but not entirely waterproof; prolonged exposure to water can damage it. However, high-quality PU (vegan) leather patches are highly water-resistant and can easily withstand rain and regular washing, making them ideal for outdoor apparel.
How Can You Create the Perfect Custom Silicone Zipper Pull Patch for Your Brand?
How to Order Bulk Clothing Labels and Custom Patches for Your Fashion Brand?
Related Article