How to Design and Order the Perfect Custom Made Patch for Your Brand?
Table of Contents
With countless material options, backing types, and design rules, how do you ensure your final product looks exactly as you envisioned?
What Are the Main Types of Custom Made Patch?
The first and most crucial decision in your journey is selecting the right type of patch. The material and manufacturing technique you choose will dictate the texture, durability, and overall aesthetic of your final product. Understanding these differences is key to aligning your patch with your brand's identity.
Below is a detailed comparison of the most popular patch types available in the market today:
Table 1: Comparison of Custom Made Patch Types
| Patch Type | Material / Technique | Best Used For | Texture & Detail Level |
|---|---|---|---|
| Embroidered | Thread stitched on Twill/Felt | Classic look, uniforms, jackets, hats | High texture, great for bold, simple designs |
| Woven | Finer threads tightly woven together | Intricate details, small text, complex logos | Smooth texture, excellent for high detail |
| Printed | Ink printed on polyester fabric | Photographic images, gradients, full color | Flat texture, perfect for complex, multi-color art |
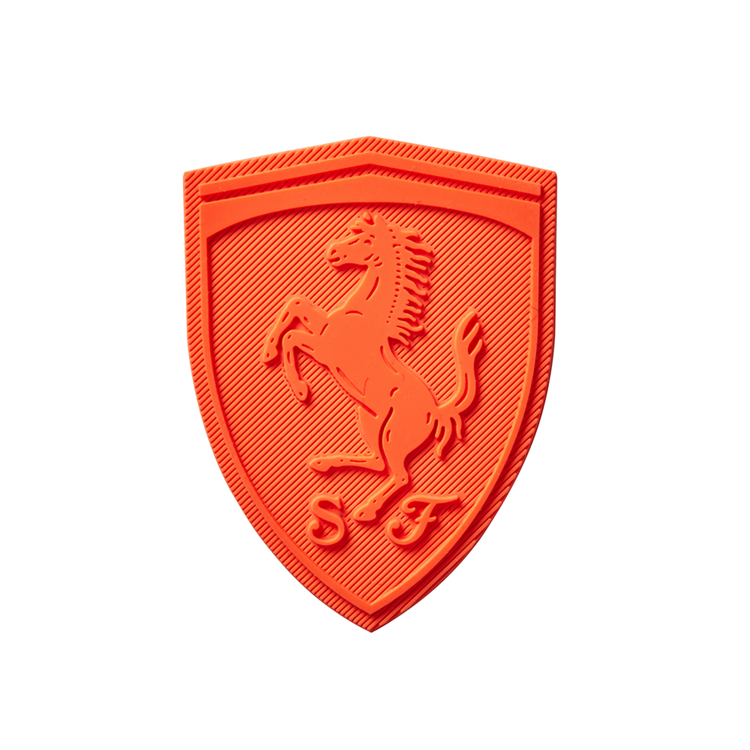
| PVC / Rubber | Soft PVC molded material | Outdoor gear, tactical equipment, keychains | 3D raised texture, waterproof and highly durable |
| Chenille | Yarn piled on fabric base | Varsity jackets, letterman jackets, retro | Fuzzy/soft texture, classic vintage feel |
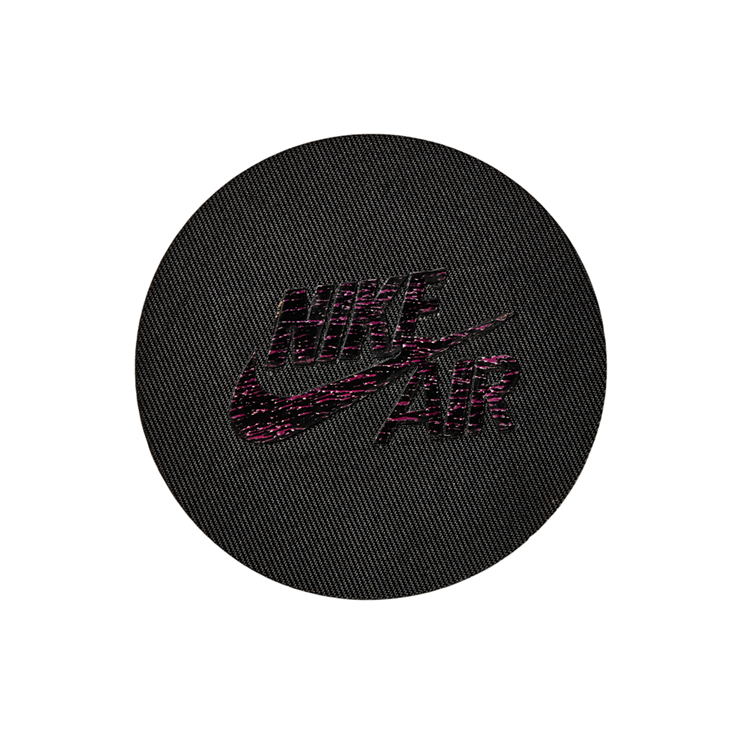
Embroidered patches are the industry standard. They offer a classic, raised 3D texture that feels premium. However, because they are made with thread, they cannot capture extremely fine details or tiny text. Woven patches, on the other hand, use thinner threads, allowing for much tighter weaving. If your logo features small lettering or intricate lines, a woven custom made patch is your best choice.
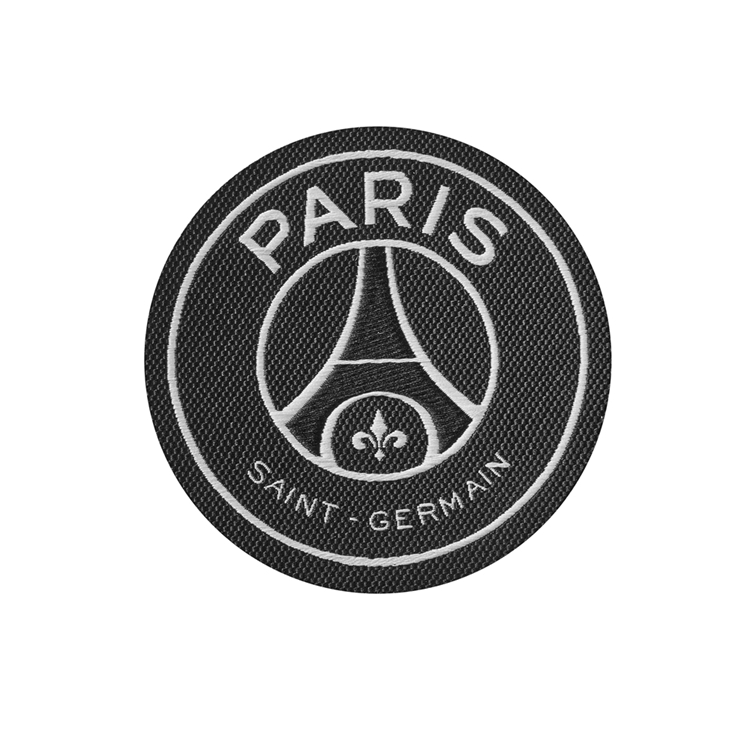
For designs that require photographic quality or complex color gradients, printed patches are the way to go. If durability and a rugged, tactical look are your priorities, consider PVC patches, which are completely waterproof and can be easily cleaned. Finally, for that nostalgic, collegiate look, Chenille patches provide an unmatched soft, fuzzy texture.
How to Choose the Right Backing for Your Custom Made Patch?
Once you have selected the type of patch, you must decide how it will be attached to your garment or gear. The backing you choose determines the application method, the permanence of the attachment, and the overall lifespan of the patch.
Table 2: Backing Options for Custom Made Patches
| Backing Type | Application Method | Durability & Washability | Best Application |
|---|---|---|---|
| Sew-on | Stitching required (manual or machine) | Extremely durable, withstands heavy washing | Uniforms, jackets, items kept long-term |
| Iron-on | Heat press or household iron | Good durability, may peel after multiple washes | Cotton garments, quick DIY projects, hats |
| Velcro (Hook) | Attaches to a loop surface | Removable, highly durable, modular | Tactical gear, military, modular bags |
| Adhesive | Peel and stick | Low durability, temporary use only | Paper crafts, temporary event badges, models |
| Magnet | Magnetic attraction | Removable, safe for delicate fabrics | Polo shirts, corporate events, no-sew needs |
Sew-on backing is the most traditional and secure method. While it requires sewing, it guarantees that your custom made patch will never fall off, making it ideal for work uniforms and heavy-duty jackets.
Iron-on backing offers a convenient, no-sew alternative using heat activation, perfect for cotton t-shirts or quick promotional giveaways.
For tactical and military applications, Velcro (hook) backing is the undisputed king, allowing users to swap patches on and off their gear effortlessly. If you need a temporary solution for a one-day event, adhesive backing works well, while magnetic backing is a fantastic, non-destructive option for delicate corporate polos where you don't want to leave needle holes.
What Are the Step-by-Step Processes to Create a Custom Made Patch?
Creating a high-quality patch is a collaborative process between you and the manufacturer. Following a structured workflow ensures that no details are lost in translation. Here is the step-by-step process to bring your vision to life.
Step 1: Conceptualize and Create Your Artwork
Every great custom made patch starts with a solid design. You need to provide your manufacturer with a high-resolution vector file (such as AI, EPS, or PDF). If you only have a raster image (like a JPEG), most manufacturers can redraw it for you, but starting with vectors is ideal. Keep in mind the "85% rule" for embroidered patches: your design should cover about 85% of the patch area, leaving room for the border. Avoid tiny text; if it’s hard to read on a screen, it will be impossible to stitch.
Step 2: Select Size, Shape, and Border
Next, determine the physical dimensions and outline of your patch. Standard sizes range from 2 to 4 inches, but custom sizes are always available. For the shape, you can choose classic circles, squares, or custom die-cut shapes. You also need to choose your border. A Merrowed border uses a thick, overlocked stitch that is perfect for simple shapes with straight or slightly curved edges. For complex, irregular shapes with sharp points, a Laser-cut or Heat-cut border is required, as a merrow machine cannot navigate tight corners.
Step 3: Choose the Material and Backing
Refer back to the tables above to finalize your selections. Decide whether an embroidered, woven, or PVC custom made patch best fits your brand aesthetic. Then, select the appropriate backing based on how the end-user will apply it. Communicating these choices clearly to your supplier at this stage prevents costly misunderstandings later.
Step 4: Request a Digital Proof and Approve
Before any physical production begins, the manufacturer will create a digital proof. This is a computer-generated mockup showing exactly what the patch will look like. Never skip this step. Carefully review the digital proof for color accuracy, spelling errors, layout proportions, and overall design balance. Once you approve the proof, the design is locked in, and production begins.
Step 5: Production and Quality Control
Your approved design is sent to the factory floor. Depending on the type, it will be stitched by computerized embroidery machines, woven on specialized looms, or molded in PVC molds. During this phase, a strict Quality Control (QC) process is implemented. Inspectors check for color consistency, ensure there are no loose threads, and verify that the borders are cleanly finished. A premium custom made patch should have no visible defects.
Step 6: Packaging and Shipping
The final step is packaging and delivery. You can choose bulk packaging (all patches in one large bag) for cost savings, or individual poly-bagging and header cards for a premium retail presentation. Standard production and shipping usually take 2 to 3 weeks, but rush options are often available for an additional fee.
How Much Does a Custom Made Patch Cost?
Pricing is always a critical factor in any purchasing decision. It is important to understand that there is no flat rate for a custom made patch. The cost is highly variable and depends on several specific factors related to your design and order requirements.
Table 3: Factors Affecting Custom Made Patch Pricing
| Pricing Factor | Impact on Cost | Pro-Tip for Buyers |
|---|---|---|
| Order Quantity (MOQ) | Higher quantity = Lower unit price | Order in bulk (e.g., 100+ pcs) to maximize cost-efficiency. |
| Patch Size | Larger size requires more material/time | Keep designs under 3-4 inches for standard, lower pricing. |
| Number of Colors | More colors = Higher setup/production cost | Limit colors to 4-6 for embroidered patches to save money. |
| Border Type | Merrowed border costs slightly more | Choose heat-cut borders for complex/irregular shapes. |
| Turnaround Time | Rush orders incur extra fees | Plan ahead and allow 2-3 weeks for standard production. |
The most significant factor influencing the price is the order quantity. Due to the setup costs involved in digitizing designs and threading machines, the unit price drops dramatically as you order more patches. Size and color count also play a major role; a larger patch takes longer to stitch, and each additional thread color adds to the production time. By optimizing your design to fit within standard sizes and limiting your color palette, you can significantly reduce the cost of your custom made patch without sacrificing visual impact.
Frequently Asked Questions (FAQs)
To help clear up any remaining uncertainties, here are answers to the most common questions buyers ask when ordering patches.
Q1: What is the minimum order quantity (MOQ) for a custom made patch?
A: The MOQ varies by manufacturer and patch type. Generally, for embroidered and woven patches, the MOQ ranges from 50 to 100 pieces. PVC patches might have a slightly higher MOQ due to the cost of creating custom molds. Always check with your specific supplier.
Q2: Can I make a custom made patch from a hand-drawn sketch?
A: Yes, absolutely! You do not need to be a professional graphic designer. You can send a hand-drawn sketch, a napkin doodle, or a low-quality photo to your manufacturer. Their in-house design team will use your sketch as a reference to create a professional, production-ready vector artwork for your approval.
Q3: How long does it take to produce custom made patches?
A: Standard production time is typically 7 to 14 business days after the digital proof is approved. Shipping time will depend on your location and the shipping method chosen (air freight vs. sea freight). If you need them faster, most manufacturers offer a rush service that can cut production down to 3 to 5 days for an additional fee.
Conclusion
A custom made patch is a versatile, durable, and highly effective way to elevate your brand, reward your team, or customize your personal gear. By understanding the different types of materials, selecting the right backing, and following a meticulous step-by-step design process, you can ensure that your final product perfectly captures your vision.
Don't settle for generic merchandise. Invest in high-quality, custom-tailored patches that tell your unique story. Ready to bring your design to life? Contact us today for a free quote and design consultation on your next custom made patch project! Let our experts guide you from a simple idea to a stunning, tangible reality.
What Makes a Custom Patch Backpack the Best Choice for Branding and Everyday Use?
Why Is a Custom Iron On Patch the Smartest Upgrade for Your Brand’s Merchandise?
Related Article