How to Choose the Best Color Patches for Apparel for Your Brand?
Table of Contents
No longer confined to scout uniforms or vintage military jackets, color patches for apparel have become a premium, versatile, and highly sought-after branding tool for modern clothing lines.
Whether you are launching a new streetwear brand, upgrading your corporate uniforms, or adding a unique touch to a promotional merchandise line, choosing the right patch can make or break your design. But with so many materials, backing options, and application methods available, how do you make the right choice?
In this comprehensive guide, we will explore everything you need to know about color patches for apparel. We will break down the different types available, walk you through the step-by-step process of ordering and applying them, and highlight the crucial factors you must consider before making your final purchase.
What Are Color Patches for Apparel?
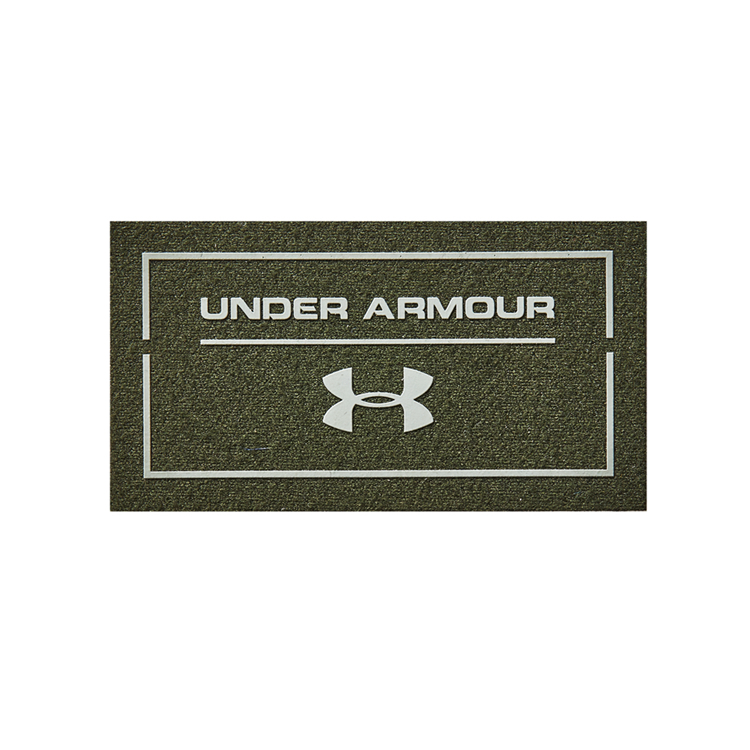
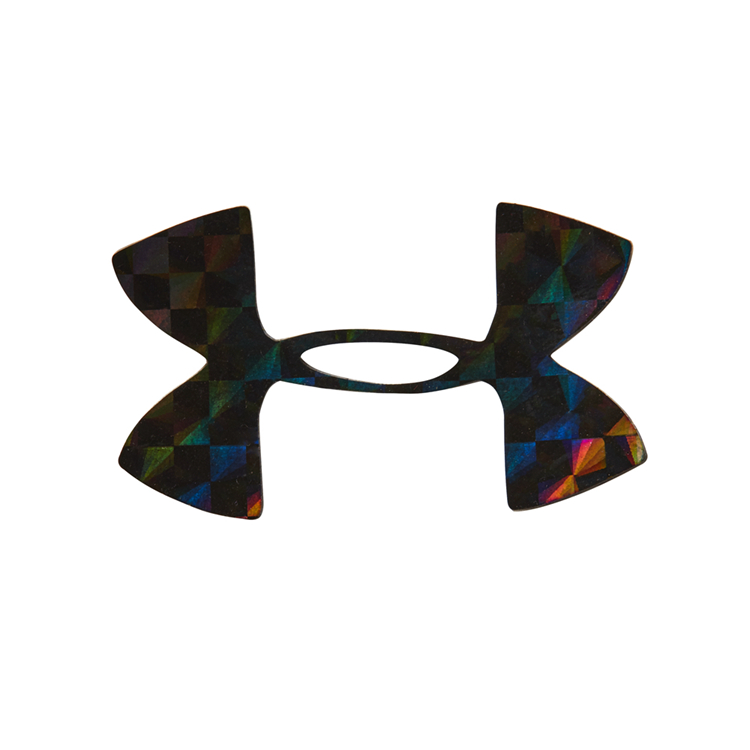
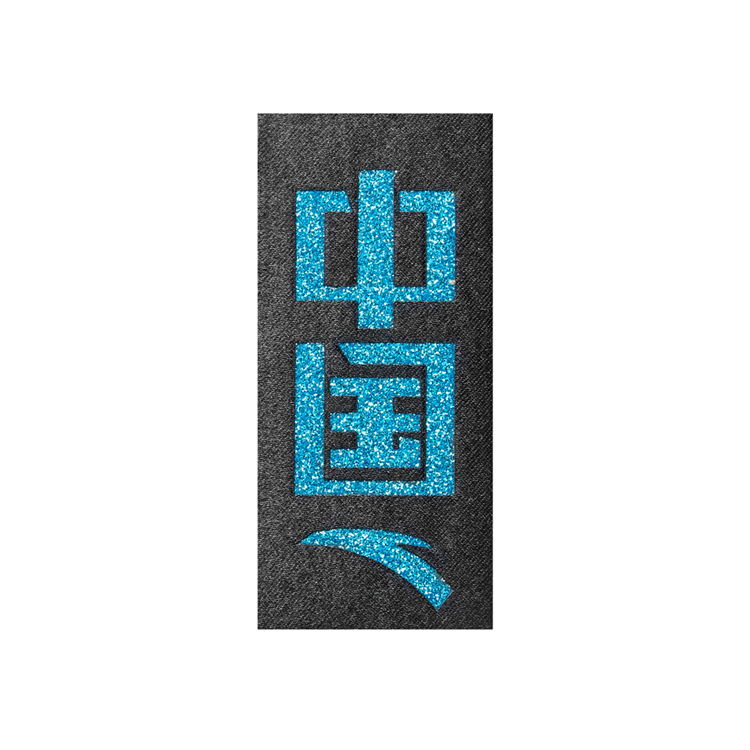
Before diving into the technicalities, it is essential to understand exactly what these products are. Color patches for apparel are distinct pieces of fabric, thread, rubber, or other materials that feature colored designs, logos, or text. They are specifically manufactured to be attached to clothing items to enhance their aesthetic appeal, convey brand identity, or signify membership and achievement.
Unlike direct screen printing or standard digital embroidery, patches offer a three-dimensional, tactile experience. They add physical texture, depth, and a premium "merchandise" feel to any garment. Furthermore, they are incredibly versatile. They can be easily transferred from one garment to another, making them a favorite among collectors and fashion enthusiasts. For brands, they serve as a cost-effective yet high-perceived-value alternative to complex all-over prints.
What Are the Different Types of Color Patches for Apparel?
Selecting the right style is the most critical step in the design process. The type of patch you choose will dictate the final look, feel, and durability of your garment. Here is a detailed breakdown of the most popular options on the market.
1. Embroidered Patches
These are the classic, traditional patches made by stitching thick threads onto a twill or felt backing. They are known for their raised, textured feel and are perfect for bold, simple logos with distinct color blocks. However, they are not ideal for highly intricate details or tiny text.
2. Woven Patches
If your design features fine details, small lettering, or complex gradients, woven patches are the way to go. They are created using thinner threads woven tightly together on a loom. This allows for a much higher level of detail and a flatter, smoother finish compared to embroidered patches.
3. PVC and Rubber Patches
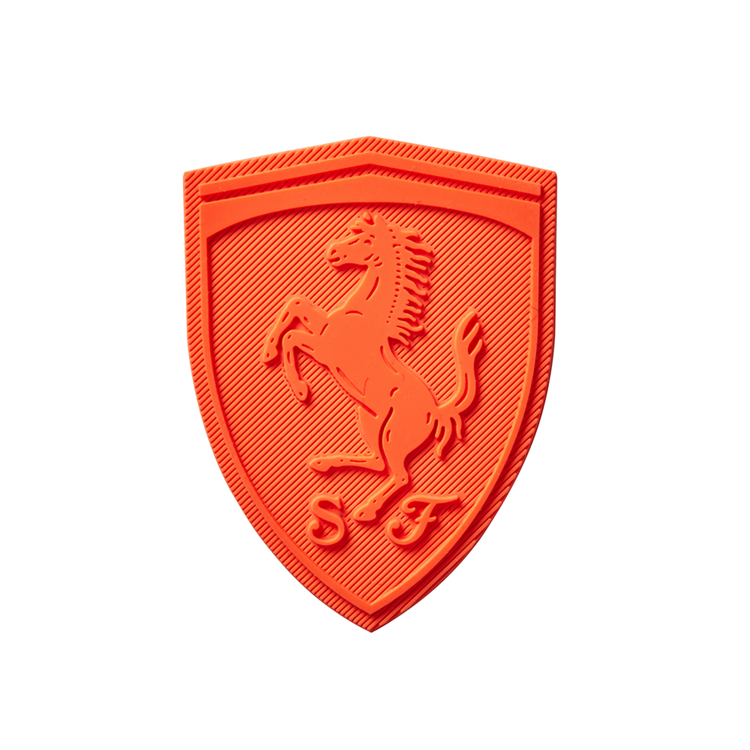
Made from soft, flexible plastic, PVC patches offer a modern, edgy, and highly durable aesthetic. They are completely waterproof, easy to clean, and can be molded into 3D shapes. They are exceptionally popular in streetwear, outdoor gear, and tactical clothing.
4. Printed Patches
For designs that require photorealistic imagery, complex color gradients, or a massive spectrum of colors, printed patches are the ultimate solution. The design is digitally or screen-printed onto a fabric base and then sealed with a protective border.
5. Chenille Patches
Famous for their fuzzy, towel-like texture, chenille patches are the hallmark of vintage varsity jackets and retro sportswear. They offer a soft, nostalgic feel and are best suited for bold, blocky lettering and simple shapes.
Table 1: Comparison of Color Patches for Apparel Types
| Patch Type | Primary Material | Durability Level | Design Detail Capability | Best Use Case / Garment |
|---|---|---|---|---|
| Embroidered | Thick Polyester/Rayon Thread | High | Medium (Best for bold lines & shapes) | Uniforms, heavy jackets, denim, caps |
| Woven | Fine Polyester Thread | Medium-High | High (Excellent for intricate details & text) | Sleek branding, lightweight hats, polos |
| PVC/Rubber | Soft Plastic/Rubber | Very High | High (Great for 3D effects & clean edges) | Outdoor gear, workwear, streetwear, bags |
| Printed | Fabric Base & Ink | Medium | Very High (Photorealistic & complex gradients) | Lightweight garments, complex artistic designs |
| Chenille | Yarn / Felt Base | Medium | Low (Best for simple shapes & block letters) | Varsity jackets, retro sportswear, blankets |
What Is the Step-by-Step Process to Order and Apply Color Patches for Apparel?
Creating the perfect patch requires a collaborative process between you and your manufacturer. Follow this step-by-step guide to ensure a flawless final product.
Step 1: Finalize Your Design and Artwork
The foundation of a great patch is a great design. Ensure your artwork is provided in a vector format (like .AI or .EPS). Keep in mind the limitations of your chosen patch type; for example, if you choose embroidery, avoid tiny text and gradient colors, as the machine cannot replicate them accurately.
Step 2: Select the Right Material and Size
Consider the scale of your garment. A massive 5-inch patch might look great on the back of a heavy hoodie but will completely overwhelm the chest of a lightweight t-shirt. Standard sizes for chest logos range from 2.5 to 3.5 inches.
Step 3: Choose the Border and Backing
The border frames your design. A "Merrow border" is a classic, raised overlocked stitch ideal for simple shapes, while a "Laser-cut border" allows for intricate, custom shapes without a thick border. Next, choose your backing (attachment method), which dictates how the patch will be applied to the fabric.
Step 4: Approve the Digital Proof and Physical Sample
Never skip the proofing stage. The manufacturer will send a digital mockup showing the exact thread colors and layout. Once approved, they will produce a physical sample. Always request a physical sample for bulk orders to check the texture, color accuracy, and overall quality before mass production begins.
Step 5: Application and Attachment
Once your color patches for apparel arrive, it is time to attach them. The method depends entirely on the backing you chose in Step 3. Ensure you follow the manufacturer's temperature and pressure guidelines if using heat-activated backings to prevent damaging the patch or the garment.
Table 2: Attachment Methods for Color Patches for Apparel
| Attachment Method | Pros | Cons | Ideal Fabric / Garment Type |
|---|---|---|---|
| Sew-on | Most secure, permanent, premium tailored feel | Requires sewing machine or skilled hand-stitching | Denim, canvas, heavy cotton, leather, wool |
| Iron-on (Heat Seal) | Easy DIY application, fast, no sewing required | Can peel or degrade after multiple hot washes | Cotton, polyester blends, fleece, canvas |
| Velcro (Hook & Loop) | Removable, versatile, easy to swap out | Bulkier backing, slightly higher production cost | Tactical gear, modular uniforms, backpacks |
| Adhesive (Sticker) | Temporary, no tools or heat required | Not washable, weak hold, meant for temporary use | Light crafts, temporary events, paper materials |
What Key Factors Should You Consider When Buying Color Patches for Apparel?
To ensure your investment yields the best possible results, keep these critical factors in mind before placing your order.
1. Fabric Compatibility and Weight Always consider the drape and weight of your base garment. Attaching a heavy, thick PVC or heavily embroidered patch to a lightweight, delicate fabric like silk or thin jersey cotton will cause the fabric to sag, pucker, and distort the fit of the clothing. Match the weight of the patch to the weight of the fabric.
2. Washing and Care Instructions Think about the lifecycle of the garment. If the apparel is meant for heavy-duty workwear or activewear that will be washed frequently in hot water, opt for sew-on patches or high-quality PVC. If it is a promotional t-shirt meant for casual, infrequent wear, an iron-on patch will suffice. Always provide care labels to your customers based on the patch type.
3. Exact Color Matching Brand consistency is paramount. Do not rely on standard digital color pickers. Instead, provide your manufacturer with exact Pantone (PMS) color codes for your thread or material. This ensures that the red in your patch perfectly matches the red in your brand’s logo, regardless of the production batch.
4. Minimum Order Quantities (MOQ) and Pricing Patch manufacturing involves setting up specific machines and looms for each design. Because of this, manufacturers usually have an MOQ (often ranging from 50 to 100 pieces). The price per unit drops significantly as your order volume increases. Balance your initial budget with your projected sales to determine the most cost-effective order quantity.
Frequently Asked Questions (FAQs)
What is the most durable type of color patches for apparel?
PVC (rubber) patches and heavily embroidered sew-on patches are generally the most durable. PVC is completely waterproof, resistant to fading, and can withstand harsh weather conditions, while sew-on embroidery physically binds the patch to the garment, preventing it from peeling off in the wash.
Can color patches for apparel be washed in a washing machine?
Yes, but it depends heavily on the attachment method and material. Sew-on patches and high-quality iron-on patches can usually withstand gentle machine washing if turned inside out and washed in cold water. However, adhesive patches should never be machine washed.
How do I match the exact colors for my custom patches?
The most accurate way to match colors is by using the Pantone Matching System (PMS). Provide your manufacturer with the specific Pantone codes from your brand guidelines. If you don't have codes, you can send physical color swatches or reference a Pantone color book to ensure perfect accuracy.
How to Start Making Iron On Patches at Home?
Ever Wondered How Are Patches Made? The Complete Step-by-Step Manufacturing Guide
Related Article