How to Choose, Customize, and Apply the Perfect Badge Fashion Patch for Your Style?
Table of Contents
- What Exactly is a Badge Fashion Patch?
- Essential Parameters of a High-Quality Badge Fashion Patch
- Step-by-Step Guide: How to Design and Customize Your Badge Fashion Patch
- Step-by-Step Guide: How to Apply a Badge Fashion Patch
- How to Care for and Maintain Your Badge Fashion Patch
- Frequently Asked Questions (FAQs) About Badge Fashion Patches
Create a cohesive uniform for your brand, a badge fashion patch is the ultimate accessory.
But with so many materials, backing options, and application methods available, navigating the world of custom patches can be overwhelming. How do you ensure your design translates perfectly from a digital file to a physical garment? How do you apply it so it survives dozens of wash cycles?
In this comprehensive guide, we will break down everything you need to know about the badge fashion patch. From understanding critical manufacturing parameters to mastering the step-by-step application process, this article will equip you with the knowledge to elevate your wardrobe or brand effortlessly.
What Exactly is a Badge Fashion Patch?
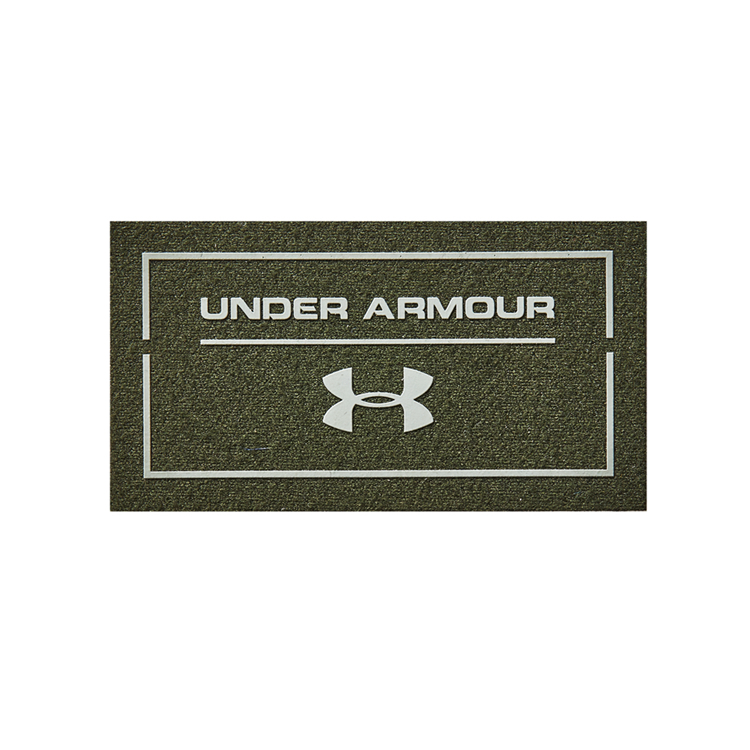
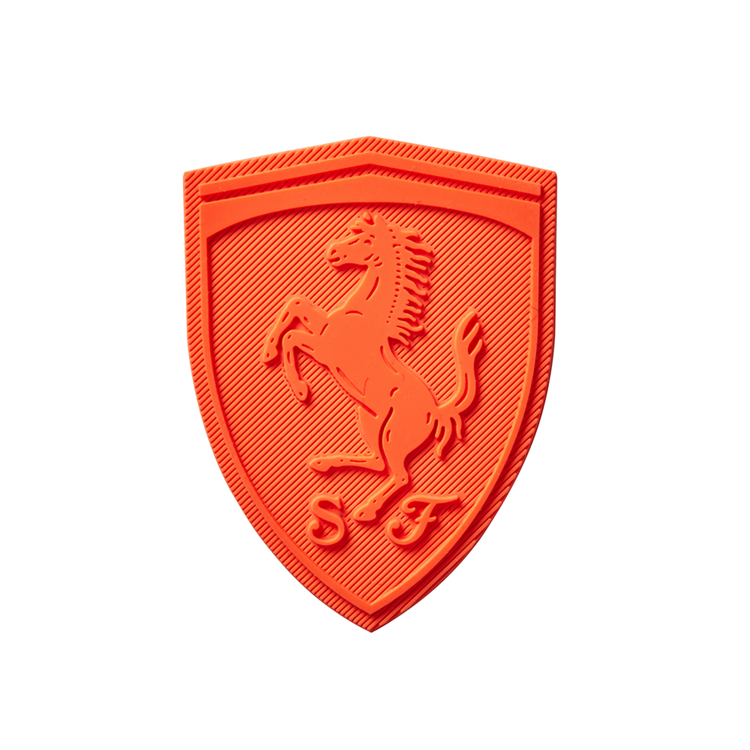
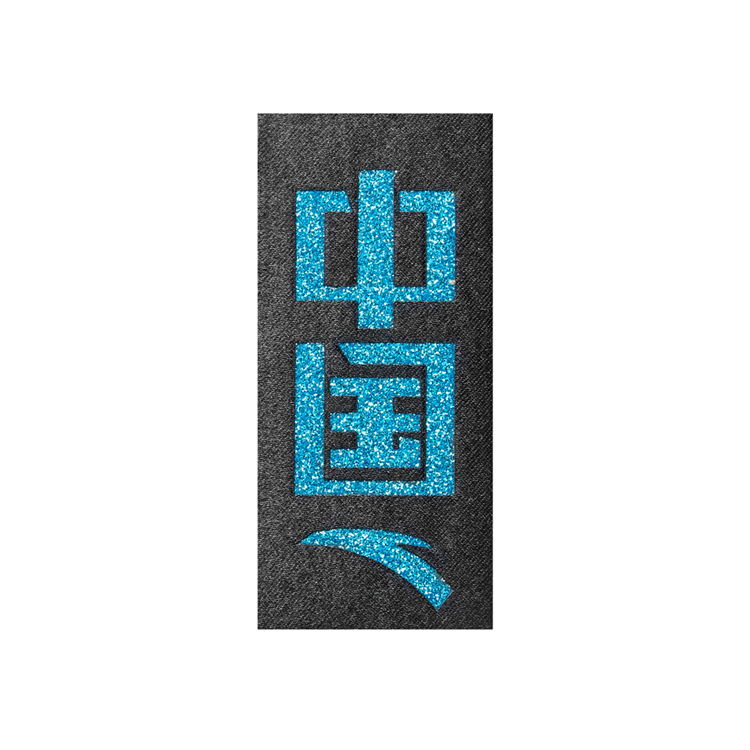
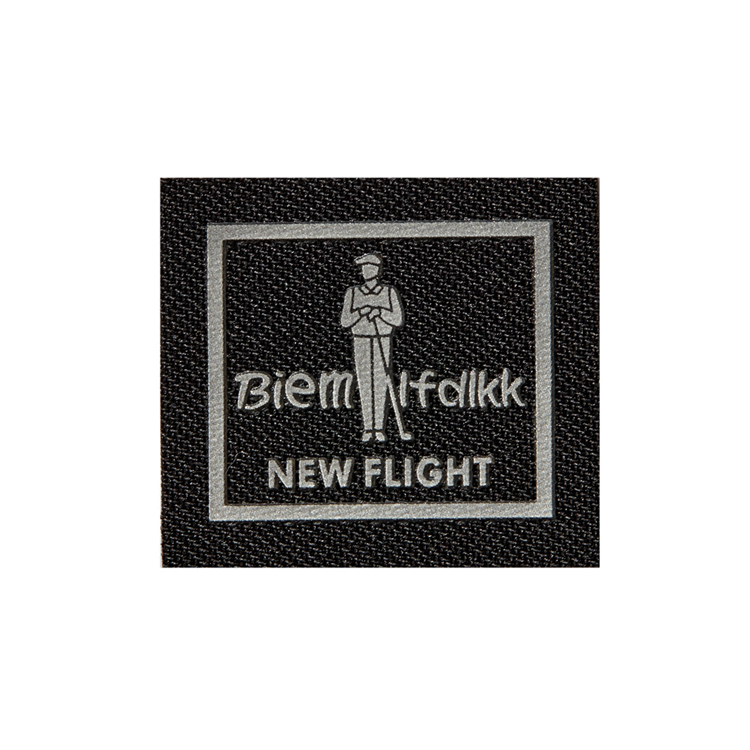
Before diving into the technicalities, it is essential to understand what a badge fashion patch actually is. At its core, it is a piece of fabric, leather, or PVC that features a design—usually embroidered, woven, or printed—intended to be attached to clothing, bags, hats, or accessories.
Historically used for military ranks and scouting merit badges, the badge fashion patch has undergone a massive cultural shift. Today, it is a cornerstone of streetwear, DIY fashion, and sustainable clothing movements. By adding a high-quality patch, you can breathe new life into worn-out garments, cover up accidental stains, or simply make a bold fashion statement. They are versatile, durable, and infinitely customizable.
Essential Parameters of a High-Quality Badge Fashion Patch
When ordering or designing a custom badge fashion patch, you cannot simply rely on a sketch. You must understand the technical specifications that dictate the final look, feel, and durability of the product. Choosing the right parameters ensures your patch matches your aesthetic vision and functional needs.
Table 1: Standard Parameters of a Premium Badge Fashion Patch
| Parameter Category | Specifications / Options | Details & Impact on Quality |
|---|---|---|
| Material Base | Twill, Felt, Canvas, PVC, Leather | Determines the texture, drape, and overall vibe. Twill offers a classic look, while PVC provides a modern, waterproof 3D effect. |
| Thread Type | Polyester, Rayon, Metallic | Polyester is highly durable and colorfast. Rayon offers a brilliant, high-gloss finish. Metallic threads add a luxurious shine. |
| Standard Sizes | 2", 3", 4", 5" (Diameter/Width) | Custom sizes are available. The size directly impacts how much intricate detail can be incorporated into the badge fashion patch. |
| Coverage Density | 50%, 75%, 100% Embroidery | 100% coverage means the base fabric is completely hidden by threads. 50% leaves the twill background visible for a retro aesthetic. |
| Border/Merrow | Overlocked, Hot-cut, Laser-cut, Die-cut | Overlocked provides a thick, raised, and durable edge. Laser-cut allows for complex, custom shapes without a traditional border. |
| Backing Type | Iron-on, Sew-on, Velcro, Adhesive | Dictates the attachment method. Iron-on is great for DIY, while sew-on offers maximum longevity for heavy-duty garments. |
Pro Tip: If your design features very fine text or tiny details, opt for a woven patch instead of a traditional embroidered badge fashion patch. Woven patches use thinner threads, allowing for much higher resolution and intricate detail capture.
Step-by-Step Guide: How to Design and Customize Your Badge Fashion Patch
Creating a custom badge fashion patch requires a systematic approach. A poorly prepared digital file will result in a disappointing physical product. Follow these steps to ensure perfection.
Step 1: Conceptualize and Create the Artwork
The golden rule of patch design is "keep it simple." Embroidery machines cannot replicate photographic gradients or ultra-fine lines.
- Use Vector Files: Always design in software like Adobe Illustrator and export as AI, EPS, or PDF. This ensures crisp, scalable lines.
- Limit Your Colors: Stick to a palette of 6 to 9 colors. Every additional color increases production time and cost.
- Thicken Lines and Text: Ensure all lines are at least 1mm thick and text is large enough to be legible from a distance.
Step 2: Select the Right Shape and Size
While circles and shields are classic, a custom die-cut badge fashion patch can follow the exact contour of your design (e.g., a lightning bolt, a skull, or a brand mascot). Ensure the size is proportional to the placement area—a 2-inch patch is perfect for a sleeve, while a 4-inch patch is ideal for the back of a jacket.
Step 3: Choose the Backing and Border
Refer back to Table 1 to select your backing. If the patch will be on a frequently washed item, an overlocked border with a sew-on backing is the most robust choice. If it is for a quick DIY project on a cotton t-shirt, an iron-on backing with a laser-cut edge will look sleek and modern.
Step-by-Step Guide: How to Apply a Badge Fashion Patch
The longevity of your badge fashion patch depends entirely on how well it is applied. Below is a comparison of backing types, followed by detailed application instructions.
Table 2: Comparison of Backing Types for a Badge Fashion Patch
| Backing Type | Best Used For | Durability | Application Difficulty |
|---|---|---|---|
| Iron-On (Heat Seal) | Cotton, Denim, Canvas (Heat-tolerant fabrics) | High (if applied with correct heat/pressure) | Easy (Beginner friendly) |
| Sew-On (No Backing) | Leather, Nylon, Delicate fabrics, or for max durability | Very High (Permanent) | Moderate (Requires basic sewing skills) |
| Velcro (Hook & Loop) | Tactical gear, interchangeable clothing, bags | High (Removable and reusable) | Easy (Sew or glue the loop side first) |
| Peel & Stick | Temporary events, paper crafts, light fabrics | Low (Temporary/One-time use) | Very Easy |
How to Apply an Iron-On Badge Fashion Patch
Many people fail at ironing on patches because they rush the process. Follow this exact method for a permanent bond:
- Prep the Surface: Pre-heat your household iron to the "Cotton" setting (around 350°F / 175°C). Turn off the steam function. Place the garment on a hard, flat surface like an ironing board. Do not use a soft surface, as it will absorb the pressure.
- Position the Patch: Place the badge fashion patch exactly where you want it. You can use heat-resistant tape to secure it so it doesn't shift.
- Apply Heat and Pressure: Cover the patch with a thin cotton pressing cloth or a Teflon sheet to protect the threads from direct heat. Press the iron down firmly directly onto the patch for 40 to 50 seconds. Do not rub the iron; apply heavy, downward pressure.
- Flip and Repeat: Flip the garment inside out. Place the iron directly on the fabric right behind the patch for another 30 seconds. This ensures the adhesive melts completely into the fabric fibers.
- The Cool Down (Crucial Step): Do not touch or move the patch immediately. Let it cool down completely to room temperature. The adhesive hardens as it cools, creating the actual bond.
- Reinforce (Optional): For items that will be washed frequently, sew a simple running stitch around the edge of the iron-on badge fashion patch to guarantee it never peels.
How to Sew On a Badge Fashion Patch
For leather jackets, nylon windbreakers, or items where you want a vintage, handcrafted look, sewing is the way to go.
- Secure the Patch: Pin the badge fashion patch to the garment, or use a fabric glue stick to lightly baste it in place so it doesn't shift while you sew.
- Thread the Needle: Use a strong, high-quality polyester thread. Match the thread color to the patch border for a seamless look, or use a contrasting color to make the stitching pop.
- Stitching: A simple running stitch works well, but a blanket stitch or whip stitch around the outer edge provides a highly professional, durable finish. Keep your stitches even and pull the thread tight, but not so tight that the fabric puckers.
- Finish: Knot the thread securely on the inside of the garment and trim the excess.
How to Care for and Maintain Your Badge Fashion Patch
To ensure your badge fashion patch remains vibrant, textured, and securely attached for years, proper garment care is non-negotiable.
- Washing: Always turn the garment inside out before washing. This protects the patch from friction against other clothes. Wash in cold water on a gentle cycle. Avoid harsh detergents, stain removers, or bleach, as these can degrade the thread dye and the adhesive backing.
- Drying: Air drying is highly recommended. If you must use a tumble dryer, use the lowest heat setting or an air-only cycle. High heat in the dryer can melt the iron-on adhesive or cause the embroidery threads to fray and lose their luster.
- Ironing: Never iron directly on the face of a badge fashion patch. The direct heat can scorch the threads or melt PVC elements. Always iron the garment inside out, or use a protective pressing cloth if you must iron the outside.
Frequently Asked Questions (FAQs) About Badge Fashion Patches
Q1: Can I put an iron-on badge fashion patch on leather or nylon?
Answer: No. Iron-on backing requires high heat to activate the adhesive glue. Materials like nylon will melt, and leather can scorch or warp under such high temperatures. For leather, nylon, or waterproof jackets, a sew-on badge fashion patch is the only safe and effective choice.
Q2: How long does a custom embroidered badge fashion patch last?
Answer: High-quality patches made with polyester threads are incredibly durable. If applied correctly (especially if sewn on or reinforced after ironing) and cared for according to the washing guidelines, a badge fashion patch can easily last the entire lifespan of the garment without fading, fraying, or peeling.
Q3: What is the minimum order quantity (MOQ) for a custom badge fashion patch?
Answer: This depends on the manufacturer. Traditional large-scale factories often require an MOQ of 50 to 100 pieces. However, many modern online custom patch providers cater to individuals and small businesses, offering low MOQs starting from as few as 10 pieces, or even single-piece custom orders.
Q4: Can I mix different backing types in one order?
Answer: Yes, most custom manufacturers allow you to split your order. For example, you can order 50 pieces of the same design, with 25 pieces featuring an iron-on backing and 25 pieces featuring a sew-on backing, usually for a small additional fee.
Why Is a Custom Iron On Patch the Smartest Upgrade for Your Brand’s Merchandise?
Can Iron on Denim Patches for Jeans Truly Revive Your Favorite Denim?
Related Article