What Makes Custom Varsity Patches the Upgrade for Team Apparel and Brand Identity?
Table of Contents
For businesses, schools, and organizations looking to elevate their merchandise, understanding the nuances of varsity patches is essential.
What Are the Mainstream Categories of Varsity Patches?
When sourcing varsity patches for your apparel line or team uniforms, selecting the right material is the foundational step. The texture, durability, and visual appeal of the patch depend entirely on its manufacturing technique. Below is a detailed breakdown of the most popular categories available in the global market.
1. Chenille Varsity Patches
Chenille is the undisputed king of traditional letterman jackets. Made from yarn that is twisted to create a soft, fuzzy, caterpillar-like texture, chenille patches offer a distinct 3D, vintage aesthetic. They are predominantly used for large letters, mascots, and classic sports motifs.
2. Embroidered Varsity Patches
Embroidered patches are created by stitching threads onto a twill or felt backing. They are highly versatile, offering excellent detail and a classic, raised texture. They are the go-to choice for complex logos, intricate borders, and corporate branding where precision is paramount.
3. Woven Varsity Patches
Unlike embroidery, which uses thicker threads, woven patches are made with finer yarns woven tightly together. This allows for incredibly high detail, making them perfect for small text, fine lines, and photorealistic designs that embroidery cannot capture.
4. PVC and Rubber Patches
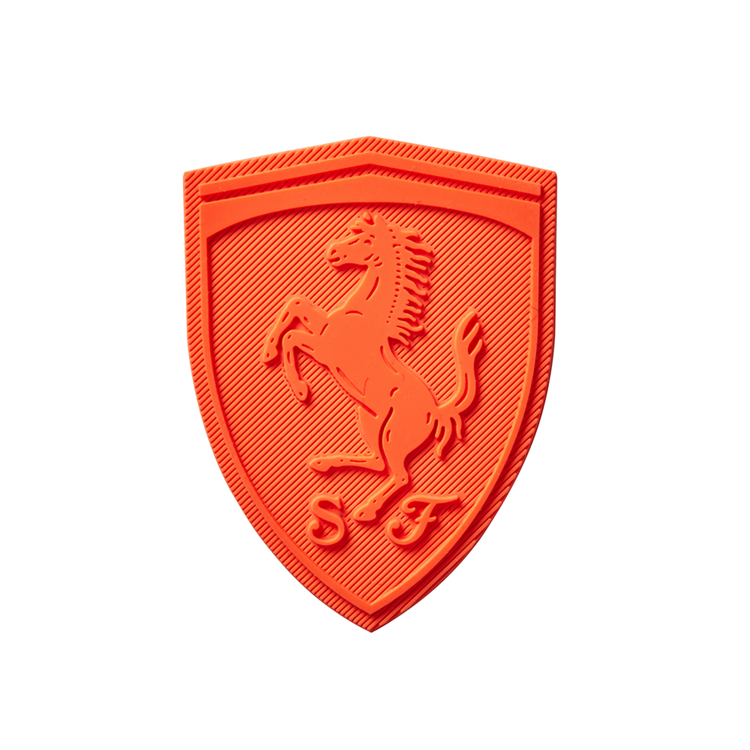
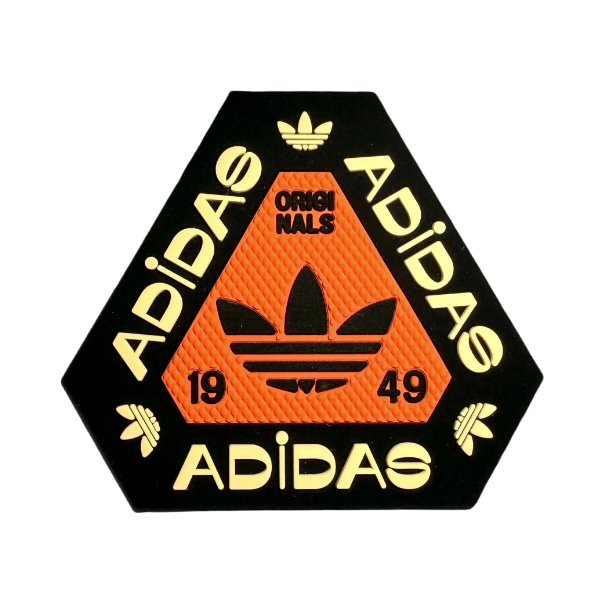
Though not traditional, 3D PVC patches have become a modern staple in the varsity patches category. They are waterproof, highly durable, and offer a striking, rugged look that is highly favored in tactical gear, outdoor apparel, and contemporary streetwear.
Dimension Comparison Table: Mainstream Patch Materials
| Feature / Material | Chenille Patches | Embroidered Patches | Woven Patches | PVC / Rubber Patches |
|---|---|---|---|---|
| Texture & Feel | Soft, fuzzy, 3D plush | Raised, classic stitched | Flat, smooth, tightly woven | Rubbery, flexible, 3D molded |
| Design Detail Level | Low to Medium (Best for bold shapes) | Medium to High | Extremely High (Fine text & lines) | High (Excellent for 3D relief) |
| Durability & Lifespan | High (but can snag if abused) | Very High | Very High | Exceptional (Water & UV resistant) |
| Ideal Use Case | Letterman jackets, large mascots | Corporate logos, team crests | Small badges, intricate details | Tactical gear, outdoor uniforms |
| Cost Efficiency | Medium (Higher for complex shapes) | Low to Medium | Medium | Medium to High |
What Is the Step-by-Step Process for Creating Custom Varsity Patches?
Producing high-quality varsity patches is a blend of traditional craftsmanship and modern digital precision. Whether you are ordering 50 pieces or 50,000, a reputable manufacturer will follow a rigorous, multi-step production workflow to ensure perfection.
Step 1: Conceptualization and Digital Digitizing
The journey begins with your logo or design. However, a digital vector file (like AI or EPS) cannot be directly read by embroidery or chenille machines. Skilled technicians use specialized software to "digitize" the design. This involves mapping out the stitch paths, determining stitch density, calculating pull compensation (to prevent fabric distortion), and assigning thread colors. For chenille patches, the digitizer must also map out the looping patterns to ensure the fuzzy texture is uniform.
Step 2: Material and Thread Selection
Once the digital file is approved, the physical materials are sourced. For the base, manufacturers choose between felt, twill, or polyester, depending on the desired stiffness and drape. The threads are then matched to your brand’s Pantone colors. High-quality rayon or polyester threads are selected for their sheen, colorfastness, and resistance to fading during washing.
Step 3: The Manufacturing Phase (Stitching / Looping)
The digitized files are loaded into computerized multi-head embroidery or chenille machines.
- For Embroidered/Woven Patches: The machines stitch the design onto the base fabric. Multi-head machines allow for simultaneous production, ensuring every single patch in the batch is identical.
- For Chenille Patches: The machines use a special looper mechanism to wrap the yarn around the base, creating the signature fuzzy pile.
- For PVC Patches: The design is engraved into a metal mold, and liquid PVC is poured or injected into the mold cavities, then cured in an oven.
Step 4: Cutting and Edge Finishing
After the main design is completed, the patches must be cut out from the larger sheet of base fabric. This is where the edge finishing comes into play, which drastically affects the look and longevity of varsity patches.
- Merrow Border: A thick, overlocked stitch wrapped around the edge. This is the classic, premium look for traditional varsity and letterman patches. It prevents fraying and adds a robust frame.
- Laser Cut / Hot Cut Edge: The fabric is cut and sealed simultaneously with a laser. This allows for custom, non-standard shapes (like a mascot's silhouette) without a thick border, giving a clean, modern finish.
Step 5: Backing Application and Quality Assurance
The final production step involves applying the chosen adhesive or backing to the reverse side of the patch. After backing application, the patches undergo a strict Quality Control (QC) inspection. Technicians check for loose threads, color mismatches, cutting errors, and backing adhesion strength. Only after passing this rigorous check are the varsity patches packaged and prepared for global shipping.
Which Attachment Backing Should You Choose for Your Varsity Patches?
The backing of a patch dictates how it will be applied to the garment and how it will hold up over time. Choosing the wrong backing can lead to peeling, damage to the apparel, or an unprofessional finish.
Dimension Comparison Table: Patch Backing Options
| Backing Type | Application Method | Durability & Washability | Best Use Case | Pros & Cons |
|---|---|---|---|---|
| Sew-On (No Backing) | Hand or machine stitching. | Exceptional. Withstands industrial washing and dry cleaning. | Premium letterman jackets, uniforms, heavy-duty gear. | Pros: Most secure, premium feel. Cons: Requires sewing skills or tailoring. |
| Iron-On (Heat Seal) | Applied using a commercial heat press (high temp & pressure). | High. Survives regular home machine washing if applied correctly. | DIY projects, school fundraisers, quick bulk application. | Pros: Easy to apply, no sewing needed. Cons: Can peel over time on stretchy fabrics. |
| Velcro (Hook & Loop) | Sewn or heat-pressed onto the garment; patch attaches via Velcro. | High (Patch is removable). | Tactical uniforms, modular gear, interchangeable team logos. | Pros: Highly versatile, removable. Cons: Adds bulk, requires a base Velcro layer. |
| Adhesive (Sticky Back) | Peel and stick (temporary) or used as a stabilizer before sewing. | Low (Temporary) to Medium (if sewn over). | Temporary event badges, positioning aid before final sewing. | Pros: Instant application, great for positioning. Cons: Not meant for permanent, washable wear alone. |
Why Do Varsity Patches Outperform Direct Embroidery for Team Gear?
Many organizations debate between ordering custom varsity patches to be sewn onto garments versus opting for direct embroidery on the apparel itself. Patches consistently win out for several strategic reasons:
- Consistency Across Fabrics: Direct embroidery can pucker or distort depending on the fabric of the jacket or hoodie. Patches are made on a stable backing first, ensuring the logo looks flawless regardless of the garment it is applied to.
- Cost-Effectiveness for Bulk Orders: If you need to outfit a team of 50 people, embroidering 50 individual jackets is time-consuming and expensive. Producing 50 identical patches and heat-pressing or sewing them on later is significantly faster and more cost-efficient.
- Versatility and Upgradability: Patches allow the wearer to customize their gear. A student can add a "State Champion" patch to their letterman jacket years later. Brands can also use patches on merchandise like backpacks, hats, and denim, creating a cohesive ecosystem of branded products.
Frequently Asked Questions (FAQ)
To further assist you in your procurement process, here are answers to the most common questions regarding custom varsity patches.
Q1: What is the standard minimum order quantity (MOQ) for custom varsity patches?
A: The MOQ varies by manufacturer and patch type. For standard embroidered patches, the MOQ is typically around 50 to 100 pieces. For complex chenille varsity patches, the MOQ might be slightly higher, often starting at 100 pieces, due to the machine setup time required for the yarn looping process.
Q2: Can varsity patches be washed without damaging the design or backing?
A: Yes, high-quality varsity patches are designed to withstand washing. However, to maximize their lifespan, it is highly recommended to turn the garment inside out and wash it in cold water on a gentle cycle. Avoid using bleach, and always air dry or tumble dry on low heat, especially for iron-on backings, to prevent the adhesive from melting.
Q3: What is the difference between a merrow border and a laser-cut edge?
A: A merrow border is a thick, overlocked stitch that wraps around the perimeter of the patch, providing a classic, durable frame ideal for standard shapes like circles, shields, and squares. A laser-cut edge uses heat to cut and seal the fabric simultaneously, allowing for intricate, custom shapes (like a mascot's outline) without a thick border.
What Makes Custom Iron on Transfers for Shirts the Solution for Personalized Apparel?
Ready to Add an Iron-On Patch? The Guide to Custom Patch Manufacturing and Application
Related Article