Ready to Add an Iron-On Patch? The Guide to Custom Patch Manufacturing and Application
Table of Contents
Many end-users frequently search for how to add an iron on patch to their jackets, bags, or hats. However, before mastering the application, it is essential to understand the process, the variety of patch types available, and the technical specifications.
Part 1: Categorization of Mainstream Custom Patches
When sourcing custom patches for your brand, selecting the right type is the first critical step. Different materials and production techniques yield distinct visual and tactile results. Below is a detailed breakdown of the most popular patch categories in the global market.
1. Embroidered Patches
Embroidered patches are the industry standard, known for their classic, textured look and exceptional durability. Made by stitching thick polyester or rayon threads onto a twill or felt backing, they offer a raised, 3D effect. They are perfect for bold logos and simple designs.
2. Woven Patches
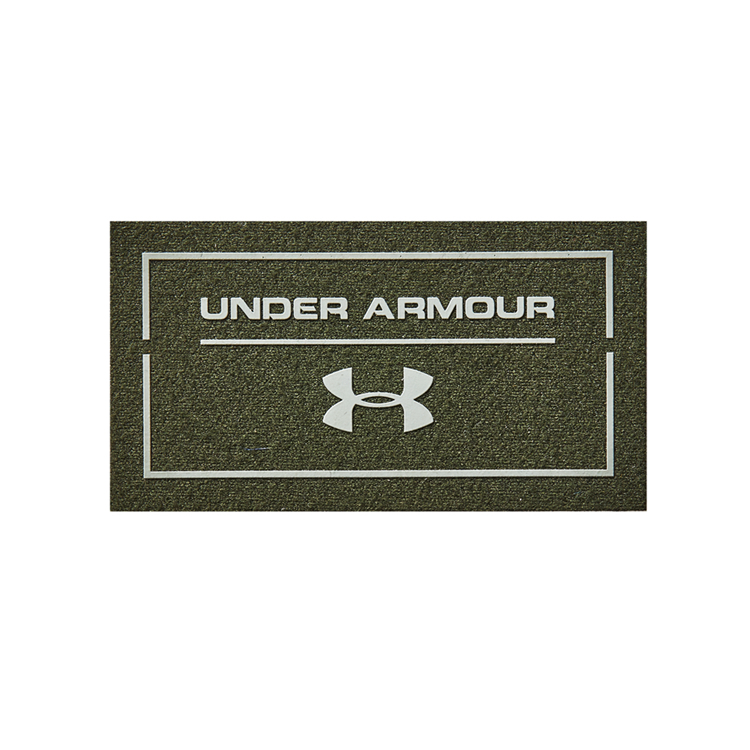
If your design features intricate details, small text, or complex gradients, woven patches are the ideal choice. Unlike embroidered patches, woven patches use thinner threads woven tightly together, allowing for much higher detail resolution and a smoother, flatter finish.
3. PVC and Rubber Patches
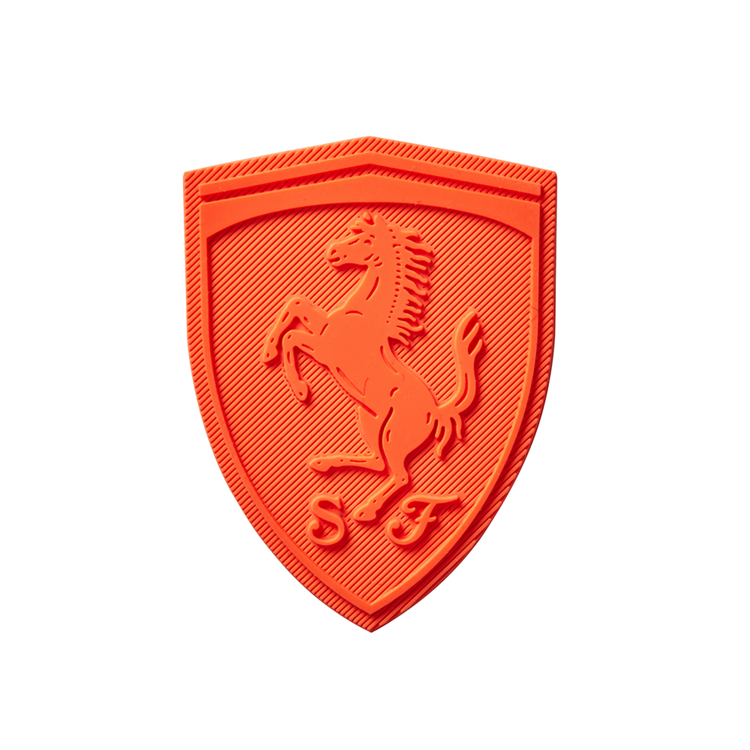
Made from soft, flexible polyvinyl chloride (PVC) or silicone, these patches are molded into 2D or 3D shapes. They are highly durable, waterproof, and easy to clean, making them the top choice for outdoor gear, tactical equipment, and workwear.
4. Printed Patches
For designs requiring full-color photography, complex gradients, or photorealistic images, printed patches (such as dye-sublimation or screen-printed patches) are the go-to solution. They offer unlimited color options on a smooth fabric base.
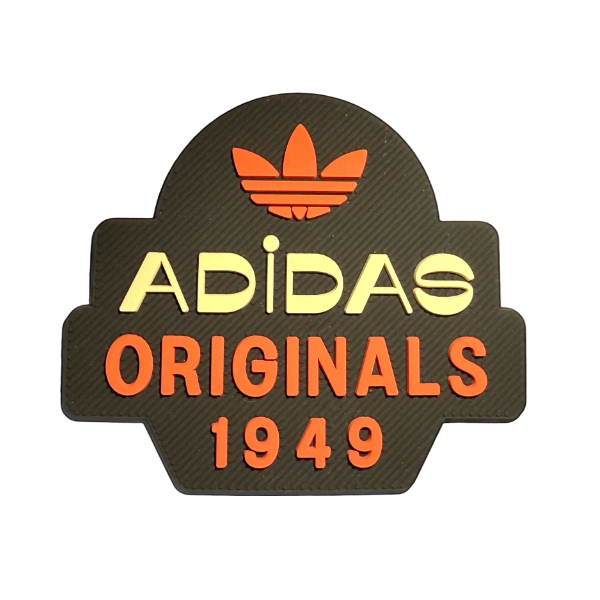
Table 1: Multi-Dimensional Comparison of Mainstream Patch Types
| Feature / Dimension | Embroidered Patches | Woven Patches | PVC/Rubber Patches | Printed Patches |
|---|---|---|---|---|
| Material Base | Twill, Felt, or Cotton | Tight Polyester Thread | Soft PVC or Silicone | Polyester or Cotton Fabric |
| Detail Resolution | Medium (Best for bold lines) | High (Great for fine details) | Medium (2D/3D raised effects) | Very High (Photorealistic) |
| Texture & Feel | Thick, raised, and textured | Smooth, flat, and tight | Rubberized, flexible, and soft | Smooth, flat fabric feel |
| Durability & Weather | Excellent, highly durable | Excellent, colorfast | Waterproof, UV & chemical resistant | Good, but may fade over time |
| Cost Efficiency | Cost-effective for standard designs | Slightly higher for complex setups | Moderate, depends on mold costs | Highly cost-effective for full color |
| Best Application | Corporate logos, military, scouts | Intricate crests, small text | Outdoor gear, tactical, bags | Artistic designs, full-color logos |
Part 2: Step-by-Step Manufacturing Process of Custom Patches
As a foreign trade buyer, understanding the manufacturing workflow helps you communicate effectively with your patch manufacturer, set realistic lead times, and ensure quality control. Here is the complete production process for custom iron-on patches.
Step 1: Design Finalization and Digitizing
The process begins with your logo or artwork. For embroidered and woven patches, the vector file must be converted into a digital stitch file (digitizing). This step dictates the stitch count, direction, and color changes, directly impacting the final look and production cost.
Step 2: Material Selection and Backing Preparation
Based on the design, the manufacturer selects the base fabric (twill, felt, etc.) and the thread colors. Simultaneously, the chosen backing material is prepared. For iron-on patches, a specialized heat-activated adhesive film (usually polyamide or PES glue) is selected for the backing.
Step 3: Production (Weaving, Embroidery, or Molding)
- For Embroidered/Woven: High-speed computerized embroidery machines stitch the design onto the base fabric. Multiple heads can run simultaneously to increase output.
- For PVC: The liquid PVC material is injected into a custom metal mold and heated in an oven to cure and solidify.
- For Printed: The design is printed onto the fabric using sublimation or screen-printing techniques, then heat-pressed to set the ink.
Step 4: Cutting and Edge Finishing
Once the main body of the patch is produced, it is cut out. The edges are then finished to prevent fraying. The two most common edge finishes are:
- Merrowed Border: A thick, overlocked stitch that creates a classic raised border (ideal for simple shapes like circles or shields).
- Laser Cut / Heat Cut: A clean, seamless edge that allows for complex, irregular shapes without a thick border.
Step 5: Applying the Iron-On Backing
This is the crucial step for your specific product. The heat-activated adhesive film is carefully aligned to the back of the cut patch. Using a commercial heat press machine, the patch is subjected to specific temperature and pressure settings to melt the glue into the fabric backing, ensuring a strong, even bond without seeping through the front.
Step 6: Quality Control and Packaging
Every patch undergoes a rigorous QC check for color accuracy, edge finishing, and adhesive strength. Finally, they are counted, packed in polybags, and prepared for international shipping.
Part 3: The Ultimate Guide on How to Add an Iron-On Patch
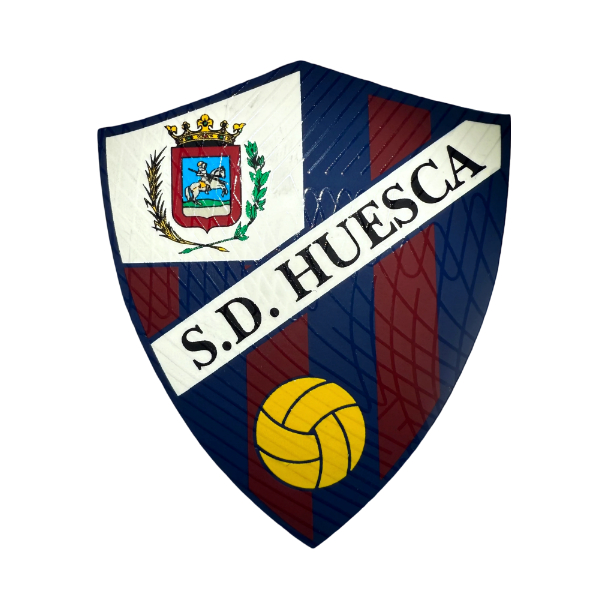
While manufacturers handle the production, providing your customers with clear instructions on how to add an iron on patch correctly is vital for reducing complaints and ensuring product longevity. Here is the professional application guide you can share with your end-users.
Preparation
- Check the Fabric: Iron-on patches work best on 100% cotton or cotton-blend fabrics. Avoid delicate materials like silk, nylon, or waterproof rayon, as high heat can melt or scorch them.
- Gather Tools: You will need a standard household iron, a thin pressing cloth (like a cotton pillowcase or parchment paper), and a hard, flat surface (like an ironing board). Note: Do not use the steam setting.
Step-by-Step Application
- Pre-heat the Garment: Turn the iron to its highest setting (usually the "Cotton" setting, around 350°F/175°C). Iron the target area of the garment for 10-15 seconds to remove any moisture and wrinkles.
- Position the Patch: Place the patch exactly where you want it. Ensure the adhesive side is facing down against the fabric.
- Apply Heat and Pressure: Cover the patch with the thin pressing cloth to protect the threads. Press the hot iron firmly down on the patch. Apply heavy downward pressure (do not slide the iron back and forth). Hold it there for 30 to 45 seconds.
- The Flip Technique (Optional but Recommended): If the fabric allows, turn the garment inside out and press the iron against the back of the patch area for another 20-30 seconds. This ensures the glue penetrates the fabric fibers completely.
- Cool Down: Let the garment cool down completely for at least 5 to 10 minutes. The adhesive needs to cool and solidify to form a strong bond. Test the edges gently; if they lift, repeat the heating process.
Pro-Tip for Maximum Durability
While iron-on backing is highly convenient, for items that will undergo frequent heavy washing (like workwear or tactical gear), advise your customers to add a few simple stitches around the border after ironing. This hybrid method (heat + sew) guarantees 100% permanent attachment.
Table 2: Multi-Dimensional Comparison of Patch Backing Types
To help your B2B clients choose the right backing for their specific market needs, here is a comparison of the most common patch backings.
| Backing Type | Application Method | Durability & Washability | Fabric Compatibility | Best Use Case |
|---|---|---|---|---|
| Iron-On (Heat Seal) | Household iron or heat press (350°F for 30-45s) | Good. Withstands regular machine washing if applied correctly. | Cotton, denim, canvas. Avoid nylon/silk. | DIY kits, promotional apparel, casual wear. |
| Sew-On (No Backing) | Hand stitching or machine sewing | Excellent. Permanent and highly durable. | All fabric types, including leather and delicate materials. | High-end uniforms, military, leather jackets. |
| Velcro (Hook & Loop) | Sewn onto the patch; loop side sewn to garment | Excellent. Removable and interchangeable. | Heavy-duty fabrics, tactical gear. | Military, tactical gear, modular bags. |
| Self-Adhesive (Peel & Stick) | Peel off the paper backing and stick | Poor. Temporary. Not washable. | Smooth, clean, dry surfaces. | Temporary events, costume props, paper crafts. |
| Magnetic Backing | Embedded magnets; snaps onto metal surfaces | Good (for the magnets). Removable. | Specifically designed for metal surfaces (e.g., lockers, vehicles). | Promotional giveaways, vehicle decals, lockers. |
Part 4: B2B Purchasing and Customization Tips for Wholesalers
When importing custom iron-on patches from overseas manufacturers, keep these strategic tips in mind to optimize your supply chain:
- Request Physical Samples: Always request a pre-production sample (PP sample) to check the stitch density, color matching (Pantone), and the quality of the iron-on glue.
- Understand the MOQ: Most manufacturers have a Minimum Order Quantity (usually 50 to 100 pieces per design) due to the machine setup and digitizing costs.
- Optimize Design for Cost: Simplifying your design (reducing the number of colors and stitch count) can significantly lower the unit price without compromising the visual impact.
- Packaging Customization: Ask your supplier for custom backing cards or polybags with your brand's logo. This adds a premium touch and makes the patches ready for direct retail sale.
Frequently Asked Questions (FAQ)
Q1: Can I wash garments with iron-on patches in a washing machine?
A: Yes, but to maximize the lifespan of the patch, it is highly recommended to turn the garment inside out, wash it in cold water on a gentle cycle, and avoid using a tumble dryer. Air drying is the safest method.
Q2: What is the standard lead time for manufacturing custom iron-on patches?
A: Typically, the production time is 7 to 12 working days after the design and sample are approved. Shipping time will depend on the chosen freight method (express, air, or sea).
Q3: Why did my iron-on patch start peeling off after a few washes?
A: This usually happens due to insufficient heat, lack of pressure during application, or applying it to an incompatible fabric (like nylon or waterproof coatings). Always ensure the iron is hot enough and press firmly for the full 45 seconds. For high-wash items, sewing the edges is recommended.
Q4: Can I order custom shapes for my iron-on patches?
A: Absolutely. Using laser-cut or heat-cut technology, manufacturers can cut patches into any custom shape you desire, including intricate borders, die-cut shapes, and irregular outlines, without the need for a traditional merrowed border.
What Makes Custom Varsity Patches the Upgrade for Team Apparel and Brand Identity?
Why Are Cool Patches for Jackets the Best Customization Trend for Your Brand?
Related Article