Ever Wondered How Are Patches Made? The Complete Step-by-Step Manufacturing Guide
Table of Contents
Custom patches are a timeless and versatile medium for self-expression, brand identity, and organizational pride.
But have you ever held a high-quality, textured patch in your hand and wondered about the intricate craftsmanship behind it?
If you are asking yourself, how are patches made, you are about to discover a fascinating blend of traditional textile artistry and cutting-edge industrial technology. Understanding this manufacturing process is not just trivia; it is essential knowledge for anyone looking to order custom patches. It helps you set realistic expectations, choose the right materials, and optimize your artwork for the best possible final product.
What Types of Custom Patches Can Be Manufactured?
Before diving into the machinery and techniques, it is important to recognize that the answer to how are patches made varies significantly depending on the style of patch you choose. Different aesthetics require entirely different manufacturing methods, materials, and machinery.
Understanding these differences will help you match your design vision with the correct production technique.
Table 1: Comprehensive Comparison of Custom Patch Types
| Patch Type | Manufacturing Method | Best Used For | Texture & Detail Level | Durability & Feel |
|---|---|---|---|---|
| Embroidered Patches | Thread stitched onto a twill/felt backing. | Uniforms, motorcycle clubs, classic branding. | Thick, raised, 3D texture. Moderate detail limit. | High (Heavyweight, rugged feel). |
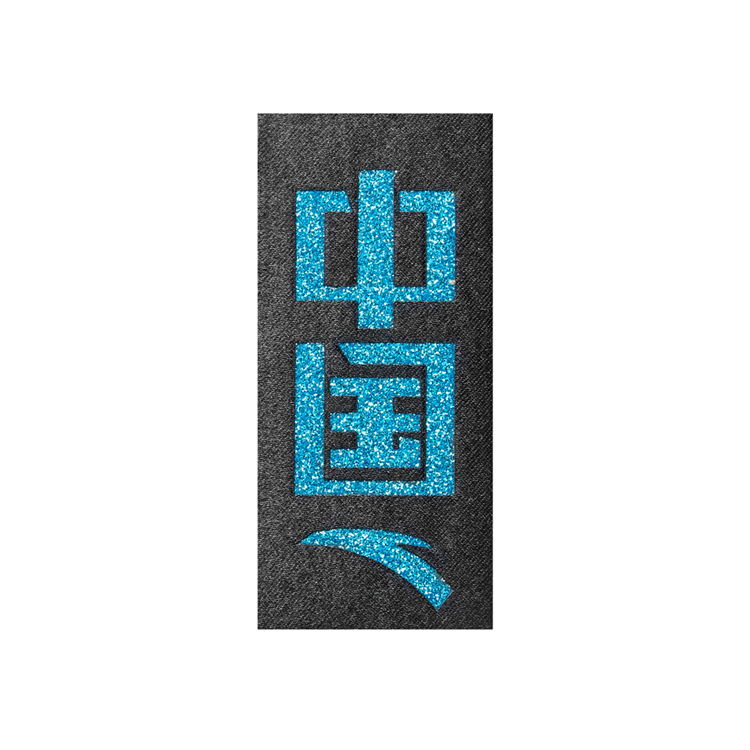
| Woven Patches | Threads woven together on a loom to form the design. | Logos with fine details, small text, intricate shapes. | Flat, smooth, highly detailed, sharp edges. | Medium-High (Lightweight, flexible). |
| Printed Patches | Sublimation or screen printing ink bonded to fabric. | Photographic images, complex gradients, full-color art. | Completely flat, unlimited color blending. | Medium (Lightweight, soft drape). |
| Chenille Patches | Yarn looped and cut to create a raised, fuzzy surface. | Varsity jackets, retro lettering, vintage aesthetics. | Soft, raised, "towel-like" vintage texture. | High (Thick, plush, and durable). |
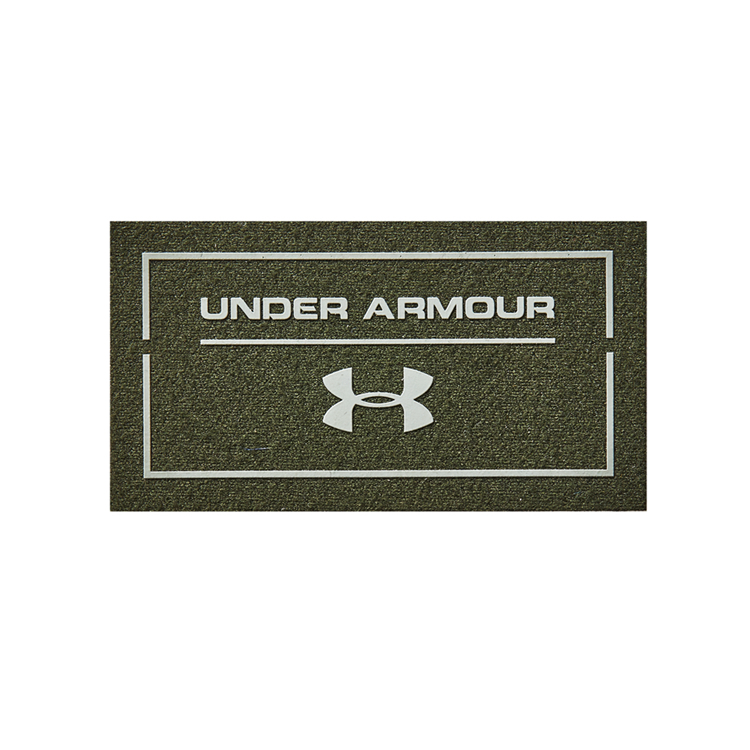
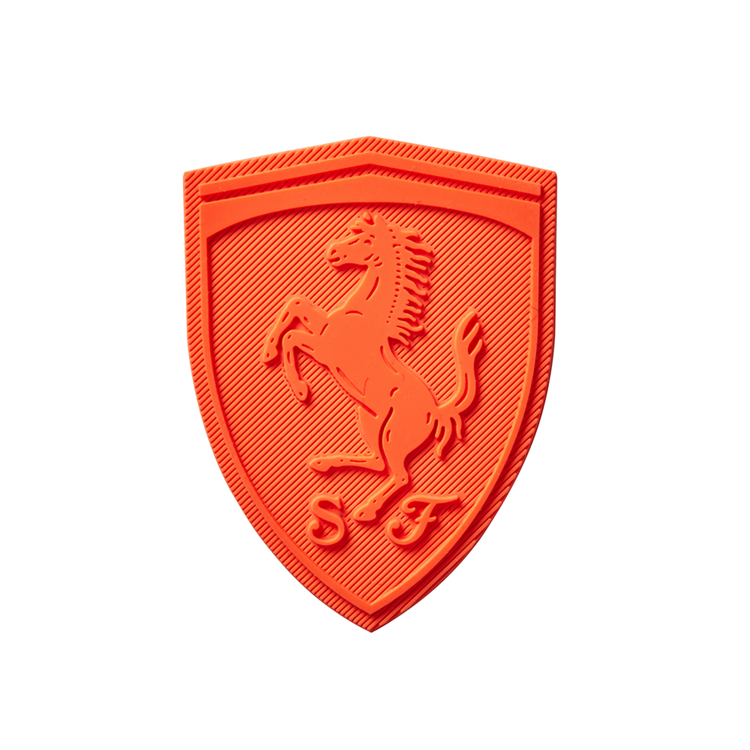
| PVC/Rubber Patches | Liquid PVC injected into metal molds and heat-cured. | Tactical gear, outdoor equipment, 3D corporate logos. | Rubberized, flexible, true 3D sculpted effect. | Very High (100% waterproof, dirt-proof). |
The 6-Step Process: How Are Patches Made in a Professional Factory?
While PVC and chenille patches have unique molding or tufting processes, the vast majority of fabric-based patches (embroidered, woven, and printed) follow a highly standardized, six-step production line. Here is the definitive answer to how are patches made from start to finish.
Step 1: Artwork Preparation and Digitization
The manufacturing process begins long before any physical materials are touched; it starts with your digital artwork. A standard JPEG or PNG file cannot be read by industrial patch machines. For embroidered patches, your design must undergo a specialized process called digitizing. A professional digitizer uses advanced software to manually map out every single stitch. They determine the stitch direction (to prevent fabric puckering), stitch density, and the exact sequence of color changes. This creates a specialized machine file (such as .DST or .TAP). For woven or printed patches, the artwork is converted into high-resolution vector files (like .AI or .EPS) to ensure crisp lines and perfect color separation. At this stage, the manufacturer will generate a digital proof for your final approval.
Step 2: Fabric Selection and Machine Calibration
Once the digital proof is approved, the production floor springs into action. The base fabric is selected based on the patch type. Twill is the industry gold standard for embroidered patches because its tight, diagonal weave provides a sturdy foundation that prevents heavy stitches from pulling through or distorting. Next, the multi-head computerized embroidery machines are calibrated. These massive industrial machines can produce dozens of patches simultaneously. Skilled technicians thread the machines with high-quality polyester or rayon threads, meticulously matching the exact Pantone colors specified in your approved design. Polyester is generally preferred for outdoor or uniform patches due to its superior UV and fade resistance compared to rayon.
Step 3: The Core Production (Stitching, Weaving, or Printing)
This is the heart of the operation, where your design physically comes to life.
- For Embroidery: The digitized file is loaded into the machine’s computer. The machine’s needles rapidly punch the thread through the twill backing, layer by layer. The machine automatically trims threads and changes colors as programmed, building the design from the background up to the foreground details.
- For Weaving: Unlike embroidery, which stitches onto a backing, woven patches use much thinner, high-density threads. The design is actually woven into the fabric itself on a specialized industrial loom, resulting in a much tighter, flatter, and more detailed finish.
- For Printing: The fabric is fed through a sublimation or screen-printing machine, where specialized, heat-activated inks are bonded directly to the fabric fibers, allowing for photorealistic details and unlimited color gradients.
Step 4: Precision Cutting and Edge Finishing
Once the stitching, weaving, or printing is complete, the individual patches are still connected to a large, continuous roll of backing fabric. They must be separated and their edges sealed to prevent fraying.
- Merrow Border: This is the classic, thick, raised overlock stitch you see on traditional patches. A specialized Merrow machine wraps a thick, durable thread around the raw edge of the patch. This seals the fabric and gives it a distinct, premium 3D border. This method is best for simple, smooth shapes like circles, squares, or shields.
- Laser or Heat Cutting: If your patch features an intricate, complex shape (like a star, a geographical map, or a character silhouette), a Merrow machine cannot navigate the tight corners. Instead, a precision laser cutter burns the fabric to the exact shape of the design. The intense heat simultaneously cuts and melts the edge, sealing it perfectly to prevent fraying. This allows for a seamless "custom shape" or "die-cut" border.
Step 5: Applying the Backing Adhesive
A patch is only as useful as its ability to attach securely to a garment. After cutting, the back of the patch is treated with the chosen adhesive or backing material. This is typically applied using a large, industrial heat press. The press applies precise, even heat and pressure to melt the adhesive (such as a heat-seal film or Velcro loop) evenly across the entire back of the patch, ensuring a strong bond without scorching or damaging the front design.
Step 6: Rigorous Quality Assurance and Packaging
Before any patch is cleared for shipping, it must pass a strict quality control (QC) inspection. Factory technicians manually check each batch for loose threads, color accuracy, proper edge sealing, and backing adhesion. Any patch with a minor flaw or inconsistency is immediately discarded. Finally, the approved patches are accurately counted, sorted, and securely packaged in polybags or boxes for shipment to the customer.
Which Patch Backing Should You Choose for Your Project?
The backing you select dictates how the end-user will attach the patch to their garment or gear. Choosing the wrong backing can lead to ruined clothes, damaged fabrics, or patches that fall off after a single wash.
Table 2: Patch Backing Options and Their Ideal Applications
| Backing Type | How It Works | Best Application |
|---|---|---|
| Plastic / Hard Backing | Provides a stiff, structured base. Requires traditional needle-and-thread sewing. | Heavy uniforms, workwear, backpacks, and items that undergo rigorous washing. |
| Iron-On (Heat Seal) | Activated by a household iron or commercial heat press (approx. 300°F for 15-30 seconds). | DIY projects, quick application on cotton or poly-blend fabrics. (Not for nylon/heat-sensitive fabrics). |
| Velcro (Hook & Loop) | Soft loop backing that attaches securely to a rough "hook" surface sewn onto the garment. | Tactical gear, military uniforms, interchangeable morale patches, and name tapes. |
| Peel & Stick (Adhesive) | Features a temporary paper-backed adhesive, functioning much like a heavy-duty sticker. | Temporary events, craft projects, temporary branding, or basting in place before sewing. |
| No Backing (Sew Only) | Just the base fabric and thread; edges are merrowed or laser cut with no added stiffness. | High-end fashion, sewing onto delicate fabrics, or when a soft, natural drape is required. |
How to Order Your Custom Patches: A Buyer’s Checklist
Now that you understand the intricate, multi-step process of how are patches made, you are fully equipped to place a professional order. Follow this quick checklist to ensure a smooth, hassle-free purchasing experience:
- Define Your Purpose: Are these patches for a corporate uniform, a motorcycle club, retail merchandise, or a personal hobby? This will dictate the size, style, and backing you need.
- Select the Style and Size: Refer back to Table 1. If your logo contains tiny text or intricate details, choose Woven or Printed. If you want a classic, rugged, and textured look, choose Embroidered. Keep in mind that patches smaller than 1.5 inches are difficult to read; consider woven styles for miniature designs.
- Request a Quote and Digital Proof: Upload your high-resolution artwork to your chosen manufacturer’s website. They will calculate the price based on size, stitch count (for embroidery), quantity, and backing type, and then send you a digital proof.
- Approve and Produce: Once you carefully review and approve the proof, production begins. Understanding the manufacturing timeline helps you plan ahead; standard production typically takes 10 to 15 business days, plus shipping time.
Frequently Asked Questions (FAQs)
Q: How long does it actually take to manufacture custom patches?
A: Standard production takes about 10 to 15 business days after the digital proof is officially approved. However, this timeline can vary depending on the patch type, the complexity of the design, and the total order quantity. Rush production is often available for an additional fee if you are on a tight deadline.
Q: Can I make high-quality patches at home, or should I use a professional manufacturer?
A: While simple, basic iron-on patches can be crafted at home using a standard sewing machine, professional embroidered, woven, or PVC patches require industrial multi-head machines, specialized digitizing software, and commercial heat presses. Using a professional manufacturer is the only way to achieve high-quality, durable, and consistent commercial results.
Q: What is the exact difference between embroidered and woven patches?
A: Embroidered patches use thicker threads stitched onto a backing fabric (like twill), giving a classic, textured, and slightly raised 3D look, but limiting fine details. Woven patches use much thinner threads, and the design is woven into the fabric itself on a loom. This allows for highly detailed, small text, and complex logos with a flat, smooth finish.
Q: Is there a minimum order quantity (MOQ) for custom patches?
A: Yes, most professional manufacturers have an MOQ, typically ranging from 50 to 100 pieces. This is because the setup cost (digitizing, threading the machines, and machine calibration) requires significant time and resources, making very small runs economically unviable. However, the per-unit price drops significantly as your order quantity increases.
How to Choose the Best Color Patches for Apparel for Your Brand?
What Hidden Design Secrets Separate Amateur Kits from Pro-Level Custom Football Patches?
Related Article