How Do You Design and Source a Custom 3d Raised Rubber Logo Patch for Your Brand?
Table of Contents
Traditional embroidery often falls short when exposed to heavy rain, mud, or extreme friction. This is where a 3d raised rubber logo patch becomes a game-changer.
Combining striking visual depth with exceptional weather resistance, these custom accessories are redefining how companies display their logos on jackets, tactical vests, and promotional merchandise. If you want to upgrade your product line, understanding the material options, manufacturing stages, and attachment methods is essential. This detailed guide breaks down everything B2B buyers need to know about customizing these durable branding solutions.
Exploring the Landscape: Mainstream Patch Categories
Before committing to a specific manufacturing route, buyers must evaluate how different materials perform in real-world applications. The custom patch market offers several distinct categories, each with unique pros and cons.
- Embroidered Patches: Created by stitching polyester or rayon threads onto a twill base. They offer a classic, vintage look but struggle with fine details and small typography.
- Woven Patches: Manufactured using a tighter thread weave that allows for high-resolution text and intricate patterns. However, they remain completely flat and lack tactile engagement.
- Leather Patches: Typically debossed or laser-etched on genuine or synthetic hides. They provide a heritage aesthetic, commonly seen on denim and headwear, but offer limited color options.
- Chenille Patches: Recognized by their fuzzy, carpet-like texture. These are heavily utilized in varsity apparel and collegiate merchandise but lack the crisp definition needed for modern corporate or tactical branding.
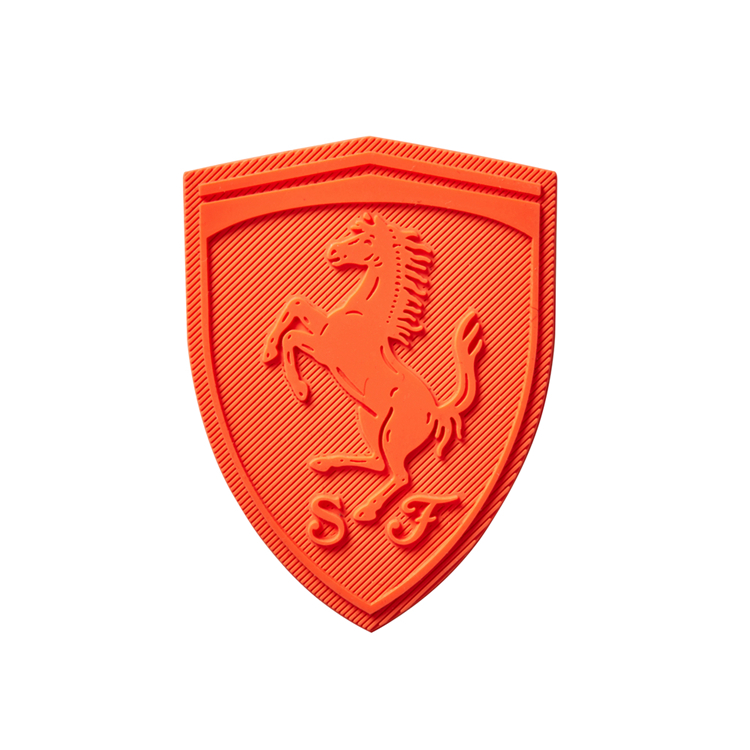
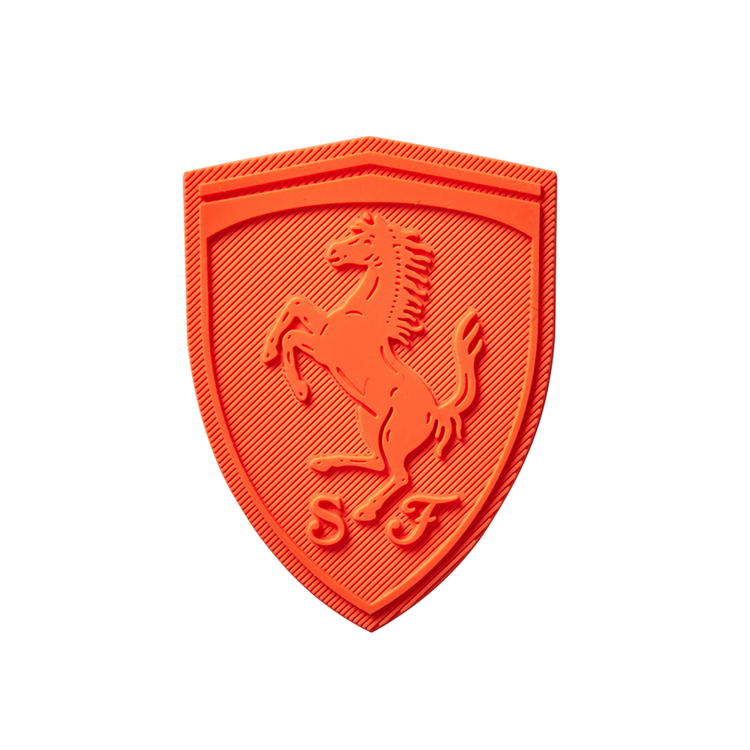
- Rubber and PVC Patches: This category houses the 3d raised rubber logo patch. By injecting liquid polymers into precision molds, manufacturers can create multi-layered, waterproof designs with exact color matching.
Table 1: Comparative Analysis of Mainstream Patch Types
| Evaluation Dimension | Embroidered Patches | Woven Patches | Leather Patches | 3d Raised Rubber Logo Patch |
|---|---|---|---|---|
| Material Base | Thread on Twill | Tightly Woven Thread | Animal Hide / PU | PVC / Silicone Polymer |
| Tactile Profile | Moderate Texture | Completely Flat | Subtle Debossing | High Multi-Layered Depth |
| Detail Capability | Low (Thick lines only) | High (Fine details) | Low (No color fills) | Extremely High (Crisp edges) |
| Weather Resistance | Poor (Absorbs water) | Moderate (Fades in UV) | Moderate (Needs care) | Superior (100% Waterproof) |
| Ideal Industry | Casual Wear, Uniforms | Corporate, Small Logos | Heritage, Denim, Hats | Tactical, Outdoor, Marine |
The Manufacturing Journey: Step-by-Step Production
Producing a high-quality 3d raised rubber logo patch requires precision engineering rather than simple printing. The transition from a digital file to a physical, multi-layered product involves several critical phases. B2B buyers should understand this workflow to set realistic expectations and communicate effectively with suppliers.
Step 1: 3D Vector Mapping and Artwork Approval
The process begins with your digital asset. A standard 2D vector file is insufficient for 3D production. Expert graphic designers must translate your flat logo into a 3D matrix. This involves mapping the "Z-axis" (depth) of the design, separating elements into distinct layers—such as a recessed background, a mid-level border, and a highly elevated central icon—to guarantee a striking, multi-dimensional final product.
Step 2: CNC Mold Engraving
This phase is the absolute core of the raised effect. Once the 3D digital model is approved, a master mold is fabricated. Using high-tolerance CNC (Computer Numerical Control) machining, skilled technicians carve the design into a durable metal block, typically copper or steel. The microscopic precision of this mold dictates the sharpness of the edges and the exact height differential between the raised and recessed layers.
Step 3: Micro-Dispensing and Color Filling
Unlike embroidery, which is limited by thread availability, rubber patches utilize liquid polymers. These base materials are mixed with precise Pantone pigments. Using automated, multi-nozzle dispensing machines, the colored liquid is injected into the specific cavities of the CNC mold. For complex, multi-color designs, this is a sequential process: one color layer is dispensed, partially set, and then the next layer is added on top to build the 3D elevation.
Step 4: Thermal Vulcanization
After all color layers are meticulously filled, the mold is transferred to a specialized heating press. Under controlled heat and pressure, a vulcanization process occurs. This chemically bonds the liquid polymer layers together, transforming them from a viscous state into a single, cohesive, and highly flexible solid form. This step ensures the patch will not delaminate or peel over time.
Step 5: Demolding and Edge Trimming
Upon extraction from the mold, the patch will have minor excess material, known as flash, around its perimeter. To achieve a flawless, retail-ready appearance, the patches undergo precision trimming. This is executed either by skilled artisans using micro-blades or via advanced laser-cutting technology, ensuring a perfectly smooth, clean border that complements the raised design.
Step 6: Backing Application and Quality Control
The final manufacturing step involves bonding the selected attachment mechanism to the flat underside of the patch. Following this, every batch undergoes rigorous Quality Assurance. Inspectors verify Pantone color accuracy, measure 3D layer heights, check edge smoothness, and test backing adhesion strength before the goods are cleared for international shipping.
Material Showdown: PVC vs. Silicone
When ordering a 3d raised rubber logo patch, buyers usually choose between two primary polymers: Polyvinyl Chloride (PVC) and Silicone. Both offer excellent 3D capabilities, but their physical properties differ significantly based on the end-use environment.
Table 2: PVC vs. Silicone Material Properties
| Feature Dimension | Soft PVC (Polyvinyl Chloride) | Pure Silicone |
|---|---|---|
| Flexibility & Weight | Slightly rigid, holds shape well | Extremely flexible, lightweight |
| Temperature Tolerance | Good (Up to 60°C / 140°F) | Exceptional (Up to 250°C / 480°F) |
| Texture and Feel | Smooth, classic rubber feel | Soft-touch, premium skin-friendly feel |
| Eco-Friendliness | Standard (Requires specific recycling) | High (Non-toxic, eco-friendly) |
| Cost Efficiency | Highly Cost-Effective | Premium Pricing (20-30% higher) |
| Best Application | Tactical gear, bags, outerwear | Baby apparel, medical gear, high-end fashion |
Securing the Patch: A Guide to Backing Options
A brilliantly designed patch is useless if it falls off the garment. The backing mechanism dictates how the end-user interacts with the product and how well it survives industrial washing.
- Sew-On (Bare Back): The traditional method requiring a needle and thread. It offers a permanent bond and is preferred for heavy-duty applications.
- Heat Seal (Iron-On): Features a heat-activated adhesive layer. It allows for rapid application using a commercial heat press, ideal for high-volume uniform production.
- Velcro (Hook and Loop): The patch is backed with the "hook" side, while the "loop" side is sewn onto the garment. This allows for instant removal and interchangeability.
- Adhesive (Peel-and-Stick): Uses a pressure-sensitive adhesive. It is strictly for temporary use or promotional events, as it cannot withstand washing.
Table 3: Backing Mechanisms and Application Scenarios
| Backing Mechanism | Attachment Method | Wash Durability | Reusability | Optimal Use Case Scenario |
|---|---|---|---|---|
| Sew-On | Needle and Thread | Maximum | No | Tactical vests, leather jackets, heavy workwear. |
| Heat Seal | Commercial Heat Press | High | No | Corporate uniforms, retail apparel, quick assembly. |
| Velcro Loop | Sewn Hook/Loop system | Medium | Yes | Military gear, modular backpacks, morale patches. |
| Peel-and-Stick | Pressure Adhesive | Low | Yes | Trade show giveaways, temporary event branding. |
Design Best Practices for Optimal 3D Effects
To ensure your 3d raised rubber logo patch looks professional and is manufacturable, follow these structural design rules:
- Limit the Depth Layers: While the technology allows for multiple elevations, keeping the design to 2 or 3 distinct depth layers prevents the patch from becoming too thick and rigid. A standard base layer is 1mm, with raised elements adding 0.5mm to 1mm each.
- Avoid Extremely Thin Lines: Liquid polymer needs physical space to settle in the mold. Ensure all lines, borders, and text elements are at least 0.5mm thick. Anything thinner may not fill correctly or could break off during demolding.
- Use Contrast for Depth: The 3D effect is highly dependent on light and shadow. Use contrasting colors for different depth levels (e.g., a dark recessed background with bright, elevated text) to make the logo visually pop.
- Keep Text Legible: Because of the material properties, extremely small text can blur. Maintain a minimum font size equivalent to 6pt, and use bold, sans-serif typefaces for the best results.
- Incorporate a Border: Adding a raised or recessed border around the perimeter of the patch not only frames the design beautifully but also adds structural integrity, preventing the edges from curling over time.
Conclusion
Upgrading your branding strategy with a 3d raised rubber logo patch is a strategic move that enhances both the aesthetic appeal and functional longevity of your products. By understanding the distinct differences between mainstream patch categories, mastering the step-by-step manufacturing process, and selecting the appropriate polymer and backing options, B2B buyers can source accessories that truly elevate their brand identity.
Whether you are outfitting elite tactical units, launching a premium streetwear collection, or creating durable corporate merchandise, these custom patches offer unparalleled durability and visual impact. Ready to transform your 2D logo into a striking, tactile masterpiece? Contact our custom manufacturing team to discuss your design specifications, request a free digital 3D mockup, and secure a competitive quote for your next bulk order.
How to Iron Patches on Jeans for a Professional, Long-Lasting Finish?
How Can You Create the Perfect Custom Silicone Zipper Pull Patch for Your Brand?
Related Article