How Do You Apply an Iron on Patch Like a Total Pro?
Table of Contents
- The Evolution of Modern Premium Iron on Patches
- Essential Tools for the Job
- Step by Step Guide on How Do You Apply an Iron on Patch
- Core Product Specifications for Premium Patches
- Fabric Compatibility and Application Parameters
- Post Application Care and Maintenance Rules
- Fix Common Patch Disasters
- Conclusion
The secret to a flawless, peel-proof application lies in understanding the modern technology behind the patches we use today and mastering a few simple, crucial steps.
This guide will walk you through the exact process, introduce you to the innovative features of modern premium patches, and provide all the necessary parameters to ensure your fabric repairs and customizations look professional and last a lifetime.
The Evolution of Modern Premium Iron on Patches
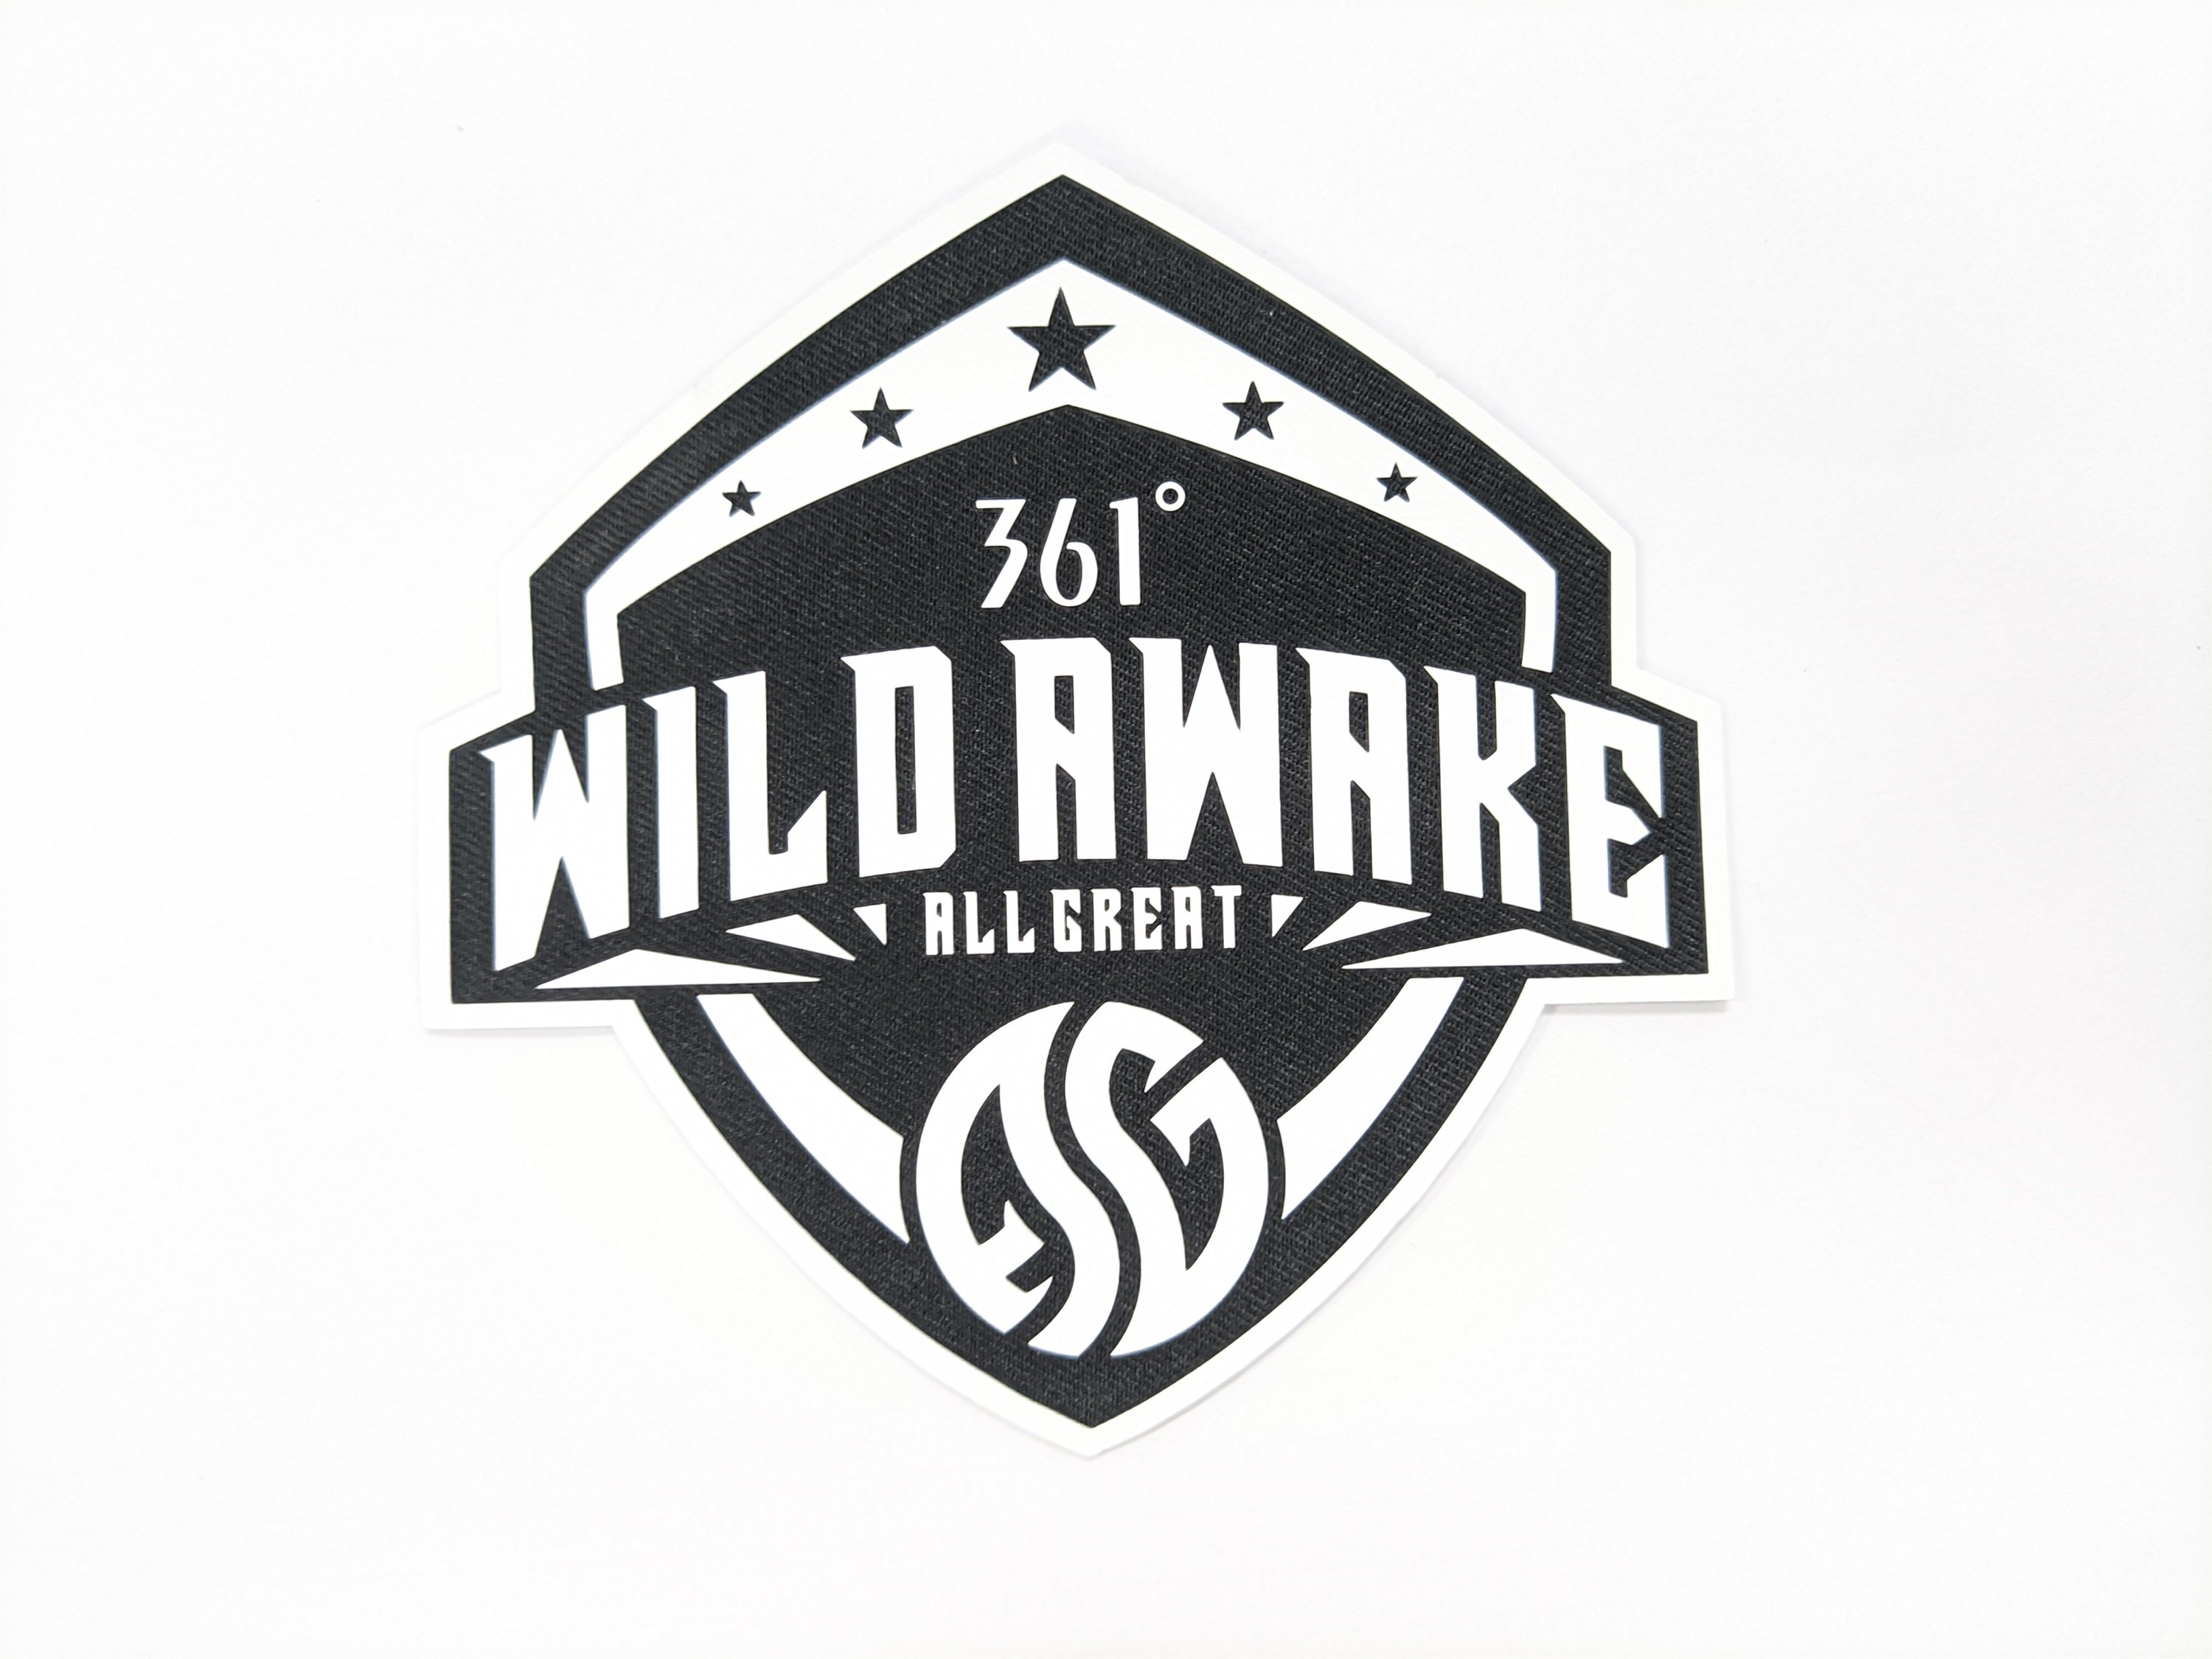
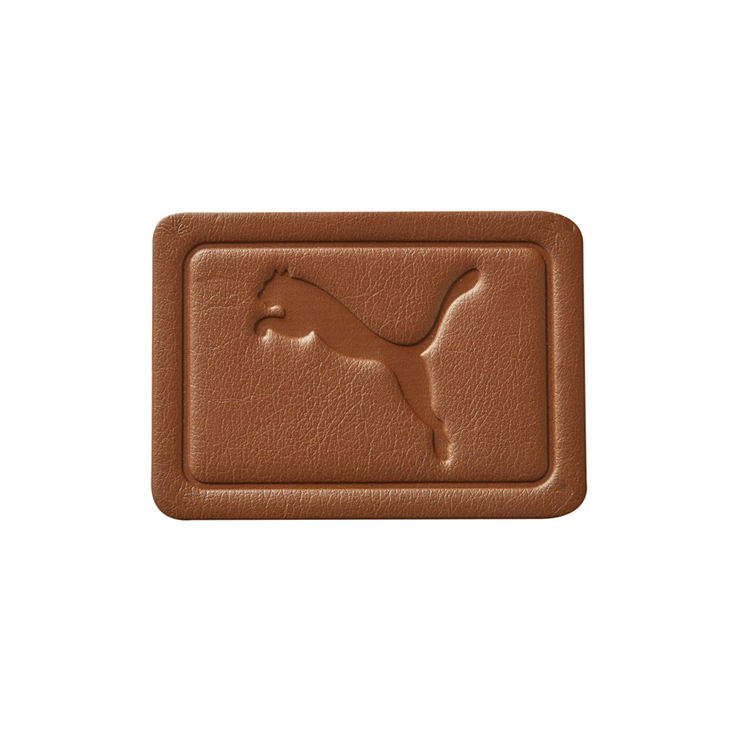
Before we dive into the application steps, it is important to understand the product you are working with. The days of cheap, stiff patches with weak, messy glue are long gone. Today’s market is dominated by modern premium iron on patches that utilize cutting-edge textile innovations.
When you invest in a high-quality patch, you are benefiting from several game-changing features. First, modern patches utilize an eco-friendly, high-tack heat-activated adhesive. Unlike older glues that become brittle and crack after a few washes, this advanced polymer melts deeply into the fabric weave and remains flexible, moving with the garment rather than breaking apart.
Second, the top layers of these premium patches now feature UV and fade-resistant coatings. This means the vibrant colors and intricate embroidery of your patch will not bleed during the first wash or fade into a dull mess after sitting in the summer sun.
Finally, the edges of modern patches are finished using laser-cut and heat-sealed technology. This micro-grip edge technology completely eliminates fraying. You no longer have to worry about the edges curling up or unraveling, ensuring a perfectly flat, seamless look that blends beautifully with your garment.
Essential Tools for the Job
To achieve the best results, you need to set yourself up for success. Gather the following items before you begin:
- A standard household dry iron (steam is the enemy of adhesive).
- A thin, clean cotton pressing cloth (a plain pillowcase works perfectly).
- A hard, flat, and heat-resistant surface like an ironing board or a wooden table.
- A timer to keep track of your pressing duration.
- Painter's tape to secure the patch in place.

Step by Step Guide on How Do You Apply an Iron on Patch
Now that you have your tools and understand the technology, let us break down the exact process. Follow these steps meticulously for a permanent bond.
Step 1 Prepare the Garment and the Workspace
The foundation of a good bond is a clean surface. Ensure the area of the garment you are patching is completely clean, dry, and free of any wrinkles. If the fabric is wrinkled, the adhesive will not make full contact with the fibers. Pre-heat your iron to the appropriate temperature for your specific fabric type, and absolutely ensure the steam function is turned completely off. Any moisture will create a barrier between the glue and the fabric.
Step 2 Position and Secure the Patch
Place your premium patch exactly where you want it on the garment. Because the adhesive is not yet activated, you can adjust it slightly. Once you are happy with the placement, use small pieces of painter's tape to secure the edges of the patch to the garment. This prevents the patch from shifting or sliding when you apply the heavy pressure of the iron.
Step 3 The Initial Press and Heat Activation
Place your thin cotton pressing cloth directly over the patch. This protects the vibrant design and the UV-resistant coating from direct scorching. Place your iron directly on top of the pressing cloth. Do not glide the iron back and forth as you normally would when ironing a shirt. Instead, apply your body weight and press down with firm, heavy, and static pressure. Hold the iron in place for 30 to 45 seconds. Make sure you are pressing down hard on the edges, as they are the most likely to lift later.
Step 4 The Reverse Press for Maximum Penetration
This is the step most people skip, but it is the secret to a professional finish. Turn your garment completely inside out. Locate the area on the back of the fabric directly beneath the patch. Place your iron directly on the fabric and press down firmly for another 30 to 45 seconds. This reverse heat pushes the melted adhesive even deeper into the microscopic fibers of the fabric weave, creating an unbreakable mechanical bond.
Step 5 The Crucial Cool Down Phase
Remove the iron and let the garment sit. Do not touch, pull, or test the edges of the patch while it is still hot. The heat-activated adhesive needs time to cool down and chemically cure. If you pull it while it is hot, you will break the newly formed bond. Let it rest for at least three to five minutes until it is completely cool to the touch.
Step 6 The Final Edge Seal
Once the patch is completely cool, gently run your fingernail around the edges. If you feel any slight lifting, place the pressing cloth back over the patch and apply the iron directly to the edges for an additional ten to fifteen seconds with maximum pressure. For extreme durability on heavy workwear, you can also add a simple top-stitch around the perimeter using a sewing machine.
Core Product Specifications for Premium Patches
Understanding the physical parameters of your patch helps you manage your expectations and application technique. Here are the standard specifications you should look for in a high-quality modern patch.

| Feature | Standard Specification | Practical Benefit for the User |
|---|---|---|
| Base Material | 100% Premium Polyester Twill | Provides a rich, textured look that mimics high-end garment fabrics and resists tearing. |
| Adhesive Layer | High-Tack Eco Heat-Activator | Melts evenly at standard household iron temperatures and creates a flexible, permanent bond. |
| Standard Dimensions | 2x2, 3x3, and 4x4 inches | Offers versatile sizing options for both tiny stain cover-ups and large back statement pieces. |
| Total Thickness | 2.0 mm to 2.5 mm | Thick enough to completely hide fabric damage, yet thin enough to remain comfortable and flexible. |
| Edge Finish | Laser-Cut and Heat-Sealed | 100% fray-proof edges that lay perfectly flat and maintain a clean appearance over time. |
| Wash Durability | Withstands up to 60°C (140°F) | Engineered to survive regular machine washing cycles without the glue degrading or peeling. |
Fabric Compatibility and Application Parameters
Not all fabrics react to heat in the same way. Applying too much heat to a synthetic blend will melt the garment, while using too little heat on heavy denim will fail to activate the glue. Use this parameter guide to adjust your technique based on the material you are working with.
| Fabric Type | Recommended Iron Temp | Pressing Time Per Side | Pressure Level | Compatibility and Application Notes |
|---|---|---|---|---|
| Cotton and Heavy Denim | High (Cotton Setting) | 40 to 50 seconds | Heavy and Firm | Ideal material. The thick, natural weave grabs the adhesive perfectly for a permanent hold. |
| Polyester Blends | Medium (Synthetic) | 30 to 40 seconds | Medium to Firm | Excellent results. Ensure absolutely no steam is used to avoid melting the synthetic fibers. |
| Nylon and Rayon | Low to Medium | 20 to 30 seconds | Medium | Very good. Always use a thick pressing cloth to prevent the delicate fabric from scorching. |
| Leather and Faux Leather | Low (No Steam) | 15 to 20 seconds | Light to Medium | Good, but requires caution. Test a hidden area first, as high heat can permanently melt faux leather. |
| Waterproof and Gore-Tex | Low | 15 to 20 seconds | Light | Fair compatibility. High heat can damage the waterproof membrane. Sewing is highly recommended. |
Post Application Care and Maintenance Rules
Even the best application will fail if the garment is cared for incorrectly. To ensure your patch lasts as long as the garment itself, follow these strict maintenance parameters.
| Care Aspect | Recommended Practice | What to Strictly Avoid |
|---|---|---|
| The First Wash | Wait a minimum of 24 to 48 hours before washing to allow the adhesive to fully cure and set. | Washing the garment immediately after application, which will completely ruin the chemical bond. |
| Machine Washing | Turn the garment inside out. Wash on a gentle cycle using cold or warm water. | Washing the patch alongside heavy items like metal zippers or velcro that can scrape and lift the edges. |
| Drying the Garment | Air dry flat or hang dry. If you must use a dryer, select the lowest possible heat setting. | High-heat tumble drying, which can re-melt the adhesive layer and cause the patch to shift or peel. |
| Ironing the Garment | If you need to remove wrinkles, iron the garment inside out or use a thick protective pressing cloth. | Applying a bare, hot iron directly onto the patch design, which can scorch the embroidery or melt the top coating. |
Fix Common Patch Disasters
Even with the best instructions, things can go wrong. Here is how to fix the most common issues people encounter when learning how to apply these patches.
If the edges of your patch are lifting after a few days, you likely did not apply enough downward pressure during the initial press, or you failed to press the edges thoroughly. To fix this, simply place your pressing cloth over the patch and re-iron the edges with focused, heavy body weight for an extra twenty seconds.
If the patch fell off completely after just one wash, the iron was not hot enough to properly melt the high-tack adhesive, or you accidentally used steam. Check the fabric compatibility table above, increase your iron temperature to the correct setting, and repeat the entire application process from step one.
If your garment fabric scorched or melted during the process, your iron was set too high for that specific fabric blend. Always start with a lower temperature and use a protective pressing cloth. Unfortunately, scorch marks are usually permanent, so always test your iron temperature on a hidden seam first.
Conclusion
Mastering the art of fabric repair and customization is easier than you think. Knowing exactly how do you apply an iron on patch without ruining your clothes comes down to three fundamental rules using the right temperature, applying heavy and static pressure, and allowing the adhesive to cool completely.
By investing in modern premium patches featuring innovative high-tack adhesives, UV-resistant coatings, and laser-cut fray-proof edges, you eliminate the guesswork and ensure a professional, long-lasting finish every single time. Follow the steps, respect the fabric parameters, and your customized garments will look fantastic for years to come. Ready to upgrade your DIY game and save your favorite clothes? Grab your iron, select your perfect patch, and start creating today.
How to Use Iron On Patches Permanently Without Ruining Your Favorite Garments?
What Makes a Yamaları Unique Patch the Unique Style Upgrade