

The Art and Craft of Sewing Badges
2025-01-16
Join our sewing badge community and enhance your skills with detailed guides and creative ideas. Perfect for hobbyists and professionals seeking inspiration.
Sewing badges, also known as patches or insignias, have been a staple in various fields such as military, scouting, and fashion for centuries. They serve as symbols of identity, achievement, and affiliation. Whether you're a DIY enthusiast looking to add a personal touch to your garments or a professional looking to enhance your brand's identity, sewing badges can be a rewarding and creative endeavor. This article will guide you through the process of sewing badges, providing practical tips and techniques to ensure a professional and lasting result.
The History and Significance of Sewing Badges
The tradition of sewing badges dates back to ancient civilizations, where they were used to denote rank, status, and membership in various groups. In the military, badges are used to identify soldiers' units, achievements, and qualifications. In scouting, they represent badges of honor earned through various challenges and skills. In fashion, sewing badges have become a popular way to personalize and accessorize clothing and accessories.
Types of Sewing Badges
There are several types of sewing badges, each with its own unique characteristics and applications:
1. Embroidered Badges
Embroidered badges are created by stitching threads onto a fabric backing. They offer a high level of detail and can be produced in a wide range of colors. Embroidered badges are durable and have a classic, timeless look, making them suitable for a variety of applications, from formal uniforms to casual fashion items.
2. Heat Transfer Vinyl (HTV) Badges
HTV badges are made by cutting the design from colored vinyl and then applying it to the fabric using a heat press. This method allows for vibrant colors and intricate designs, and is ideal for creating badges with multiple colors and layers. HTV badges are cost-effective and can be produced quickly, making them a popular choice for custom designs.
3. Felt Badges
Felt badges have a soft, tactile feel and are often used for more casual or whimsical designs. They can be embroidered or appliquéd onto the fabric, adding a handmade touch to the item. Felt badges are popular for children's clothing, accessories, and home decor projects.
4. Leather Badges
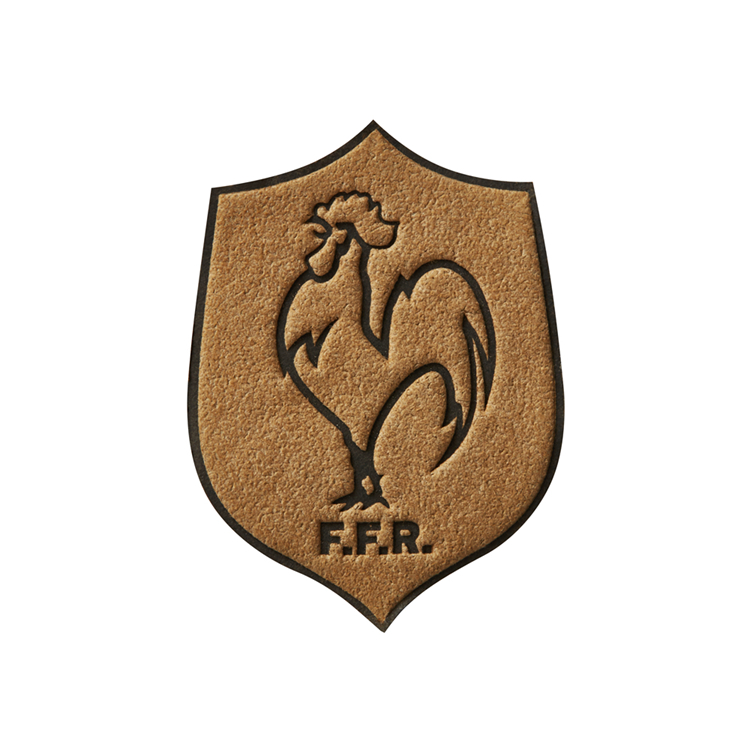
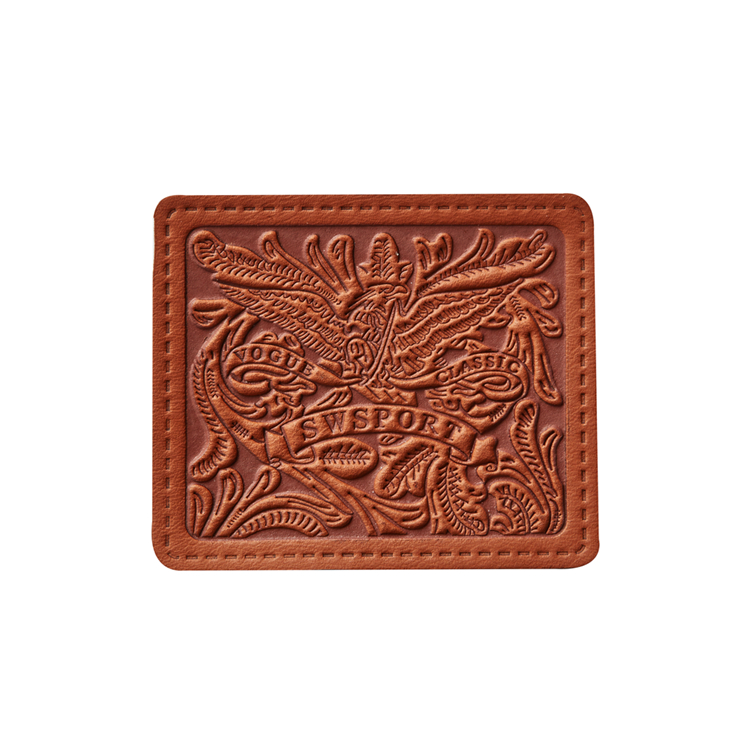
Leather badges offer a rugged and sophisticated look, making them ideal for jackets, bags, and other leather goods. They can be embossed, engraved, or printed with the design, and provide a durable and long-lasting option for sewing badges. Leather badges are often used for luxury brands, motorcycle clubs, and high-end fashion accessories.
Tools and Materials for Sewing Badges
1. Badges
Choose the right type of badge for your project based on the design, material, and application. Ensure that the badge is of high quality and suitable for the fabric you will be sewing it onto.
2. Fabric
Select a fabric that is compatible with the badge and can support the weight and thickness of the badge. Common fabrics for sewing badges include cotton, denim, canvas, and leather.
3. Thread
Choose a thread that matches the color of the badge or the fabric. Use a high-quality thread that is strong and durable, ensuring a secure and lasting bond between the badge and the fabric.
4. Needle
Select a needle that is appropriate for the fabric and thread you are using. For heavier fabrics like denim or canvas, use a larger needle, while for lighter fabrics like cotton, use a smaller needle.
5. Scissors
Have a pair of sharp scissors on hand to trim any excess thread or fabric. Ensure that the scissors are clean and sharp to avoid damaging the badge or the fabric.
6. Pins
Use pins to hold the badge in place before sewing. This will ensure that the badge remains in the correct position and does not shift during the sewing process.
Techniques for Sewing Badges
1. Hand Sewing
Hand sewing is a traditional and versatile method for attaching badges. It allows for greater control and precision, making it suitable for intricate designs and delicate fabrics. Here are the steps for hand sewing a badge:
- Thread the Needle: Cut a piece of thread about 18 inches long and thread it through the eye of the needle. Tie a knot at the end of the thread.
- Position the Badge: Place the badge in the desired position on the fabric and use pins to hold it in place.
- Sew the Badge: Starting from the back of the fabric, bring the needle up through the fabric and the badge, and then back down through the badge and the fabric. Repeat this process, making small, even stitches around the edge of the badge. Ensure that the stitches are tight and secure, but not too tight that they pull the fabric or distort the badge.
- Secure the Thread: Once you have sewn around the entire badge, bring the needle up through the back of the fabric and the badge, and then back down through the badge and the fabric. Repeat this process a few times to secure the thread, and then trim any excess thread.
2. Machine Sewing
Machine sewing is a faster and more efficient method for attaching badges, especially for larger projects or multiple badges. Here are the steps for machine sewing a badge:
- Prepare the Machine: Thread the sewing machine with the appropriate thread and adjust the stitch length and tension according to the fabric and badge you are using.
- Position the Badge: Place the badge in the desired position on the fabric and use pins to hold it in place.
- Sew the Badge: Lower the presser foot and start sewing around the edge of the badge. Use a straight stitch or a zigzag stitch, depending on the design and the fabric. Ensure that the stitches are even and secure, and that the badge does not shift during the sewing process.
- Secure the Thread: Once you have sewn around the entire badge, backstitch a few times to secure the thread, and then trim any excess thread.
3. Heat Press Application
For HTV badges, a heat press is used to apply the badge to the fabric. Here are the steps for heat press application:
- Preheat the Heat Press: Preheat the heat press to the recommended temperature for the HTV material. This information can usually be found on the packaging or the manufacturer's website.
- Position the Badge: Place the badge in the desired position on the fabric and use a heat-resistant tape or pins to hold it in place.
- Apply Heat and Pressure: Place a protective layer, such as a Teflon sheet or a piece of parchment paper, over the badge to prevent any residue from sticking to the heat press. Close the heat press and apply pressure for the recommended time. This information can also be found on the packaging or the manufacturer's website.
- Cool and Remove: After the press time, carefully open the heat press and remove the protective layer. Allow the badge and fabric to cool completely before handling. If necessary, use a heat tool to gently reactivate the adhesive and smooth out any imperfections.
Tips for Successful Sewing Badge Application
1. Plan Your Design
Before starting the sewing process, plan your design carefully. Sketch out the placement of the badge on the fabric and consider how it will look in relation to other design elements. This will help you achieve a professional and visually appealing result.
2. Test on Scrap Fabric
Before sewing the badge onto the final fabric, test the sewing technique on a scrap piece of fabric. This will allow you to adjust the stitch length, tension, and pressure as needed, ensuring that the badge is sewn securely and evenly.
3. Use a Template or Guide
If you need to sew multiple badges in the same position, consider using a template or guide to ensure consistency. This can be a simple paper or plastic template that outlines the shape and position of the badge. Place the template on the fabric and use it as a guide to position the badge accurately.
4. Secure the Badge
Ensure that the badge is securely attached to the fabric by using strong and durable thread. For heavier badges or fabrics, consider using a double layer of thread or a stronger stitch pattern to provide additional support.
5. Inspect and Finish
After sewing the badge, inspect it carefully to ensure that it is properly adhered and looks good. Check for any wrinkles, bubbles, or loose edges, and make any necessary adjustments. If the badge is not adhering properly, you may need to reapply it or use additional adhesive to secure it in place.
6. Care and Maintenance
To ensure the longevity of your sewing badge application, proper care and maintenance are essential. Follow the care instructions provided by the badge manufacturer or supplier. Some badges may require special care, such as hand washing or avoiding high heat. Ensure that you understand and follow these instructions to maintain the quality and appearance of the badge.
Conclusion
Sewing badges is a creative and rewarding way to personalize and enhance various items. By choosing the right type of badge, preparing the surface properly, positioning the badge accurately, and using the correct sewing technique, you can achieve professional and lasting results. Remember to plan your design, test on scrap fabric, use a template or guide, secure the badge, inspect and finish the application, and provide proper care and maintenance. With these tips and techniques, you can create sewing badges that not only look great but also stand the test of time, making a lasting impression on those who see them. Whether you're sewing badges for personal use or professional purposes, the art and craft
Revive Your Pants, Redefine Style: The Magic of Our Pants Patches
Steps to Ensure Successful Patch Application




SEND MESSAGE