Why Rubber Patches for Clothing Are Beating Embroidery
Table of Contents
- The Problem Nobody Talks About Until It's Too Late
- What Exactly Are Rubber Patches for Clothing?
- Design Elements That Make or Break a Great Patch
- Technical Specs at a Glance
- Picking the Right Material for Your Garment
- Matching Patches to Fabric Types
- Ordering Without the Headache
- How to Apply a Rubber Patch in Five Steps
- Making Them Last
- Quick Answers to Common Questions
Rubber patches for clothing outlast embroidery and print. Get material specs, design tips, fabric compatibility charts, and custom ordering info in one guide.
The Problem Nobody Talks About Until It's Too Late
You spent good money on a custom embroidered logo for your brand's jacket line. Three washes later, the threads are fraying. Six months in, the colors look tired. A year down the road, customers are sending back photos of peeling, cracked labels that make your brand look cheap.
Sound familiar?
It's the dirty little secret of garment branding. Embroidery frays. Screen printing cracks. Woven tags itch. And every single one of those methods adds labor cost, production time, and a headache you didn't sign up for.
Here's the fix that sportswear brands, streetwear labels, and outdoor gear makers have been quietly switching to for the past few years. Rubber patches for clothing. They're waterproof. They're bold. They survive 50-plus industrial wash cycles without blinking. And they cost a fraction of what traditional embroidery does at scale.
Let's break down exactly what they are, how they're designed, what specs matter, and how to order them without getting lost in jargon.
What Exactly Are Rubber Patches for Clothing?
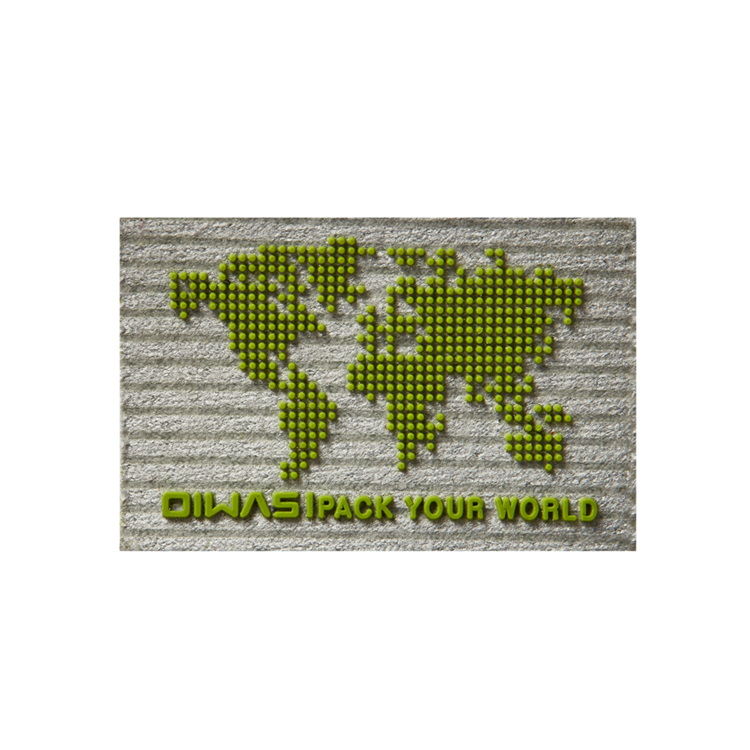
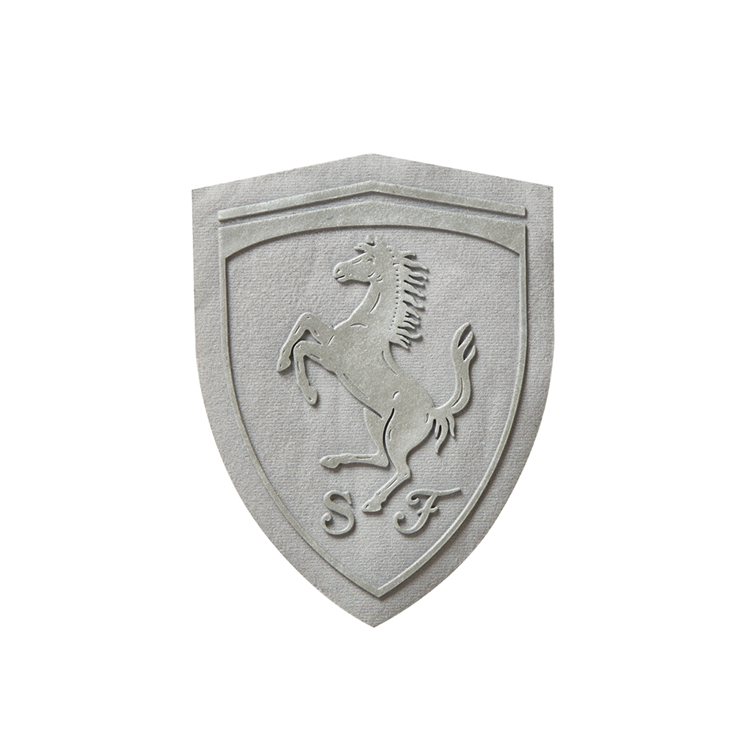
Rubber patches for clothing are small, molded badges made from PVC, silicone, or thermoplastic rubber (TPR). They carry your logo, text, or graphic in raised 3D relief and attach to fabric through heat-seal adhesive, self-stick backing, Velcro, or a sew channel.
No needles. No thread. No embroidery machine operator charging by the stitch.
You press them on, stick them on, or Velcro them on, and they stay put through rain, sweat, mud, and the washing machine. They feel premium under the fingertip. They look sharp from across the room. And they don't unravel, ever.
Typical applications include denim jackets, nylon windbreakers, cotton tees, backpacks, baseball caps, tactical vests, kids' activewear, and workwear uniforms. If it's fabric and it needs a logo, a rubber patch can handle it.

Design Elements That Make or Break a Great Patch
Not all rubber patches for clothing are created equal. The difference between a patch that looks like a cheap sticker and one that looks like it belongs on a $200 jacket comes down to six design decisions.
Material composition. PVC is the workhorse. It's affordable, holds sharp detail, and comes in any Pantone color you can name. Silicone is softer, hypoallergenic, and handles extreme heat, making it ideal for baby clothes or activewear. TPR sits in the middle as an eco-friendlier option that still molds well.
Shape and contour. You can go standard (rectangle, circle, shield) or fully die-cut into any custom silhouette. The real visual pop comes from choosing 3D multi-layer molding, where different elements of your design sit at different heights, creating genuine depth you can feel.
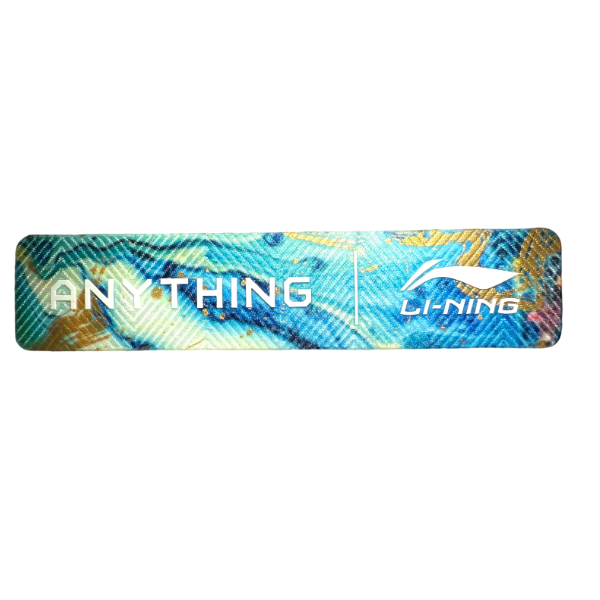
Color and finish. Up to 12 Pantone-matched colors per patch. Finishes range from matte and glossy to metallic foil, glow-in-the-dark, and retro-reflective for safety gear. Color is injected into the mold, not painted on top, so it won't chip.
Texture and surface detail. Raised (embossed) elements catch light and draw the eye. Recessed (debossed) areas create contrast. Some brands add micro-texture for a tactile grip feel, especially on bags and outerwear.
Backing and attachment. This is where function meets application. Heat-seal adhesive works for most fabrics. 3M self-adhesive suits leather and PU. Velcro lets the wearer swap patches. A sew channel border adds mechanical security for high-stress zones like shoulders and knees.
Size and proportion. Most patches run between 30 mm and 120 mm wide. Keep detail lines above 0.3 mm or they'll blur in the mold. The maximum single mold size is roughly 150 × 150 mm, though most garment applications stay well under that.
Technical Specs at a Glance
Here's the data table you'll want to screenshot or bookmark.
| Parameter | Specification |
|---|---|
| Material | PVC / Silicone / TPR |
| Thickness | 1.0 mm to 4.0 mm |
| Size Range | 20 × 20 mm up to 150 × 150 mm |
| Colors | Up to 12 Pantone-matched |
| Layers | 2D flat or 3D multi-layer (up to 5) |
| Backing | Heat-seal / 3M adhesive / Velcro / Sew-on |
| Wash Resistance | 50+ cycles at 40 °C |
| Temperature Range | −20 °C to +80 °C (silicone to +200 °C) |
| Weight | 2 to 8 g per patch |
| MOQ | 100 pcs stock / 500 pcs custom mold |
| Lead Time | 7–12 days sample / 15–20 days bulk |
| Compliance | REACH, CPSIA, OEKO-TEX optional |
Picking the Right Material for Your Garment
Not sure whether to go PVC, silicone, or TPR? This comparison should settle it.
| Feature | PVC | Silicone | TPR |
|---|---|---|---|
| Softness | Medium | Very soft | Medium-soft |
| 3D Detail | Excellent | Good | Good |
| Heat Resistance | 80 °C | 200 °C | 100 °C |
| Eco Rating | Standard | High | High |
| Cost per 1,000 pcs | $0.15–$0.45 | $0.35–$0.80 | $0.25–$0.55 |
| Best For | Streetwear, caps, bags | Baby wear, activewear | Eco brands, workwear |
If budget is tight and you need maximum visual punch, PVC wins. If the patch touches a child's skin or goes near a heat source, silicone is the safer call. If your brand story leans green, TPR gives you the sustainability angle without a huge price jump.
Matching Patches to Fabric Types
A patch is only as good as its bond to the garment. Here's a quick compatibility guide.
| Fabric / Garment | Best Backing | Thickness | Tip |
|---|---|---|---|
| Denim | Heat-seal + sew channel | 2.0–3.0 mm | Reinforce edges for heavy wash |
| Nylon / Polyester | 3M adhesive or Velcro | 1.0–2.0 mm | Lower press temp to protect coating |
| Cotton tees | Heat-seal (low temp) | 1.0–1.5 mm | Press at 130 °C for 10 seconds |
| Leather / PU | Self-adhesive or stitch | 2.0–4.0 mm | Skip the heat press entirely |
| Canvas bags | Velcro or sew-on | 2.5–4.0 mm | Thicker patch equals more impact |

Ordering Without the Headache
You've got the design. You know the material. Now the logistics.
| Order Detail | Info |
|---|---|
| Artwork Format | AI, PDF, CDR, or EPS vector file |
| Digital Proof | Free, delivered in 24–48 hours |
| Physical Sample | $30–$60, ships in 5–7 days |
| Bulk Production | 15–20 business days |
| Packaging | Poly bag / 100-pc bundle / retail card |
| Shipping | DHL, FedEx, or sea freight |
| Payment | 50% deposit, 50% before shipment |
| Reorders | 8–15% discount, no new mold fee |
Most suppliers waive the mold fee entirely once your order crosses 3,000 pieces. If you're testing a design, start with 100 to 500 units, validate the look on the actual garment, then scale.
How to Apply a Rubber Patch in Five Steps
- Pre-heat the garment area to remove moisture.
- Position the patch and lay a Teflon sheet over it.
- Heat-press at 150 °C for 10 to 15 seconds at medium pressure. Adjust downward for delicate synthetics.
- Let it cool for 30 seconds before peeling the carrier film.
- For high-stress areas, add a quick perimeter stitch for extra security.
That's it. No embroidery operator. No thread changes. No broken needles at 2 a.m. before a product launch.
Making Them Last
Rubber patches for clothing are tough, but they're not invincible. Wash garments inside-out on a cold or warm cycle, 40 °C or below. Skip the bleach. Skip the fabric softener poured directly onto the patch. Air-dry when possible. And never, ever iron directly on the patch surface.
Treat them right and they'll look factory-fresh for three to five years, easily outliving the garment they're stuck to.
Quick Answers to Common Questions
What's the minimum order?
Usually 100 pieces for stock shapes, 500 for a fully custom mold.
Will they survive industrial laundry at 60 °C?
PVC handles it for about 30 cycles. Silicone handles it indefinitely.
Are they safe for kids' clothing?
Yes, provided you specify CPSIA-compliant or OEKO-TEX-certified material at the ordering stage.
Can I put one on a waterproof jacket?
Yes. Use 3M adhesive or Velcro backing instead of heat-seal to avoid compromising the DWR coating.
How do I remove one?
Apply low heat to soften the adhesive, peel slowly, and clean residue with isopropyl alcohol.
Can You Really Fix a Boring Tee in Thirty Seconds?
Can the Right Heat Press Silicone Apparel Patch Instantly Give Your Streetwear a High-End Designer Finish?
Related Article