

How to Decorate Leather Bags with Patches
2026-01-31
Table of Contents
Decorating leather bags with patches has become a popular trend for personalization and upcycling.
It allows people to turn ordinary leather bags into unique pieces that reflect their style, while also covering minor scratches or wear. This guide breaks down the entire process step by step, with practical tips, tables for easy reference, and advice to avoid common mistakes.
Before starting your patch decoration project, it is essential to understand its core value and basic principles. Patch decoration is not just about adding a decorative element; it also combines functionality and aesthetics, making your leather bag more distinctive and personalized.
1. Pre-Decoration Preparation
A smooth and successful patch decoration starts with thorough preparation. This step ensures that the patches adhere or attach firmly and that the leather bag remains undamaged.
| Preparation Category | Specific Steps | Purpose |
|---|---|---|
| Leather Bag Preparation | 1. Wipe the bag with a soft dry cloth to remove dust and oil. 2. Test cleaning products on an inconspicuous area. 3. Mark the decoration area with a light pencil. | Ensure good adhesion/stitching and precise positioning. |
| Tool Preparation | Basic: Scissors, ruler, pencil, sewing needle. Professional: Leather punch, rivet gun, leather glue, heat press. | Meet different application needs and ensure operation efficiency. |
| Design Planning | 1. Confirm the decoration style (minimalist, retro, etc.). 2. Decide the number of patches. 3. Match patch colors with the bag. | Avoid cluttered layout and ensure style unity. |
For delicate leather bags (such as suede or lambskin), skip harsh cleaning chemicals. Use a soft brush to remove dust gently to prevent surface damage.
2. Choosing the Right Patches
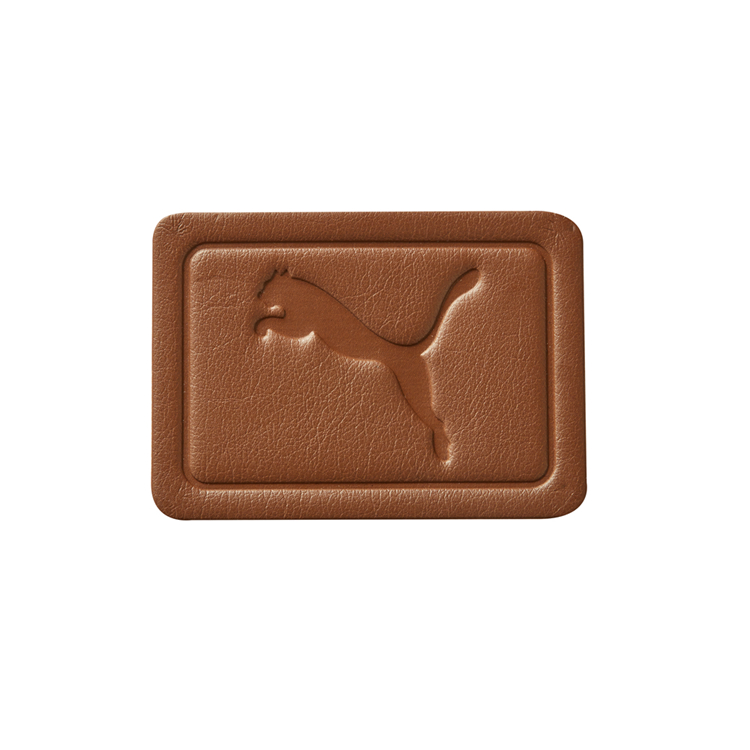
Selecting patches that match your leather bag is the key to a beautiful decoration. The material, style, and size of the patches must coordinate with the bag’s characteristics.
| Leather Bag Type | Recommended Patch Material | Suitable Patch Style |
|---|---|---|
| Genuine Leather (Cowhide/Sheepskin) | Leather, Metal, Embossed Silicone | Minimalist, Luxury, 3D Embossed |
| Faux Leather/PU | PVC, Silicone, Embroidered | Casual, Trendy, Patterned |
| Delicate Leather (Suede/Lambskin) | Lightweight Adhesive, Embroidered | Small, Delicate, Micro-Patches |
When choosing patches, check their quality first. For embroidered patches, ensure there is no fraying; for silicone patches, verify the molding is smooth; for adhesive patches, test the stickiness on a small area.
Size is another important factor. Large tote bags suit big focal patches, while mini crossbody bags are better with small micro-patches to avoid a cluttered look.
3. Strategic Patch Placement
The placement of patches directly affects the overall decoration effect. Whether you are a beginner or an advanced decorator, following basic placement rules can help you avoid mistakes.
| Placement Position | Suitable Bag Type | Decoration Effect |
|---|---|---|
| Front Panel (Central/Offset) | Tote Bags, Crossbody Bags, Backpacks | Focal point, highlights brand/statement patches |
| Shoulder Strap/Handles | All Types of Leather Bags | Practical reinforcement + linear decoration |
| Pocket Flap | Satchels, Messenger Bags, Crossbody Bags | Small detail decoration, highlights functional areas |
| Side Panel | Tote Bags, Duffle Bags | Subtle ornament, balances the overall look |
Beginners can start with classic placement positions to ensure a safe and beautiful effect. Advanced decorators can try asymmetric placement or patch clusters for a more personalized look.
A golden rule: Never place patches on functional parts, such as zippers, buckles, or pockets, as this will affect the bag’s usability.

4. Step-by-Step Application Techniques
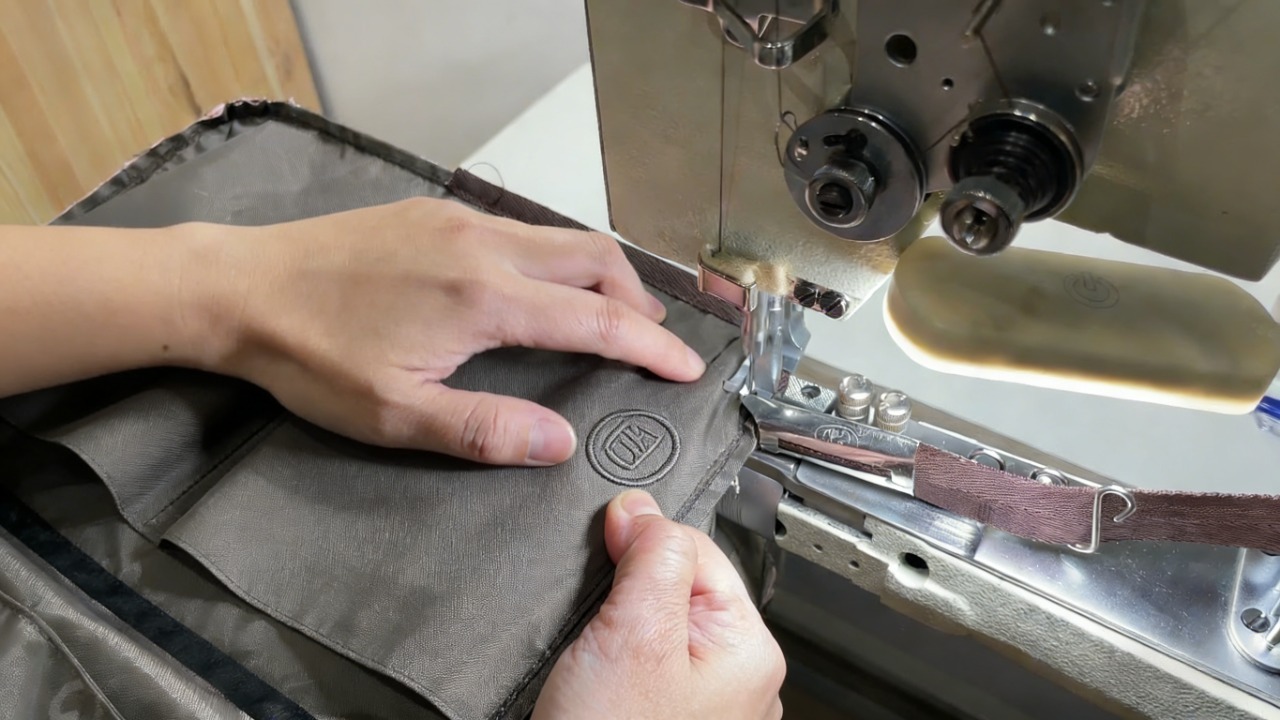
There are three main methods to attach patches to leather bags: sew-on, adhesive/heat press, and rivet/snap fastener. Each method has its own advantages and applicable scenarios.
| Application Method | Steps | Advantages | Applicable Scenarios |
|---|---|---|---|
| Sew-on | 1. Fix the patch with tape. 2. Stitch along the patch edge. 3. Secure knots in an inconspicuous area. | Permanent, durable, no damage to leather. | Thick leather bags, embroidered patches, leather patches. |
| Adhesive/Heat Press | Glue-on: Apply leather glue → press patch → dry 24h. Heat press: Cover with cloth → low heat press → cool. | Semi-permanent, easy to operate, no holes in leather. | Delicate leather bags, silicone/TPU patches. |
| Rivet/Snap Fastener | 1. Punch holes in the bag and patch. 2. Align and install rivets. 3. Press firmly with a rivet gun. | Detachable, industrial style, stable. | Metal patches, heavy patches, casual style bags. |
Pro tips: Use leather-specific thread (nylon or polyester) for sewing, as it is stronger and more durable. For heat press, control the temperature to avoid leather cracking.
5. Styling & Matching Tips
To elevate your patch decoration, match the patches with your bag’s style and coordinate with other accents for a cohesive look.
For minimalist luxury leather bags, choose a single small leather or metal patch and place it in a low-key position, such as the corner of the front panel or the shoulder strap. This maintains the bag’s elegance while adding a personal touch.
For vintage retro bags, use distressed leather or embroidered vintage patches. Arrange them asymmetrically to create a nostalgic vibe. You can also mix different sizes of vintage patches for a layered effect.
For street-style bags, opt for bold 3D silicone or printed patches. Combine multiple patches in a cluster to make a statement. Coordinate the patch colors with the bag’s hardware for a unified look.
| Decoration Style | Patch Selection | Matching Tips |
|---|---|---|
| Minimalist Luxury | Small leather/metal patches, plain design | Monochromatic with the bag, low-key placement |
| Vintage Retro | Distressed leather, embroidered vintage patterns | Asymmetric layout, earth-tone colors |
| Street Cool | 3D silicone, bold printed patches | Cluster combination, complementary colors |
6. Post-Decoration Care & Maintenance
Proper care after decoration can extend the life of your patched leather bag and keep the patches looking new.
Daily cleaning: Wipe the bag with a soft dry cloth to remove dust. For adhesive or silicone patches, avoid harsh chemicals that may damage the material. Use a mild leather cleaner for stubborn stains.
Repair tips: If sew-on patches become loose, re-stitch them and reinforce the knots. For peeling adhesive patches, remove the old glue first before applying new leather glue.
Storage: Keep the bag in a dust bag when not in use to prevent patch deformation or scratching. Avoid direct sunlight, as it can fade the color of both the patches and the leather.
7. Common Mistakes to Avoid
Many people make simple mistakes when decorating leather bags with patches, which can ruin the effect or damage the bag. Here are the most common ones to steer clear of:
| Common Mistakes | Harm | How to Avoid |
|---|---|---|
| Material Mismatch | Damage to leather, patches fall off easily. | Refer to the material matching table before choosing patches. |
| Hasty Placement | Crooked patches, imbalanced layout. | Mark the position with a pencil before attaching patches. |
| Improper Fixing | Patches fall off, leather is damaged. | Follow the correct application steps for each method. |
| Over-Decoration | Cluttered look, loses the bag’s original style. | Control the number of patches and keep the style unified. |
8. Creative Inspiration & Upcycling Ideas
Patch decoration is not only for new leather bags; it is also a great way to upcycle old or damaged bags.
Personalized customization: Create custom patches with your name, logo, or favorite photo. This makes your leather bag one of a kind and perfect for gifting.
Old bag upcycling: Use patches to cover scratches, stains, or small holes on old leather bags. This breathes new life into your bag and reduces waste.
Seasonal decoration: Use removable patches (rivet or adhesive) to switch up your bag’s look for different seasons or holidays. For example, use floral patches in spring and festive patches in winter.
Conclusion
Decorating leather bags with patches is a simple, fun, and creative way to personalize your accessories. By following the steps in this guide—preparation, patch selection, placement, application, care, and avoiding mistakes—you can create a unique leather bag that reflects your style.
Remember, the key to successful patch decoration is balance: balance between patches and the bag’s style, balance between functionality and aesthetics, and balance between personalization and elegance. Start with a single patch if you are a beginner, and gradually experiment with more creative layouts as you gain confidence. With a little creativity and patience, your patched leather bag will become a stylish and distinctive accessory that you can enjoy for years to come.


PEPHAWK is proud to highlight ourintegrated one-stop service—seamlessly combining professional design, R&D, and manufacturing capabilities to deliver cohesive, end-to-end solutions for our valued clients.
Our core product range covers a diverse selection of high-quality accessories and silicone-based items, including:
- Garment Accessories: Silicone Labels, Micro Fiber Labels, TPU Labels, Leather Labels
- Electronic & Lifestyle Gadgets: Silicone Mobile Phone Skins, Silicone MP3 Skins, Silicone Chaplets, Silicone Bracelets
Beyond our core offerings, we also connect clients with complementary products through our trusted affiliated companies, ensuring all your needs are met under one partnership.
What sets us apart is our specialized expertise in key manufacturing processes: Silk Screen Printing, High-Frequency Welding, Sublimation Printing, Seamless Fabric Processing, and Laser Cutting. These capabilities allow us to serve a wide array of industries—from garments, shoes, caps, and gloves to electronic devices, bags, and sporting equipment—with products that blend durability, functionality, and aesthetic appeal.
At PEPHAWK, customer satisfaction is our top priority. We’re committed to providing responsive, thorough support, andguarantee a same-day response to all inquiries—no exceptions. You can rely on us for consistent quality, reliable delivery, and a partnership that’s as efficient as it is trustworthy.
Whether you’re looking for custom apparel labels, protective silicone skins, or tailored manufacturing solutions, PEPHAWK has the expertise and flexibility to bring your vision to life.
Instructions for Iron-On Patches on Apparel: A Step-by-Step Practical Guide
DIY Iron On Decals: A Complete Guide for Beginners and Enthusiasts




SEND MESSAGE