

Ready to Launch Your Own Brand? Here are 6 Steps to Make Your Own Professional-Quality Iron-Ons with Zero Design Experience
Explore the art of making your own iron-on designs. Our resources will guide you through creating personalized items that stand out!
1. Why Every New Brand Needs a Signature – and How an Iron-On Can Be It
So you’ve got the vision. Maybe it’s a line of streetwear, cozy beanies for your hometown market, or a collection of minimalist hoodies that feel like a warm hug. But how do you make your brand stand out from the crowd?
The answer might surprise you: start with the details.
One of the most powerful yet underrated tools in fashion branding is the humble iron-on label. It’s not just about slapping on a logo anymore — today’s custom patches are storytelling devices, personality boosters, and even conversation starters. And the best part? You don’t need a design degree or a big budget to create something that looks like it came straight off a runway.
Let us show you how to go from idea to professional-quality iron-on patch — in just six steps.
2. Step 1: Start with Your Story – What Do You Want Your Brand to Say?
Before we talk about fonts or colors, let’s talk about you . What’s your brand’s vibe? Is it bold and rebellious? Soft and sustainable? Clean and classic?
Your patch should reflect that tone. A surf brand might lean into ocean motifs and playful typography. A fitness apparel startup could opt for sleek monograms and motivational slogans. Even if you’re not a designer, knowing your story helps you choose the right visual language.
And remember — patches aren’t just for logos. They can also represent values (like “Made with Love” or “Eco-Friendly”), showcase limited editions, or celebrate milestones. The more personal, the better.
3. Step 2: Choose the Right Patch for the Fabric – One Size Doesn’t Fit All
Here’s a truth many new brands overlook: not all fabrics accept heat the same way. That’s why we offer different types of iron-ons tailored to each material:
For Denim & Jackets
Use thick, durable twill patches with embroidery. These hold up well through washes and wear, and they give that “vintage jacket” feel everyone loves.
For Hats & Beanies
Soft knits call for smooth satin-backed patches. They’re thin enough to mold around curved surfaces without adding bulk or stiffness.
For T-Shirts & Hoodies
Try woven labels or printed vinyl patches. They’re flexible, lightweight, and perfect for everyday comfort.
For Sportswear & Activewear
Go with low-melt adhesive patches designed for synthetic fabrics. These won’t warp or damage moisture-wicking materials.
Matching your patch type to your garment ensures your final product looks polished — not patched together.
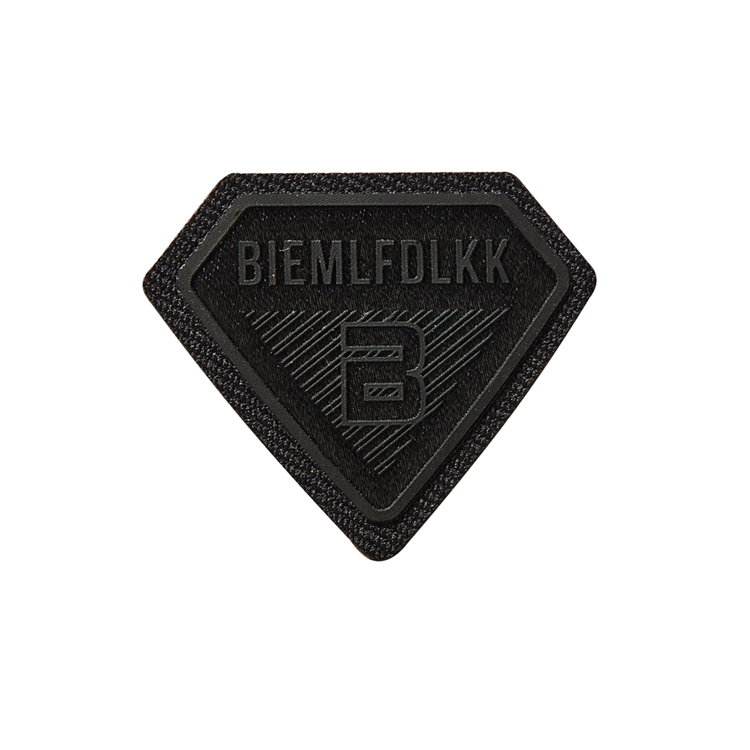
4. Step 3: Pick Placement Like a Pro – Where It Goes Matters More Than You Think
You’ve got your patch. Now where does it go?
Placement makes all the difference in how your brand is perceived:
- On Caps: Try the front center for bold branding, or the side for a subtle nod.
- On Hoodies: Inside the hood adds a personal touch; the back panel turns your hoodie into a walking billboard.
- On Jackets: Sleeves and chest areas are prime spots for visibility and style.
- On Accessories: Even small items like tote bags or belt loops look sharp with a mini patch.
Think of placement as your secret weapon. It guides the eye, tells your story, and builds recognition — all without saying a word.
5. Step 4: Let Tools Do the Work – No Design Skills Needed
Worried you can’t use Photoshop or Illustrator? Don’t be.
We’ve built our platform so anyone — yes, even you — can create a custom patch in minutes. Just upload your logo, pick your font, choose your colors, and preview your patch on a real garment before ordering.
No guesswork. No stress. Just drag-and-drop simplicity.
Still unsure? We’ve got templates, examples, and friendly support ready to help you every step of the way.
6. Step 5: Test, Try, Repeat – Create Samples Before Going Big
Never launch blind. Always test first.
Order one or two sample patches and apply them to your favorite garments. See how they feel after a wash cycle. Ask friends what they think. Does it look professional? Does it match your brand voice?
Testing gives you confidence — and avoids costly mistakes down the line.
We recommend starting small, getting feedback, and scaling up only when you know what works.
7. Step 6: Bring It All Together – From Idea to Real-Life Merch in Days
Once your design is locked in, we handle the rest. Our production team prints your patches using high-quality materials and ships them directly to you — usually within 5–7 business days.
From there, you can apply them yourself with a home iron or heat press. No factory needed. No minimum orders. Just fast, affordable customization that scales with your brand.
Tired of Creative Limits? Learn How to Create Stunning, Pro-Level Iron-On Decals in Just 4 Simple Steps
How to Transform Your Merchandise in Under 7 Days: The 3 Design Secrets Behind Our Custom Iron-On Patches



