

How to Put Name Labels on Backpacks with Heat Press Machine
2026-01-12
Table of Contents
- I. Introduction: The Significance of Name Labels and the Advantages of Heat Press Machines
- II. Preparatory Work: Laying the Foundation for Successful Label Application
- III. Step-by-Step Application Methods: Focus on Heat Press Machine for Heat-Activated Labels
- IV. Post-Application Tips and Maintenance: Ensuring Long-Lasting Results
- V. The Advantages of Custom Heat-Activated Name Labels (e.g., PEPHAWK Custom Labels)
- VI. Conclusion: Choose the Right Method for Your Needs
The heat press machine stands out for its ability to create a strong, long-lasting bond between heat-activated labels and backpack fabrics.
This guide will walk you through everything you need to know about putting name labels on backpacks, with a focus on using a heat press machine, from preparatory work to post-application maintenance.
I. Introduction: The Significance of Name Labels and the Advantages of Heat Press Machines
The primary purpose of attaching name labels to backpacks is to establish clear ownership. For students, in particular, backpacks filled with textbooks, stationery, and personal items are easily mixed up in classrooms or locker rooms. A prominent name label can help teachers, classmates, or staff quickly identify the owner, saving time and avoiding unnecessary disputes. For adults who frequently commute or travel, name labels can be a lifesaver in public places like airports, train stations, or gyms, where misplaced backpacks are common. Additionally, custom name labels with unique fonts, colors, or even small patterns can transform a plain backpack into a personalized accessory, reflecting the owner’s style and personality.
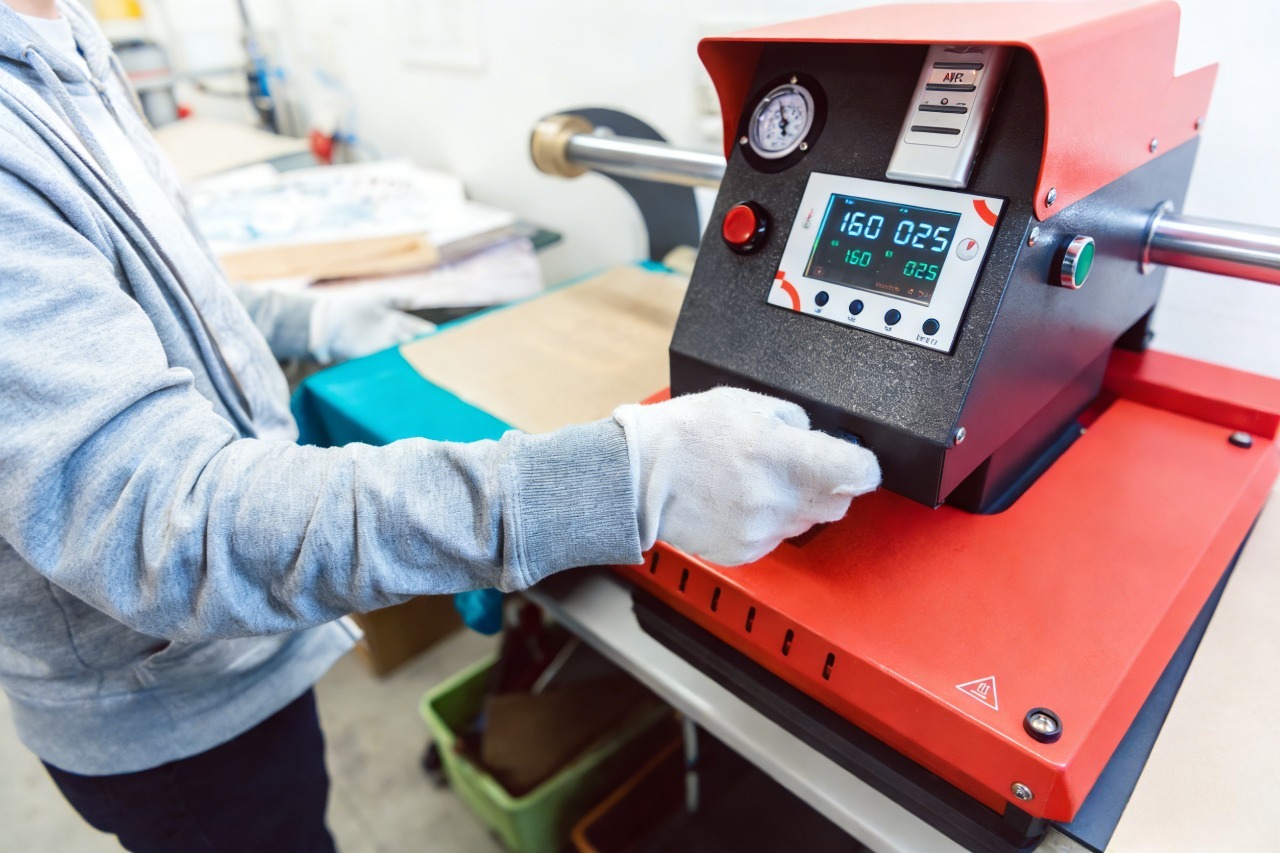
When it comes to applying heat-activated name labels, the choice of tool significantly impacts the quality of the bond. While traditional irons are commonly used in households, they have inherent limitations: uneven pressure distribution, difficulty in maintaining a consistent temperature, and a higher risk of damaging delicate backpack fabrics. In contrast, heat press machines are designed to address these issues. They feature a flat, heated platen that applies uniform pressure and precise temperature control, ensuring that the adhesive on heat-activated labels melts evenly and bonds firmly to the fabric. This not only enhances the durability of the label but also prevents fabric scorching or distortion. Whether you are applying labels to a canvas backpack, a nylon travel bag, or a polyester schoolbag, a heat press machine provides a reliable and professional application experience.
Common types of name labels suitable for backpacks include adhesive (peel-and-stick) labels, sew-on fabric labels, and heat-activated (heat transfer) labels. Adhesive labels are convenient for quick application but may not be durable enough for frequently used or washable backpacks. Sew-on labels offer excellent longevity but require manual sewing skills and time. Heat-activated labels, when applied with a heat press machine, combine the convenience of adhesive labels with the durability of sew-on ones, making them an ideal choice for most backpack materials. Custom-printed heat-activated labels, such as those from brands like PEPHAWK, also offer a wide range of personalization options, further enhancing their appeal.
II. Preparatory Work: Laying the Foundation for Successful Label Application
A smooth and successful label application begins with thorough preparatory work. This stage involves gathering the necessary materials and tools, inspecting the backpack, and preparing the application surface. Skipping or rushing through these steps can lead to poor adhesion, misaligned labels, or even damage to the backpack, so it is essential to take the time to complete each task carefully.
A. Gather Necessary Materials and Tools
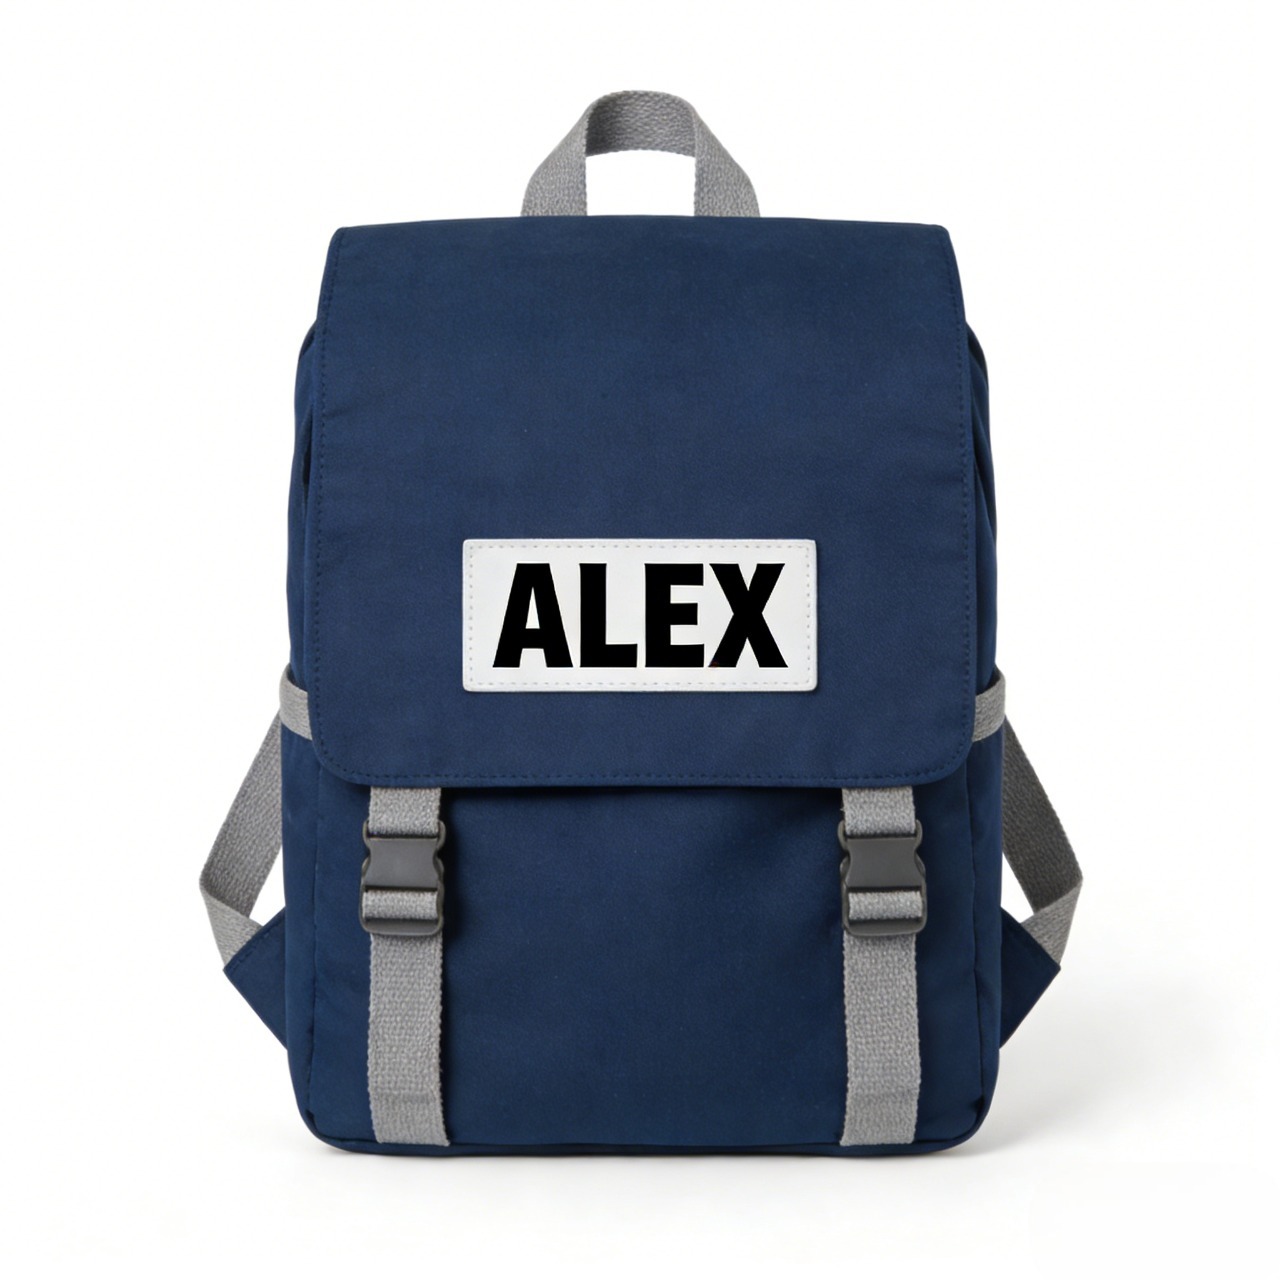
First, select the appropriate name labels based on your backpack’s fabric and your needs. Heat-activated labels are recommended for this guide, and they should be compatible with the backpack’s material (e.g., cotton, canvas, nylon, polyester). When choosing labels, opt for high-quality ones made from durable, water-resistant, and fade-resistant materials to ensure they withstand daily use and washing. Custom labels with your name, contact information, or unique designs can be ordered from specialty stores or online retailers like PEPHAWK, which offer customizable fonts, colors, and sizes.
Next, gather the required tools: a heat press machine (portable or desktop models are both suitable for home use), a cleaning cloth, alcohol wipes, scissors (for trimming labels if necessary), a ruler or measuring tape (for aligning labels), a thin piece of heat-resistant fabric (such as cotton muslin or Teflon sheet), and a pair of heat-resistant gloves (to protect your hands from burns). If you are also considering other label types (e.g., sew-on labels), you may need additional tools like sewing needles, thread that matches the label and backpack color, and pins.
B. Inspect and Clean the Backpack Surface
Before applying the label, inspect the backpack to identify the optimal application position. The ideal location should be flat, smooth, and relatively low-friction to prevent the label from peeling off due to frequent rubbing. Common choices include the inside of the main compartment (hidden but still accessible for identification), the back panel (visible but not easily damaged), or the shoulder strap (convenient for quick checks). Avoid areas with seams, zippers, or bulky decorations, as these can interfere with the heat press machine’s ability to apply uniform pressure.
Once the position is selected, clean the target area thoroughly. Dust, dirt, grease, or moisture on the fabric will prevent the label’s adhesive from bonding effectively. Use a cleaning cloth to wipe away loose dust, then dampen an alcohol wipe to gently clean the surface. The alcohol will remove any remaining grease or stains without damaging the fabric. Allow the area to dry completely (at least 5-10 minutes) before proceeding—applying the label to a damp surface will result in poor adhesion.
Additionally, check the backpack’s care label to confirm its fabric composition and heat resistance. Most backpacks made of cotton, canvas, or polyester can withstand the temperature and pressure of a heat press machine, but delicate fabrics like silk or vinyl may require lower temperatures or alternative label application methods. If the care label warns against high heat, test a small, inconspicuous area of the backpack with the heat press machine first to ensure no damage occurs.
III. Step-by-Step Application Methods: Focus on Heat Press Machine for Heat-Activated Labels
In this section, we will detail three common methods for applying name labels to backpacks: adhesive labels (for quick, temporary use), sew-on labels (for maximum durability), and the focus of this guide—heat-activated labels applied with a heat press machine. Each method has its own advantages and suitable scenarios, so you can choose the one that best fits your needs.
A. Method 1: Applying Adhesive Name Labels (Quick and Convenient)
Adhesive name labels are the easiest to apply and require no special tools. Start by peeling off the backing paper from the label, taking care not to touch the adhesive surface with your fingers (oils from your skin can reduce stickiness). Use a ruler or measuring tape to align the label with the pre-selected position, ensuring it is straight and centered. Once aligned, press the label firmly onto the fabric, starting from the center and working your way out to the edges to avoid air bubbles. Rub the entire surface of the label vigorously with your fingers or a hard object (like a credit card) for 30-60 seconds to enhance the bond. Allow the label to set for 24 hours before using the backpack or washing it, as this gives the adhesive time to fully cure. While adhesive labels are convenient, they may not be as durable as heat-activated or sew-on labels, especially on backpacks that are washed frequently or used in harsh conditions.
B. Method 2: Sewing on Fabric Name Labels (Maximum Durability)
Sew-on fabric labels offer the highest level of durability, making them ideal for backpacks that are used heavily or washed regularly. To apply a sew-on label, start by pinning it to the target position with straight pins to keep it in place. Choose a thread color that matches or complements both the label and the backpack fabric—matching thread will make the stitches less visible, while contrasting thread can add a decorative touch. Thread a sewing needle with a length of thread (about 18-24 inches) and tie a knot at the end of the thread.
Begin sewing along the edge of the label, using a straight stitch or a zigzag stitch. A straight stitch is simple and effective, while a zigzag stitch provides better coverage and durability, especially for curved edges. Sew approximately 1/8 inch from the edge of the label, making sure the stitches are even and tight. When you reach a corner, pivot the backpack slightly to continue sewing along the next edge. Once you have sewn around the entire perimeter of the label, tie a secure knot at the back of the fabric to prevent the thread from unraveling. Trim any excess thread with scissors. While sew-on labels are durable, they require basic sewing skills and take more time to apply than adhesive or heat-activated labels.
C. Method 3: Applying Heat-Activated Labels with a Heat Press Machine (Ideal Balance of Convenience and Durability)
Heat-activated labels, when applied with a heat press machine, offer the perfect balance of convenience and durability. The heat press machine’s ability to apply uniform pressure and precise temperature ensures that the label bonds firmly to the fabric, resulting in a long-lasting finish. Follow these steps for successful application:
1. Preheat the heat press machine: Refer to the instructions provided with your heat-activated labels to determine the recommended temperature and pressure settings. Most heat-activated labels for backpack fabrics (canvas, nylon, polyester) require a temperature between 300°F (149°C) and 350°F (177°C) and a pressure of 30-40 psi (pounds per square inch). Turn on the heat press machine and set it to the recommended temperature. Allow the machine to preheat fully—this usually takes 5-10 minutes, depending on the model. While the machine is preheating, put on your heat-resistant gloves to protect your hands.
2. Position the label: Place the backpack on a flat, stable surface and smooth out the fabric around the target area to remove any wrinkles. Use a ruler or measuring tape to align the heat-activated label with the pre-selected position, ensuring it is straight and centered. You can use a small piece of tape (low-tack, such as painter’s tape) to temporarily hold the label in place if needed, but be careful not to use tape that may leave a residue on the fabric.
3. Protect the fabric and label: Cover the label and the surrounding area of the backpack with a thin, heat-resistant cloth (like cotton muslin) or a Teflon sheet. This barrier prevents direct contact between the heat press machine’s platen and the backpack fabric, reducing the risk of scorching or discoloration. It also helps distribute heat evenly across the label.
4. Apply heat and pressure: Once the heat press machine is fully preheated, carefully lower the platen onto the covered label. Ensure that the platen covers the entire label to apply uniform pressure. Lock the machine in place (if using a clamshell or swing-away model) and set a timer for the recommended duration—usually 10-15 seconds for most heat-activated labels. Do not move the backpack or the heat press machine during this time, as this can cause the label to shift or the adhesive to bond unevenly.
5. Cool and peel: When the timer expires, carefully lift the platen of the heat press machine. Leave the heat-resistant cloth in place and allow the label and backpack fabric to cool completely (at least 2-3 minutes). Cooling is crucial because the adhesive needs time to solidify and form a strong bond. Once cool, remove the heat-resistant cloth and check the label—if it is firmly attached, gently peel off any backing paper (if applicable). If the label feels loose, repeat the heat press process for an additional 5-10 seconds and allow it to cool again.
IV. Post-Application Tips and Maintenance: Ensuring Long-Lasting Results
Proper post-application care and regular maintenance are essential to keep your name label looking good and staying attached for a long time. Whether you used adhesive, sew-on, or heat-activated labels, following these tips will help extend the life of the label and protect your backpack.
A. Reinforcement Measures for Extra Durability
For backpacks that are used frequently (e.g., school backpacks, hiking backpacks) or washed regularly, adding extra reinforcement to the label can help prevent it from peeling or fraying. For adhesive labels, you can apply a thin layer of clear fabric glue around the edges of the label to seal it and enhance adhesion. For heat-activated labels applied with a heat press machine, you can add a few hand-stitched stitches along the edges of the label—this is especially useful for backpacks made of lightweight or stretchy fabrics that may shift over time. For sew-on labels, double-stitching the edges can provide extra strength and prevent the thread from unraveling.
Avoid using the backpack or washing it within 48 hours of applying adhesive or heat-activated labels. This gives the adhesive enough time to fully cure and form the strongest possible bond. If you need to use the backpack immediately, be careful to avoid rubbing or pulling on the label area.
B. Daily Maintenance and Washing Precautions
When cleaning your backpack, always check the care label first and follow the recommended washing instructions. For machine-washable backpacks with adhesive or heat-activated labels, turn the backpack inside out before washing to protect the label from direct friction with other items in the washing machine. Use a gentle cycle and cold or lukewarm water, as hot water can weaken the adhesive. Avoid using harsh detergents, bleach, or fabric softeners, as these can damage the label’s material and adhesive.
Do not scrub the label area vigorously when hand-washing or spot-cleaning the backpack, as this can cause the label to peel or fade. Instead, gently dab the area with a soft cloth and mild soap. After washing, air-dry the backpack completely before using it again—avoid putting it in the dryer, as high heat can melt the adhesive or shrink the fabric, damaging the label.
For backpacks that are exposed to rain, snow, or moisture, wipe the label area dry with a clean cloth as soon as possible. While high-quality labels are water-resistant, prolonged exposure to moisture can eventually weaken the adhesive. If the label starts to peel slightly at the edges, you can reapply a small amount of clear fabric glue or, for heat-activated labels, use the heat press machine again (at a lower temperature) to reactivate the adhesive.
V. The Advantages of Custom Heat-Activated Name Labels (e.g., PEPHAWK Custom Labels)
While generic name labels are functional, custom heat-activated name labels offer a range of advantages that make them worth considering. Brands like PEPHAWK specialize in custom heat transfer labels, providing personalized options that combine functionality with style.
One of the main advantages of custom labels is personalization. You can choose from a variety of fonts, colors, and sizes to match your backpack’s style and your personal preferences. You can also add additional information beyond your name, such as a phone number, email address, or even a small logo or graphic (e.g., a favorite animal, sports team, or hobby). This not only makes the label more unique but also provides an extra layer of security—if your backpack is lost, the contact information on the label makes it easier for someone to return it to you.
Custom heat-activated labels are also made from high-quality, durable materials. They are designed to be water-resistant, fade-resistant, and wear-resistant, ensuring they withstand daily use, washing, and exposure to the elements. Unlike generic labels, which may peel or fade after a few months, custom labels applied with a heat press machine can last for years.
Another advantage of custom labels is versatility. They are suitable for a wide range of backpack fabrics, including canvas, nylon, polyester, and cotton blends. Whether you have a heavy-duty hiking backpack, a lightweight school backpack, or a stylish commuter backpack, custom heat-activated labels can be applied easily with a heat press machine, providing a professional and long-lasting finish.
VI. Conclusion: Choose the Right Method for Your Needs
Putting name labels on backpacks is a simple yet effective way to prevent loss, facilitate identification, and add a personal touch. With the right materials, tools, and techniques, you can achieve a professional and long-lasting result. Among the various application methods, using a heat press machine for heat-activated labels stands out as the ideal choice for most people, offering the perfect balance of convenience, durability, and aesthetics. Unlike traditional irons, heat press machines provide uniform pressure and precise temperature control, ensuring that the label bonds firmly to the fabric without damaging it.
Before starting the application process, take the time to gather the necessary materials, inspect and clean the backpack, and confirm the optimal application position. Follow the step-by-step instructions for applying the label, and be sure to allow sufficient time for the adhesive to cure. With proper post-application care and maintenance, your name label will stay attached and look good for years to come.
Whether you choose adhesive, sew-on, or heat-activated labels, the most important thing is to choose a method that fits your backpack’s fabric and your personal needs. For maximum convenience and durability, consider using custom heat-activated labels applied with a heat press machine—you’ll be amazed at how easy it is to achieve a professional result, and you’ll have the peace of mind knowing that your backpack is easily identifiable wherever you go.


PEPHAWK is proud to highlight our integrated one-stop service—seamlessly combining professional design, R&D, and manufacturing capabilities to deliver cohesive, end-to-end solutions for our valued clients.
Our core product range covers a diverse selection of high-quality accessories and silicone-based items, including:
- Garment Accessories: Silicone Labels, Micro Fiber Labels, TPU Labels, Leather Labels
- Electronic & Lifestyle Gadgets: Silicone Mobile Phone Skins, Silicone MP3 Skins, Silicone Chaplets, Silicone Bracelets
Beyond our core offerings, we also connect clients with complementary products through our trusted affiliated companies, ensuring all your needs are met under one partnership.
What sets us apart is our specialized expertise in key manufacturing processes: Silk Screen Printing, High-Frequency Welding, Sublimation Printing, Seamless Fabric Processing, and Laser Cutting. These capabilities allow us to serve a wide array of industries—from garments, shoes, caps, and gloves to electronic devices, bags, and sporting equipment—with products that blend durability, functionality, and aesthetic appeal.
At PEPHAWK, customer satisfaction is our top priority. We’re committed to providing responsive, thorough support, and guarantee a same-day response to all inquiries—no exceptions. You can rely on us for consistent quality, reliable delivery, and a partnership that’s as efficient as it is trustworthy.
Whether you’re looking for custom apparel labels, protective silicone skins, or tailored manufacturing solutions, PEPHAWK has the expertise and flexibility to bring your vision to life.
The Cultural Legacy and Collectible World of Baltimore Ravens Patches
How to Identify Iron On Patches: A Guide for Procurement and DIY Enthusiasts




SEND MESSAGE