

Iron-On Clothing Patches: Where to Stick Them on Every Garment
2026-01-06
Table of Contents
- Want to upgrade your wardrobe with iron-on clothing patches?
- First Things First: Why Iron-On Patches Are a Wardrobe Game-Changer
- Let’s Map It Out: Patch Spots & Their Perfect Iron-On Matches
- A. Chest Area: The “Subtle Statement” Spot
- B. Sleeve (Arm): The “Cool & Noticeable” Spot
- C. Back: The “Bold Centerpiece” Spot
- D. Pants & Jeans (Pockets/Knees): The “Functional + Stylish” Spot
- E. Hats & Bags: The “Bonus” Spots (Not Just Clothes!)
- No-Fail Iron-On Hacks (For Lazy Crafters Like Us!)
- 1. Temperature Check: Match Your Iron Heat to the Fabric
- 2. The “Wait 24 Hours” Rule
- 3. Fixing a Peeling Patch
- 4. Wash Garments Inside Out
- Wrap-Up: Go Patch Your Wardrobe!
Want to upgrade your wardrobe with iron-on clothing patches? This casual guide breaks down the best spots (chest, sleeve, back, jeans) + perfect patch types for each area.
Let’s be real—we all have that one piece of clothing in our closet that’s *almost* perfect. Maybe it’s the denim jacket you’ve had since college, now with a tiny tear near the cuff. Or the plain gray hoodie that’s cozy as a hug but lacks any personality. Or even that thrifted flannel shirt you scored for $5, which fits like a dream but feels a little too “basic” for your taste. Enter: iron-on clothing patches. My ultimate wardrobe hack for upgrading old pieces, fixing small flaws, and adding a little “you” to every outfit—no sewing skills required, no messy threads, and most importantly, no commitment (well, almost… but we’ll get to that later).
If you’ve ever stared at a pile of cute iron-on patches and thought, “Where do I even put these?” you’re not alone. I’ve been there—bought a pack of fun patches on a whim, then let them collect dust because I was scared of messing up my clothes. But after years of trial and error (spoiler: I’ve definitely ironed a patch crookedly once or twice), I’ve figured out the best spots to stick every type of patch, and which patches work best for each garment. Today, I’m sharing my casual, no-jargon guide to iron-on patch placement—so you can stop overthinking and start patching.
Whether you’re a total beginner or a seasoned patcher looking for new ideas, this post has you covered. We’ll break down the top garment spots (chest, sleeves, back, jeans—even hats and bags!), the perfect patch type for each, pro tips to avoid mistakes, and some lazy-girl hacks to make the process even easier. Let’s dive in!
First Things First: Why Iron-On Patches Are a Wardrobe Game-Changer
Before we get to the placement, let’s take a second to gush about why iron-on patches are my favorite craft essential. For starters, they’re no-sew. If you’re like me and can barely thread a needle (let alone sew a straight line), this is a game-changer. All you need is an iron, a little patience, and 10 minutes max. They’re also affordable—you can find cute patches for $3-$10 each, which is way cheaper than buying new clothes. And let’s not forget the sustainability factor: patching old clothes means less fast fashion waste. Win-win-win.
Another perk? Versatility. You can use iron-on patches to fix holes, cover stains, or just add flair. I’ve used them to turn a plain white tee into a band merch shirt, fix a knee hole in my favorite jeans, and even add a little personality to a boring tote bag. The possibilities are endless—all you need is a little creativity.
Let’s Map It Out: Patch Spots & Their Perfect Iron-On Matches
Now, the fun part: figuring out where to stick your patches. The key here is to match the patch size and style to the garment spot. A huge patch on the chest might feel overwhelming, while a tiny patch on the back might go unnoticed. Below, I’m breaking down the most popular spots, what patches work best there, and my favorite tips for nailing the look.
A. Chest Area: The “Subtle Statement” Spot
The chest is my go-to spot for a subtle, polished look. It’s not too in-your-face, but it still adds a little something to plain garments. Think of it like a tiny accessory for your shirt—small enough to be tasteful, but noticeable enough to make a statement.
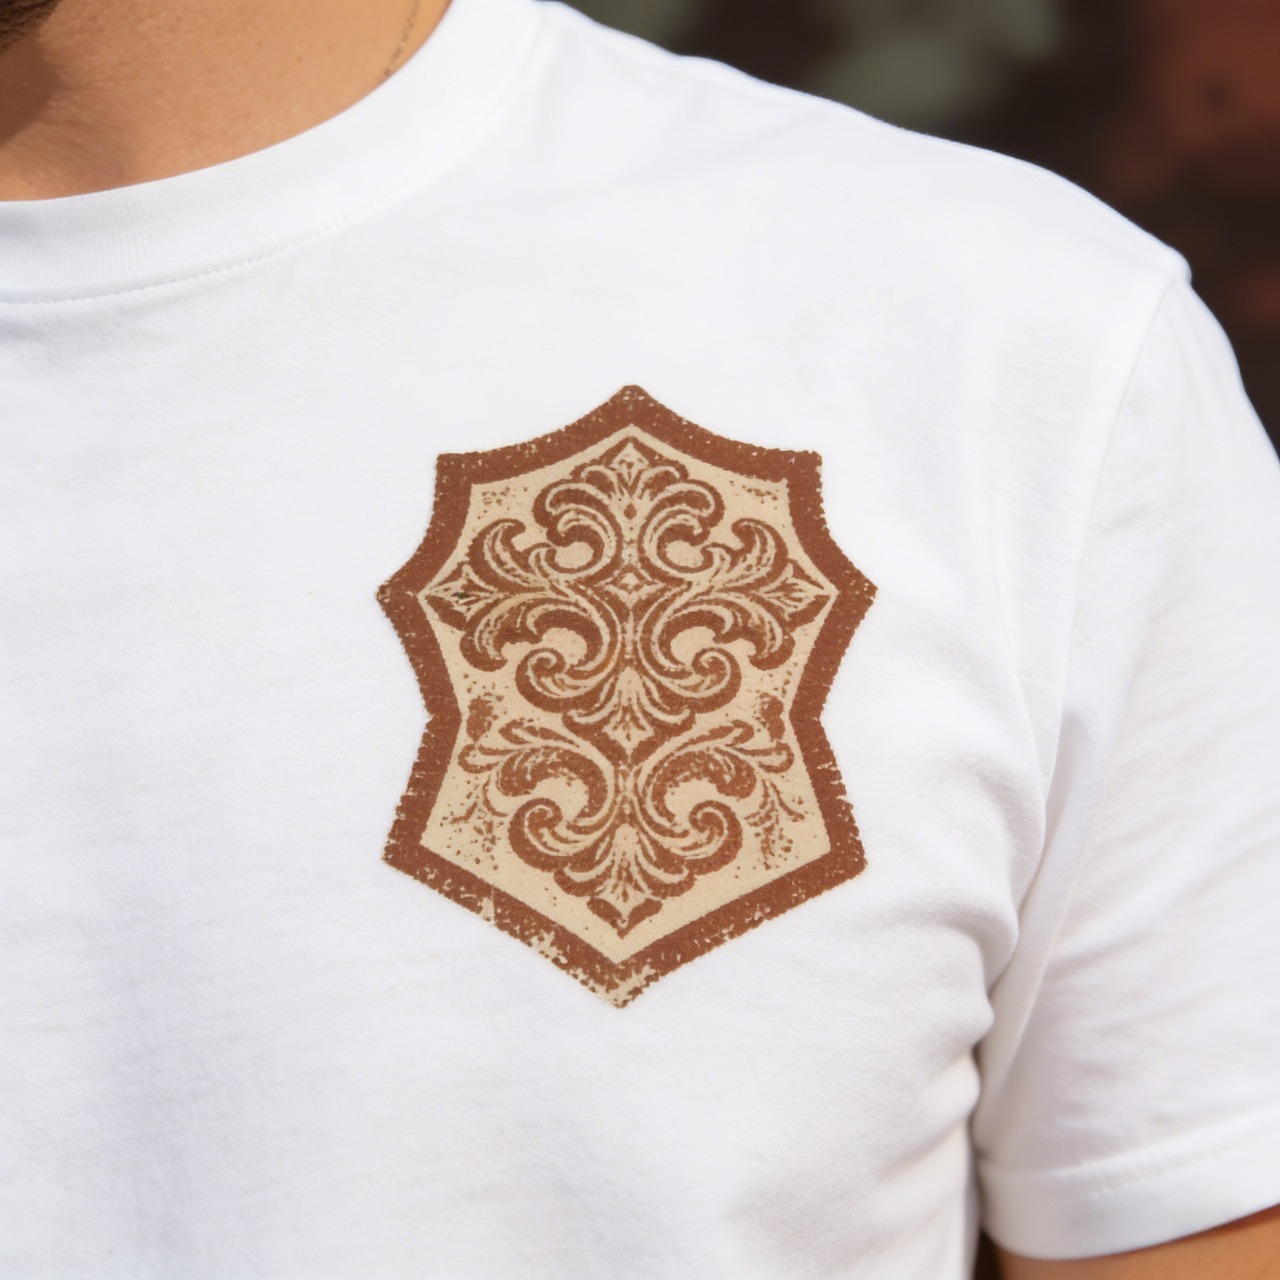
Best for: Small logos, mini slogans, cute tiny motifs (like a little heart, a coffee cup, or your favorite band’s mini logo), or custom iron-on labels. I love putting small patches on button-down shirts, plain tees, and lightweight sweaters.
Iron-on patch type: Stick to thin, lightweight patches here. Thick patches will bulk up the chest area and feel uncomfortable under a jacket or cardigan. Look for patches made from cotton or polyester—they’re soft and lay flat against the fabric.
Pro casual tip: My favorite chest placement is on the pocket of a denim button-down or flannel. Just center the patch on the pocket (or off-center for a more laid-back vibe) and iron it on. It instantly upgrades the shirt from “workwear basic” to “cool weekend vibe.” I also love putting a tiny patch on the left chest of a plain white tee—think like a mini brand logo, but make it fun (mine has a little avocado on it, and I get compliments every time I wear it).
Quick hack: Always use a thin cotton cloth (like an old dish towel or a piece of muslin) over the patch before ironing. This prevents the iron from leaving shiny marks on the patch or your garment—trust me, shiny patches are not a good look. Also, make sure the chest area is flat before ironing—no wrinkles allowed! Wrinkles will make the patch stick unevenly, and it might peel off later.
Oops moment to avoid: Don’t place the patch too close to the neckline. It might rub against your skin and feel annoying, especially if the patch has a stiff backing. Aim for 3-4 inches below the collarbone—perfectly visible, but not intrusive.
B. Sleeve (Arm): The “Cool & Noticeable” Spot
If you want a look that’s a little more eye-catching, the sleeve is the spot for you. Sleeves are great because they’re visible when you move your arms, so your patch gets plenty of attention without being overwhelming. It’s the perfect balance of “cool” and “not trying too hard.”

Best for: Medium-sized patches, sporty logos, quirky designs, or vintage patches (like old sports team patches or band patches). Sleeves work great on denim jackets, hoodies, leather jackets (yes, you can iron patches on leather—just use low heat!), and even long-sleeve tees.
Iron-on patch type: Go for durable, slightly thicker patches here. Sleeves move a lot (you’re always reaching for things, rolling them up, etc.), so you need a patch with strong adhesive that can handle the wear and tear. Canvas or twill patches are perfect—they’re sturdy but still flexible.
Pro casual tip: For denim jackets and hoodies, I always stick my sleeve patches on the left arm (most people are right-handed, so the left arm is more visible when you’re standing or walking). Place the patch about 4-6 inches below the shoulder seam—high enough to be noticed, but low enough that it doesn’t get in the way when you roll up your sleeves. I recently put a vintage basketball team patch on my denim jacket sleeve, and it’s become my favorite detail about the jacket.
Oops moment to avoid: Don’t iron over buttons, zippers, or seams near the sleeve. Not only will this make it hard to get a flat surface (which means the patch won’t stick well), but you might also ruin your iron or the patch. If there’s a button near your desired spot, just shift the patch a little to the side—no one will notice, and it will stick way better.
Another tip: If you’re feeling bold, try layering a few small to medium patches on the sleeve. Just make sure they’re not too close together—leave an inch or two between them so it doesn’t look cluttered. I’ve seen people layer band patches on a leather jacket sleeve, and it looks so cool (and totally effortless).
C. Back: The “Bold Centerpiece” Spot
If you want to make a big statement, the back of a garment is the place to go. The back is a large, blank canvas, so it’s perfect for big, eye-catching patches that demand attention. This spot is great for jackets, hoodies, and even backpacks (yes, backpacks count as “garments” in my book).
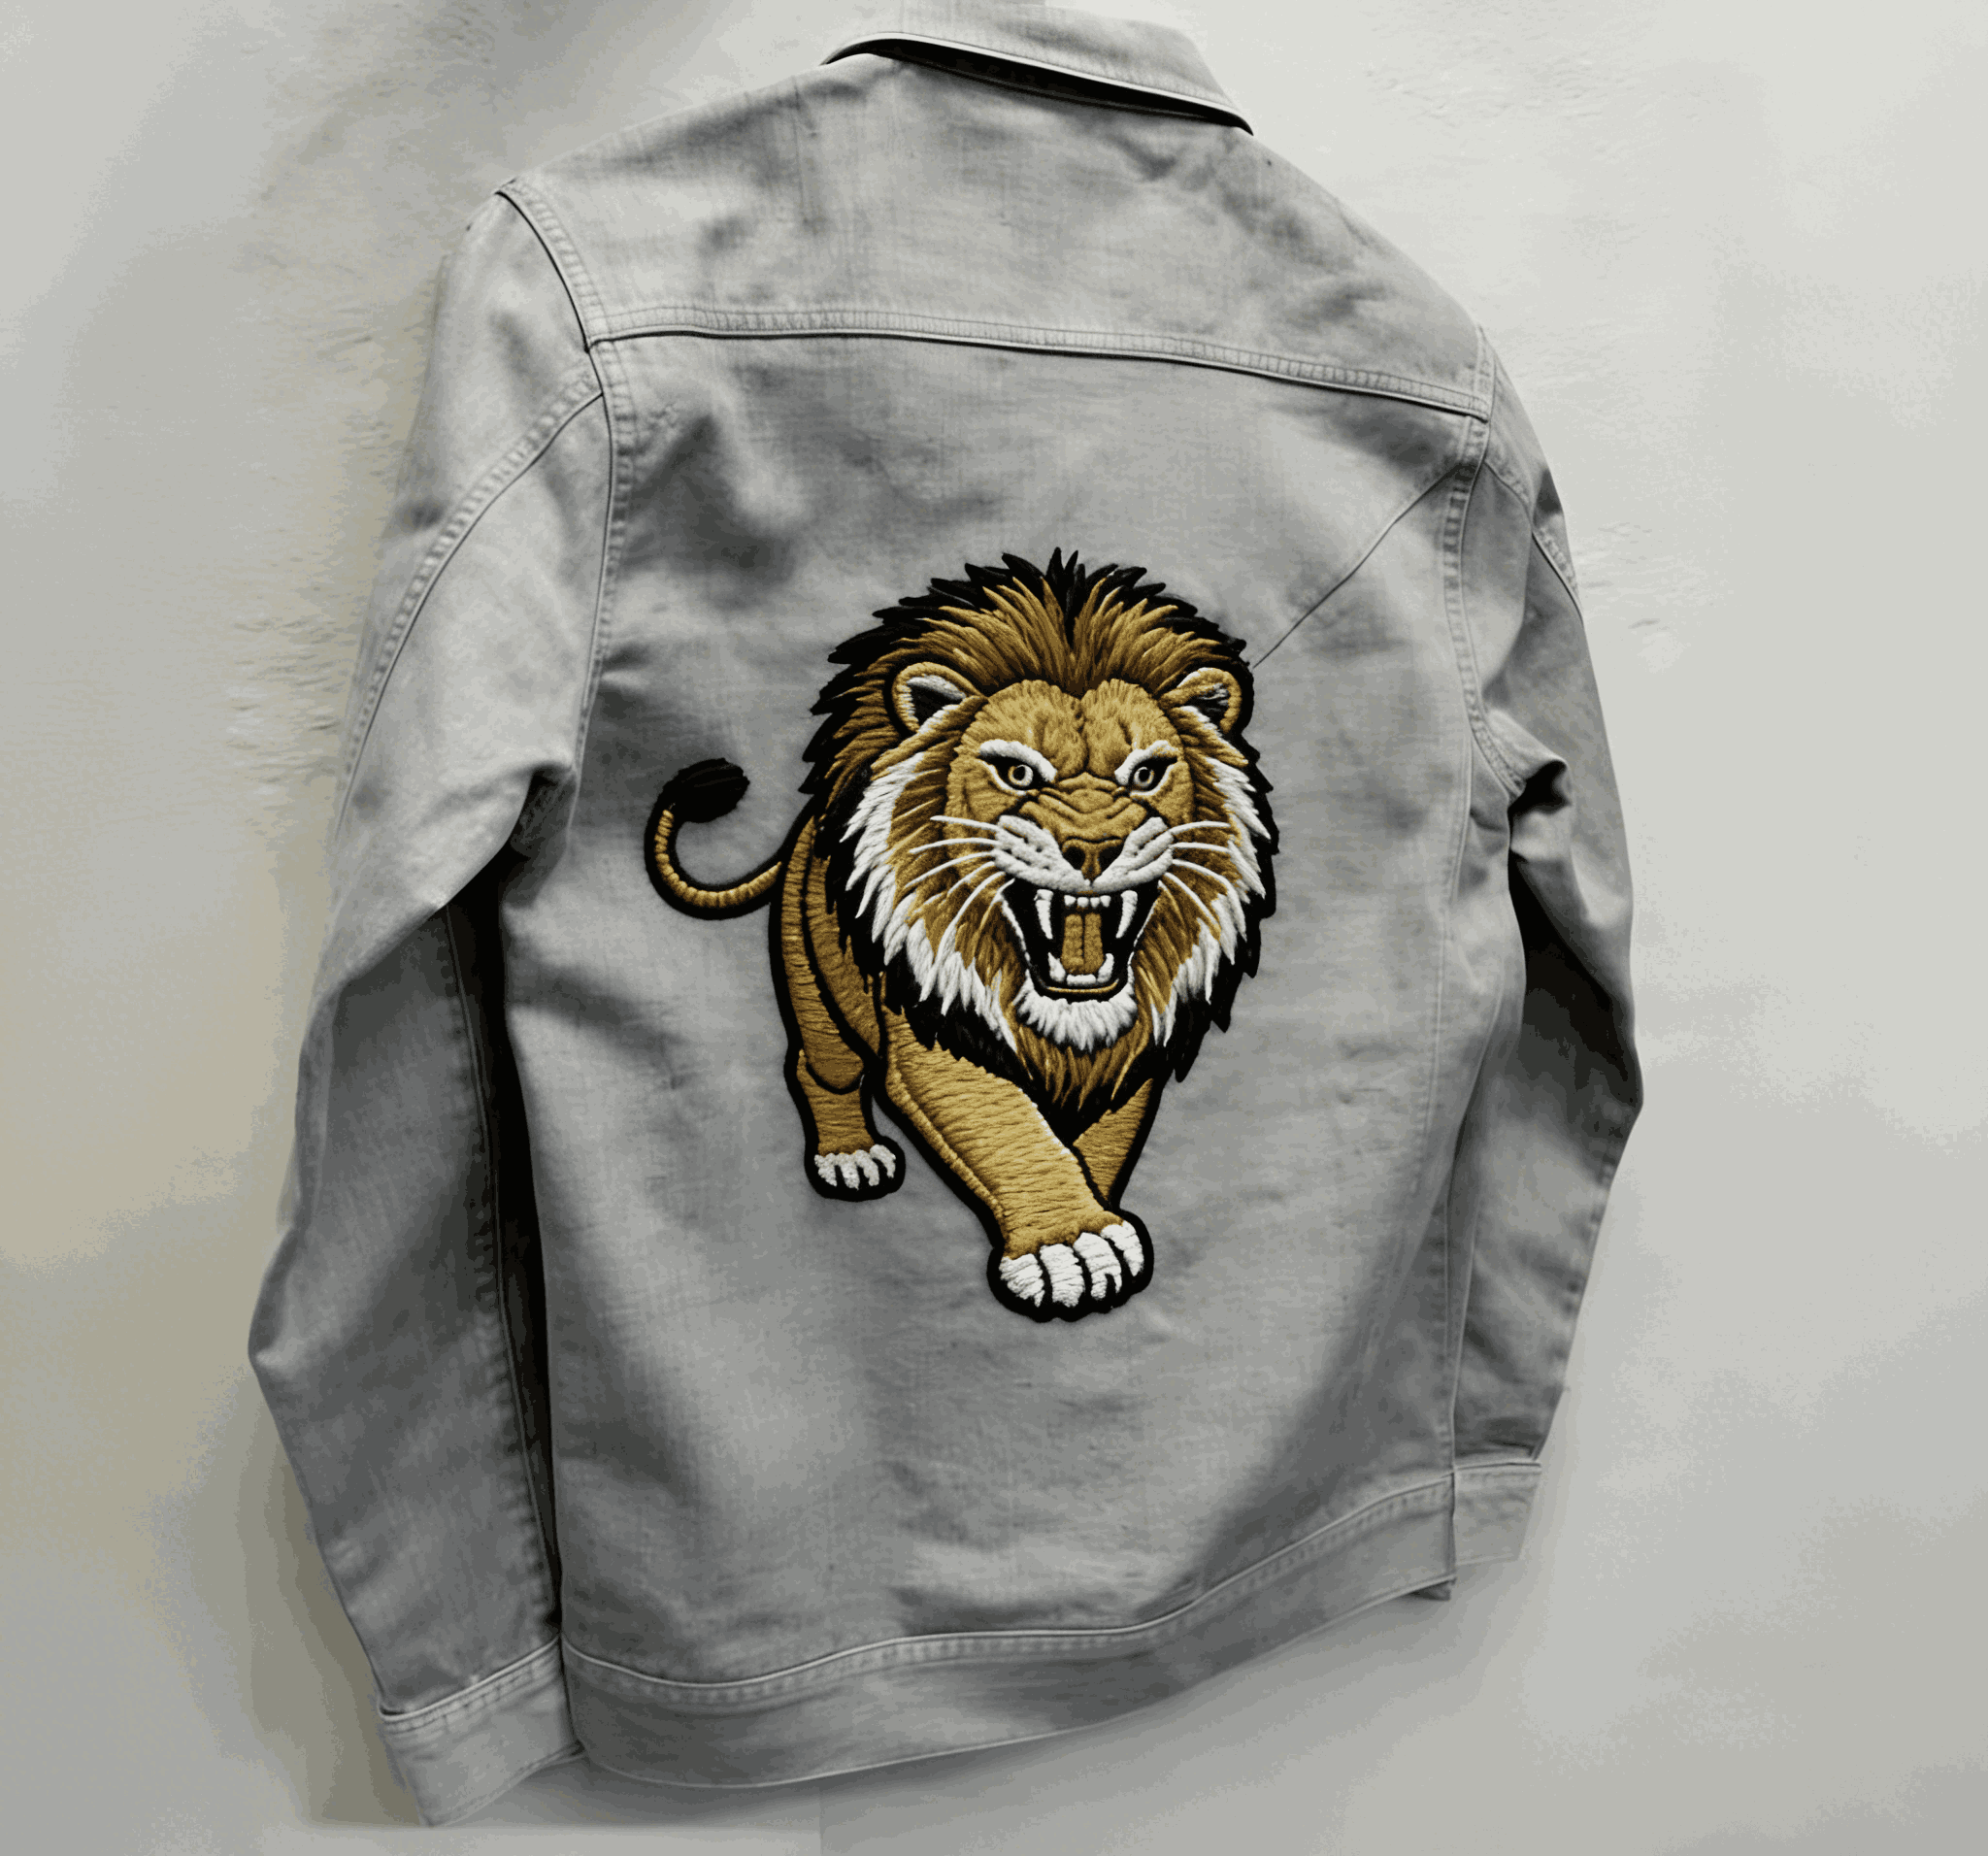
Best for: Large, detailed patches, band tour patches, custom artwork, or themed patches (like a big nature scene, a vintage map, or your squad’s custom patch). I love seeing big patches on the back of denim jackets, hoodies, and even trench coats (for a fun contrast).
Iron-on patch type: Heavy-duty iron-on patches with strong adhesive are a must here. The bigger the patch, the more surface area you need to cover, so you need an adhesive that can hold it all in place. Look for patches labeled “heavy-duty” or “for large surfaces”—they usually have a thicker, stronger backing that sticks better.
Pro casual tip: The key to a perfect back patch is centering it correctly. You don’t need a measuring tape—just fold the garment in half vertically (so the shoulders line up) and make a small crease at the top center of the back. That crease is your guide! Line up the top center of the patch with the crease, and you’ll have a perfectly centered patch every time. I did this with a big floral patch on the back of my favorite hoodie, and it looks like it was professionally done.
Pro tip: Press longer here than you would for smaller spots. For small patches, 10-15 seconds is enough, but for large back patches, press for 20-30 seconds (with firm pressure!). Then, flip the garment inside out and press the back of the patch for another 10 seconds—this helps the adhesive seep into the fabric and stay put.
Another hack: If you’re using a very large patch (like 12 inches or bigger), iron it in sections. Start with the center, then work your way out to the edges. This ensures that every part of the patch gets even heat and pressure, so it doesn’t peel off at the corners.
D. Pants & Jeans (Pockets/Knees): The “Functional + Stylish” Spot
Pants and jeans are my favorite items to patch—because it’s both functional and stylish. We’ve all had jeans with knee holes that we refuse to throw away (they’re just too comfortable!), and patches are the perfect way to fix them while adding a little flair. Pockets are also a fun spot for small patches—they’re subtle, but add a cute detail to plain jeans.
Best for: Reinforcement patches (for knee holes, pocket tears, or thigh holes) or small fun patches (on pocket edges, back pockets, or the side of jeans). I also love patching cargo pants—small patches on the cargo pockets look so cool.
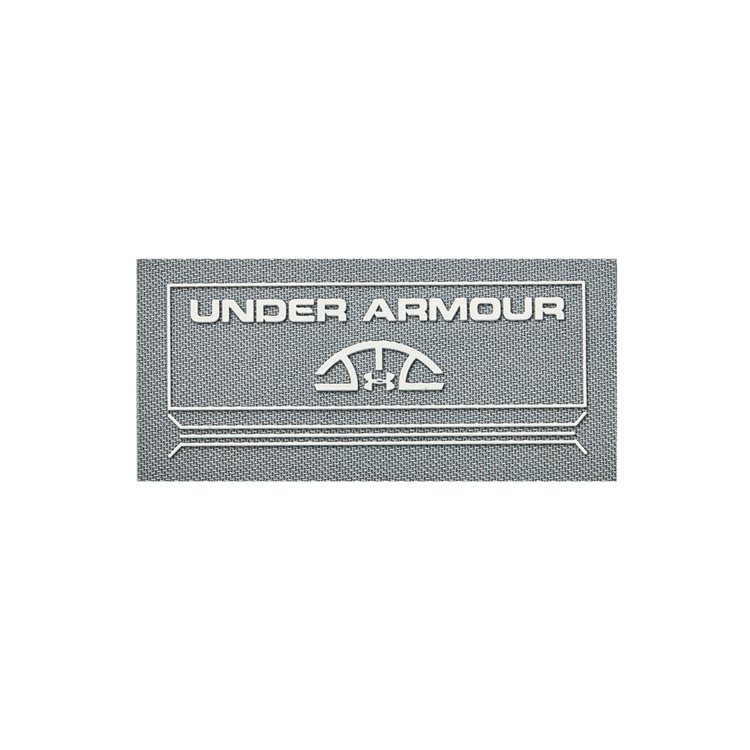
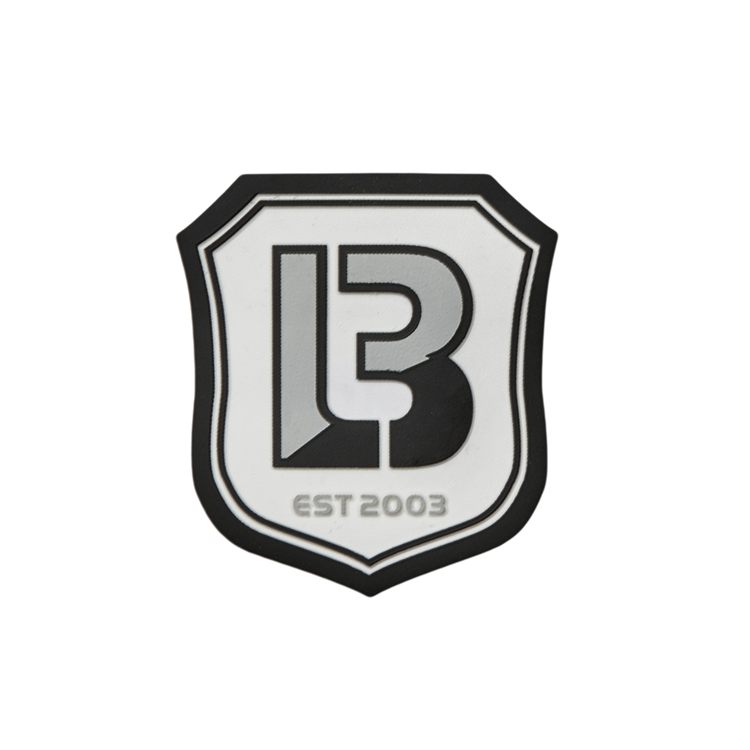
Iron-on patch type: Thick, sturdy canvas patches are ideal for knees and pockets. They’re durable enough to handle the friction and movement (you sit, walk, bend—your knees take a lot of wear!), and they do a great job of reinforcing the fabric. For stretchy jeans, look for stretchable iron-on patches—they move with the jeans instead of cracking or peeling when you bend.
Pro casual tip: Let’s talk knee patches first. If you have jeans with a hole in the knee, cut a patch that’s about 1-2 inches bigger than the hole on all sides. This ensures that the patch covers the entire damaged area and reinforces the surrounding fabric (so the hole doesn’t come back). Iron the patch on the inside of the jeans first (to hold it in place), then flip them right-side out and iron the outside for extra hold. I did this with a pair of my favorite skinny jeans—used a black canvas patch on the inside, and you can barely see it from the outside (unless I roll up the cuffs, which I sometimes do for a fun peek-a-boo effect).
For back pockets: Small patches look best here. Try a tiny logo, a fun slogan, or a cute shape (like a star or a heart) on the corner of the back pocket. It’s a subtle detail that makes your jeans feel unique. I have a pair of high-waisted jeans with a small “vintage” patch on the back pocket, and people always ask where I got them (spoiler: I got them at a fast fashion store and patched them myself!).
Hack: For jeans with thick fabric (like raw denim), use a steam iron. The steam helps the adhesive penetrate the thick fabric better, so the patch sticks more securely. Just make sure to use a cloth over the patch to avoid water spots.
E. Hats & Bags: The “Bonus” Spots (Not Just Clothes!)
Let’s not forget about hats and bags—they’re not technically clothes, but they’re perfect for iron-on patches! They’re a great way to add personality to plain accessories, and they’re super easy to patch (no complicated fabric to worry about).

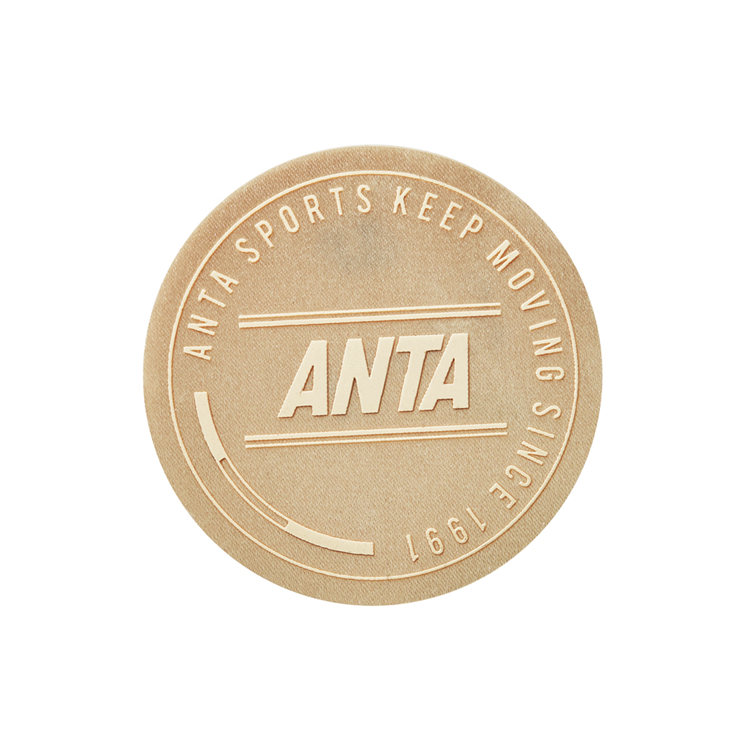
Best for: Tiny patches to add flair to baseball caps, beanies, tote bags, backpacks, or even fanny packs. I love patching my go-to baseball cap—small patches on the side or the back (above the adjustable strap) look so cool. Tote bags are also great—large or small patches work here, and they turn a plain tote into a unique accessory.
Iron-on patch type: Mini, flexible patches are best for hats (especially baseball caps, which have curved surfaces). Look for patches with a thin, flexible backing—they conform to the curve of the hat instead of sticking up awkwardly. For bags (tote bags, backpacks), you can use any type of patch—canvas, cotton, or even vinyl. Just make sure it’s durable enough to handle being thrown around (backpacks take a lot of abuse!).
Pro casual tip: For baseball caps—never iron a patch on the front bill. The bill is stiff (usually made of cardboard or plastic), and the heat from the iron will ruin it (it might melt or warp). Stick to the side of the cap (the part that covers your ear) or the back (above the strap). I have a gray baseball cap with a tiny sun patch on the side, and it’s become my favorite summer accessory.
For tote bags: Large patches look amazing here—they turn a plain tote into a statement piece. Try a big floral patch, a fun slogan, or a custom patch with your name on it. I use a tote bag with a “Book Lover” patch on the front for carrying my books, and it always gets compliments at the library. For backpacks, small patches on the shoulder straps or the front pocket are perfect—they add personality without being too bulky.
No-Fail Iron-On Hacks (For Lazy Crafters Like Us!)
Now that we’ve covered the spots and patches, let’s talk about the most important part: making sure your patches stay put. I’ve had my fair share of patches peel off after one wash, so I’ve learned a few hacks to avoid that. These are simple, lazy-girl-friendly tips that anyone can do—no fancy tools required.
1. Temperature Check: Match Your Iron Heat to the Fabric
This is the #1 mistake people make when using iron-on patches: using the wrong heat setting. Different fabrics need different heat levels, and using too much heat can ruin your garment (or the patch). Here’s a quick guide:
-
Cotton, linen, denim: High heat (most irons have a “cotton” setting). These fabrics can handle the heat, so the adhesive will melt properly and stick well.
-
Polyester, nylon, synthetic blends: Medium heat. High heat will melt synthetic fabrics, so use a lower setting. Always test a small, hidden area of the garment first (like the inside of a seam) to make sure the heat doesn’t damage it.
-
Delicate fabrics (silk, rayon, lace): Low heat + a cloth barrier. These fabrics are super sensitive, so use the lowest heat setting and put a thick cotton cloth over the patch before ironing. You might need to press a little longer (15-20 seconds) to get the adhesive to stick.
2. The “Wait 24 Hours” Rule
I know it’s tempting to wear your newly patched garment right away, but resist the urge! The adhesive needs time to set, so wait at least 24 hours before washing or wearing it. If you wash it too soon, the patch will peel off. I’ve made this mistake before—patched a tee and wore it the next day, then washed it, and the patch came off completely. Now I always write a little note on my calendar (or set a reminder on my phone) to wait 24 hours. It’s a small step, but it makes a huge difference.
3. Fixing a Peeling Patch
Don’t panic if your patch starts to peel—you can fix it! Just lay a cotton cloth over the peeling area, set your iron to the correct heat setting, and press for 10-15 seconds. The heat will reactivate the adhesive, and the patch will stick again. If the patch is really loose, you can also add a little fabric glue to the back (under the peeling edge) before ironing—this gives it extra hold. I’ve fixed so many peeling patches this way, and they’ve stayed put ever since.
4. Wash Garments Inside Out
To make your patches last longer, always wash the garment inside out. This protects the patch from friction in the washing machine, which can cause it to peel or fade. Use cold water and a gentle cycle—hot water can weaken the adhesive. Avoid using bleach or fabric softener, as they can also damage the patch and the adhesive.
Wrap-Up: Go Patch Your Wardrobe!
At the end of the day, iron-on patches are all about having fun and expressing yourself. There’s no “right” or “wrong” way to patch—if you like how it looks, that’s all that matters. Whether you’re patching a hole, upgrading an old garment, or just adding a little personality to a plain piece, the possibilities are endless.
I hope this guide has inspired you to dig out those old patches (or buy new ones!) and start patching. Remember: no sewing skills required, just a hot iron, a little patience, and a lot of creativity. And don’t forget to share your creations with me—I’d love to see where you stuck your patches! Tag me on Instagram (@[YourUsername]) with #MyPatchStyle, and I’ll feature my favorites.
Happy patching, friends—may your garments be unique, your patches stay put, and your wardrobe be full of pieces that feel like “you.”


PEPHAWK is proud to highlight our integrated one-stop service—seamlessly combining professional design, R&D, and manufacturing capabilities to deliver cohesive, end-to-end solutions for our valued clients.
Our core product range covers a diverse selection of high-quality accessories and silicone-based items, including:
- Garment Accessories: Silicone Labels, Micro Fiber Labels, TPU Labels, Leather Labels
- Electronic & Lifestyle Gadgets: Silicone Mobile Phone Skins, Silicone MP3 Skins, Silicone Chaplets, Silicone Bracelets
Beyond our core offerings, we also connect clients with complementary products through our trusted affiliated companies, ensuring all your needs are met under one partnership.
What sets us apart is our specialized expertise in key manufacturing processes: Silk Screen Printing, High-Frequency Welding, Sublimation Printing, Seamless Fabric Processing, and Laser Cutting. These capabilities allow us to serve a wide array of industries—from garments, shoes, caps, and gloves to electronic devices, bags, and sporting equipment—with products that blend durability, functionality, and aesthetic appeal.
At PEPHAWK, customer satisfaction is our top priority. We’re committed to providing responsive, thorough support, and guarantee a same-day response to all inquiries—no exceptions. You can rely on us for consistent quality, reliable delivery, and a partnership that’s as efficient as it is trustworthy.
Whether you’re looking for custom apparel labels, protective silicone skins, or tailored manufacturing solutions, PEPHAWK has the expertise and flexibility to bring your vision to life.
Sew-On Embroidered Patches for Apparel: Pattern Design Categories & Practical Examples
Sew On Patches for Jeans: Unmatched Advantages of the Timeless Application Method




SEND MESSAGE