

How to Use a Heat Press for DTF Transfers
2026-01-07
Table of Contents
Direct-to-Film (DTF) transfer printing has emerged as a versatile and efficient method for decorating a wide range of substrates, from fabrics to leather goods.
Central to the success of DTF transfers is the proper use of a heat press, which applies the precise combination of temperature, pressure, and time needed to bond the printed film to the substrate permanently. This guide provides a detailed, step-by-step overview of how to use a heat press for DTF transfers, covering everything from pre-operation preparation to post-maintenance, ensuring consistent, high-quality results for both beginners and experienced users.
I. Preparatory Work Before Heat Press Operation
Adequate preparation is the foundation of successful DTF heat pressing. Rushing through this phase can lead to misalignment, poor adhesion, or even damage to the substrate or equipment. The following steps ensure that all components are ready and compatible, setting the stage for a smooth operation.
1.1 Equipment Preparation
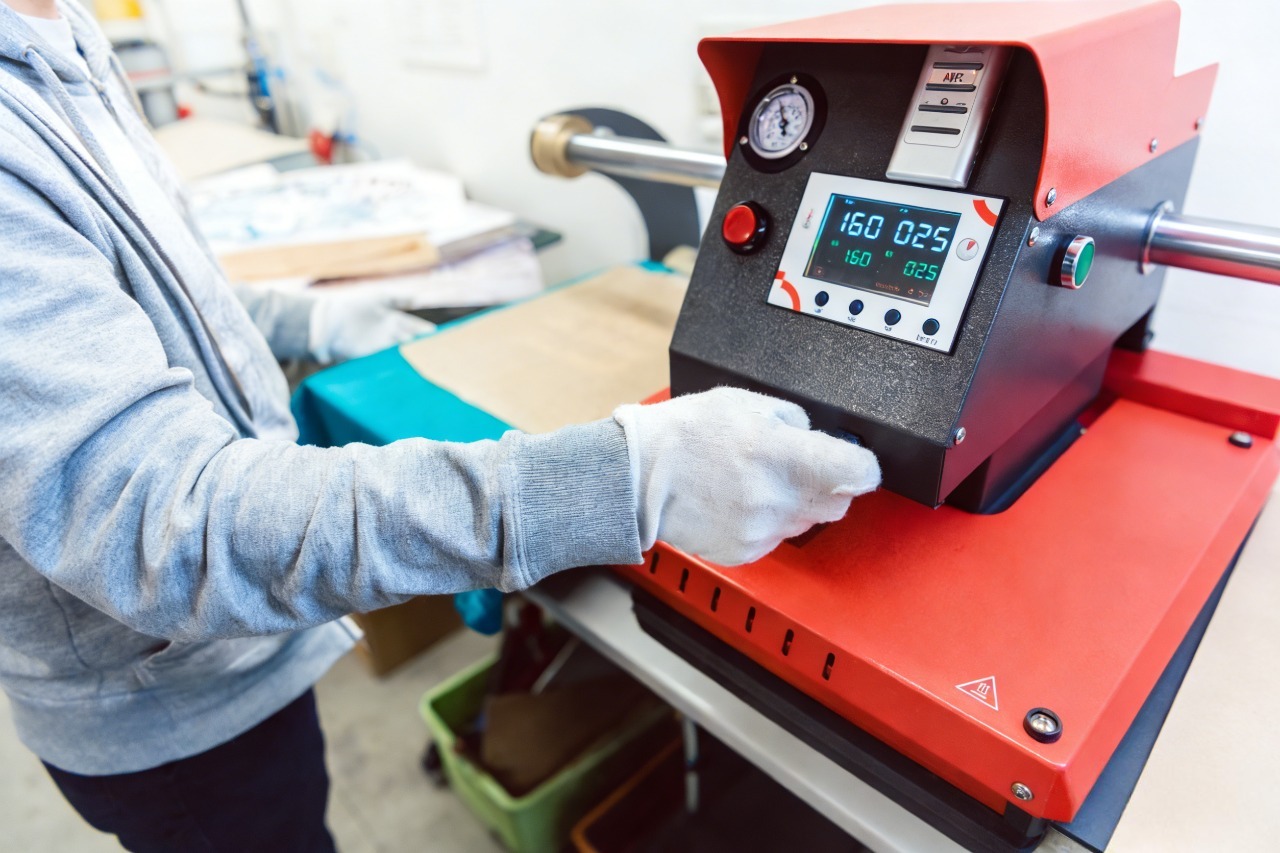
The heat press machine is the workhorse of the DTF transfer process, so verifying its functionality is critical. Start by conducting a thorough inspection of the machine. Check the temperature accuracy using a digital thermometer—place the thermometer on the platen and set the machine to a test temperature (e.g., 140°C). Allow it to heat up completely, then compare the thermometer reading to the machine’s display. A variance of more than ±5°C may require calibration or professional servicing, as inconsistent temperature can ruin transfers. Next, test the pressure stability by closing the platen and checking for even pressure distribution across the surface; uneven pressure will result in patchy adhesion. Finally, verify that the timer is working correctly by setting it to a short duration (e.g., 10 seconds) and confirming it triggers an alert when the time elapses.
Next, prepare the DTF transfer film. Ensure that the printed pattern is fully dry and cured, as wet or uncured ink will smudge during pressing. If the film was printed recently, allow it to air-dry for at least 30 minutes, or use a heat gun on a low setting to speed up the process. Inspect the film for any defects, such as ink smudges, missing parts of the design, or tears—discard any faulty film to avoid wasting substrates. Additionally, confirm that the film size matches the substrate and that the pattern is oriented correctly (e.g., not reversed if the design is directional).
The substrate is equally important, as not all materials are compatible with DTF transfers. Common substrates include cotton, polyester, blends, leather, and canvas, but it’s essential to check the manufacturer’s recommendations for both the DTF film and the substrate. For example, delicate fabrics like silk may require lower temperatures, while thick cotton may need higher pressure. Before proceeding, inspect the substrate for any imperfections, such as stains, holes, or loose threads, which can affect the final transfer quality. If the substrate is fabric, wash and dry it beforehand to remove any sizing, chemicals, or moisture that could hinder adhesion.
1.2 Material Preparation
|
Category
|
Specific Items
|
Purpose / Operation Steps
|
Notes
|
|
Essential Auxiliary Tools
|
Heat-resistant tape
|
Secure the transfer film in position and prevent displacement during the process
|
Choose high-temperature-resistant types that leave no adhesive residue
|
|
Lint roller
|
Remove dust, lint and loose fibers from the substrate surface
|
Roll in a single direction to avoid recontamination
|
|
|
Sharp scissors
|
Trim excess edges and corners of the transfer film
|
Keep scissors sharp to prevent damage to the transfer film design
|
|
|
Heat-resistant gloves
|
Protect hands from high-temperature burns during operation
|
Select gloves that fit snugly without affecting fine operations
|
|
|
Optional Auxiliary Tools
|
Teflon sheet
|
Isolate heat source to protect the substrate and transfer film from direct high-temperature damage
|
Fully cover the transfer area during use
|
|
Alignment tool / ruler
|
Assist in precise alignment of the transfer film pattern and improve positioning accuracy
|
Choose a ruler with appropriate range based on the substrate size
|
|
|
Substrate Pre-treatment Methods
|
Fabric substrate
|
1. Use a lint roller to remove dust, lint and loose fibers
2. Iron on low heat to flatten wrinkles (steam is prohibited) |
Do not use excessively high ironing temperature to prevent fabric deformation
|
|
Leather / synthetic leather substrate
|
Wipe the surface with a clean, dry cloth to remove oil stains and debris
|
Avoid water-based cleaners to prevent moisture absorption by the substrate
|
|
|
Special substrates
|
Spray DTF transfer-specific pre-treatment agent to enhance transfer film adhesion
|
Strictly follow the manufacturer’s instructions for the pre-treatment agent
|
1.3 Environment Preparation
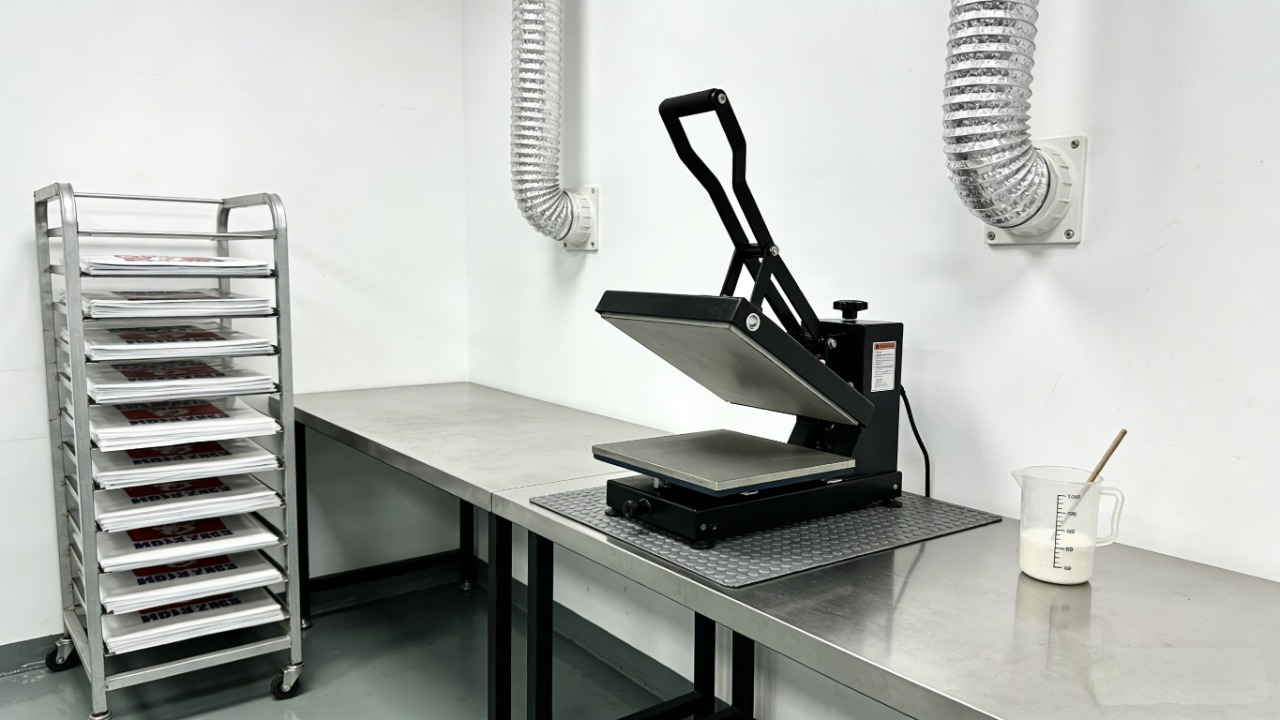
The operating environment plays a role in the success of DTF transfers. Choose a clean, flat, and well-ventilated area to set up the heat press. A flat surface ensures that the substrate lies evenly on the platen, preventing uneven pressure. Good ventilation helps dissipate any fumes from the transfer film or ink, creating a safer working environment. Additionally, ensure that the area is free of flammable materials, such as paper, fabric scraps, or cleaning solvents, as the heat press platen reaches high temperatures and poses a fire risk.
Keep the work area organized to avoid confusion during operation. Arrange the auxiliary tools within easy reach, and set aside a separate space for cured transfer films, pre-treated substrates, and finished products. This organization helps streamline the process and reduces the risk of mistakes, such as using the wrong substrate or misplacing tools.
II. Core Operation Steps of Heat Press for DTF Transfers
Once all preparations are complete, proceed with the core heat press operation. This phase requires careful attention to detail, as the three key variables—temperature, pressure, and time—must be perfectly balanced to achieve a high-quality transfer. Follow these steps to ensure consistent results.
2.1 Set Up Heat Press Parameters
The first step in the core operation is to set the correct parameters on the heat press. These parameters vary depending on the type of substrate and DTF film, so always refer to the manufacturer’s guidelines for both. As a general rule, most DTF transfers require a temperature between 130°C and 160°C (266°F and 320°F), a pressing time of 10 to 30 seconds, and medium to high pressure.
To adjust the temperature, use the machine’s control panel to set the desired value. Allow the heat press to heat up fully—this typically takes 5 to 10 minutes, depending on the machine. Avoid pressing before the machine reaches the set temperature, as this will result in incomplete bonding. Next, set the pressing time using the timer control. For thicker substrates, such as heavy cotton or leather, longer pressing times (20 to 30 seconds) may be needed to ensure the ink penetrates the material. For thinner fabrics, shorter times (10 to 15 seconds) are sufficient to avoid damaging the substrate.
Adjusting the pressure is equally important. Most heat presses have a pressure adjustment knob or lever—turn it clockwise to increase pressure and counterclockwise to decrease it. Medium pressure is generally sufficient for lightweight fabrics, while high pressure is needed for thicker or denser materials. To test the pressure, place a piece of paper between the platen and the lower plate, close the press, and try to pull the paper out. If the paper slides easily, the pressure is too low; if it tears, the pressure is too high. Aim for a pressure that holds the paper firmly but allows it to be removed with slight resistance.
2.2 Position the Transfer Film
Proper positioning of the DTF transfer film ensures that the design appears exactly where intended on the substrate. Start by placing the pre-treated substrate flat on the heat press platen, ensuring there are no wrinkles or folds. Smooth the substrate with your hand or a flat tool to eliminate any air bubbles or creases.
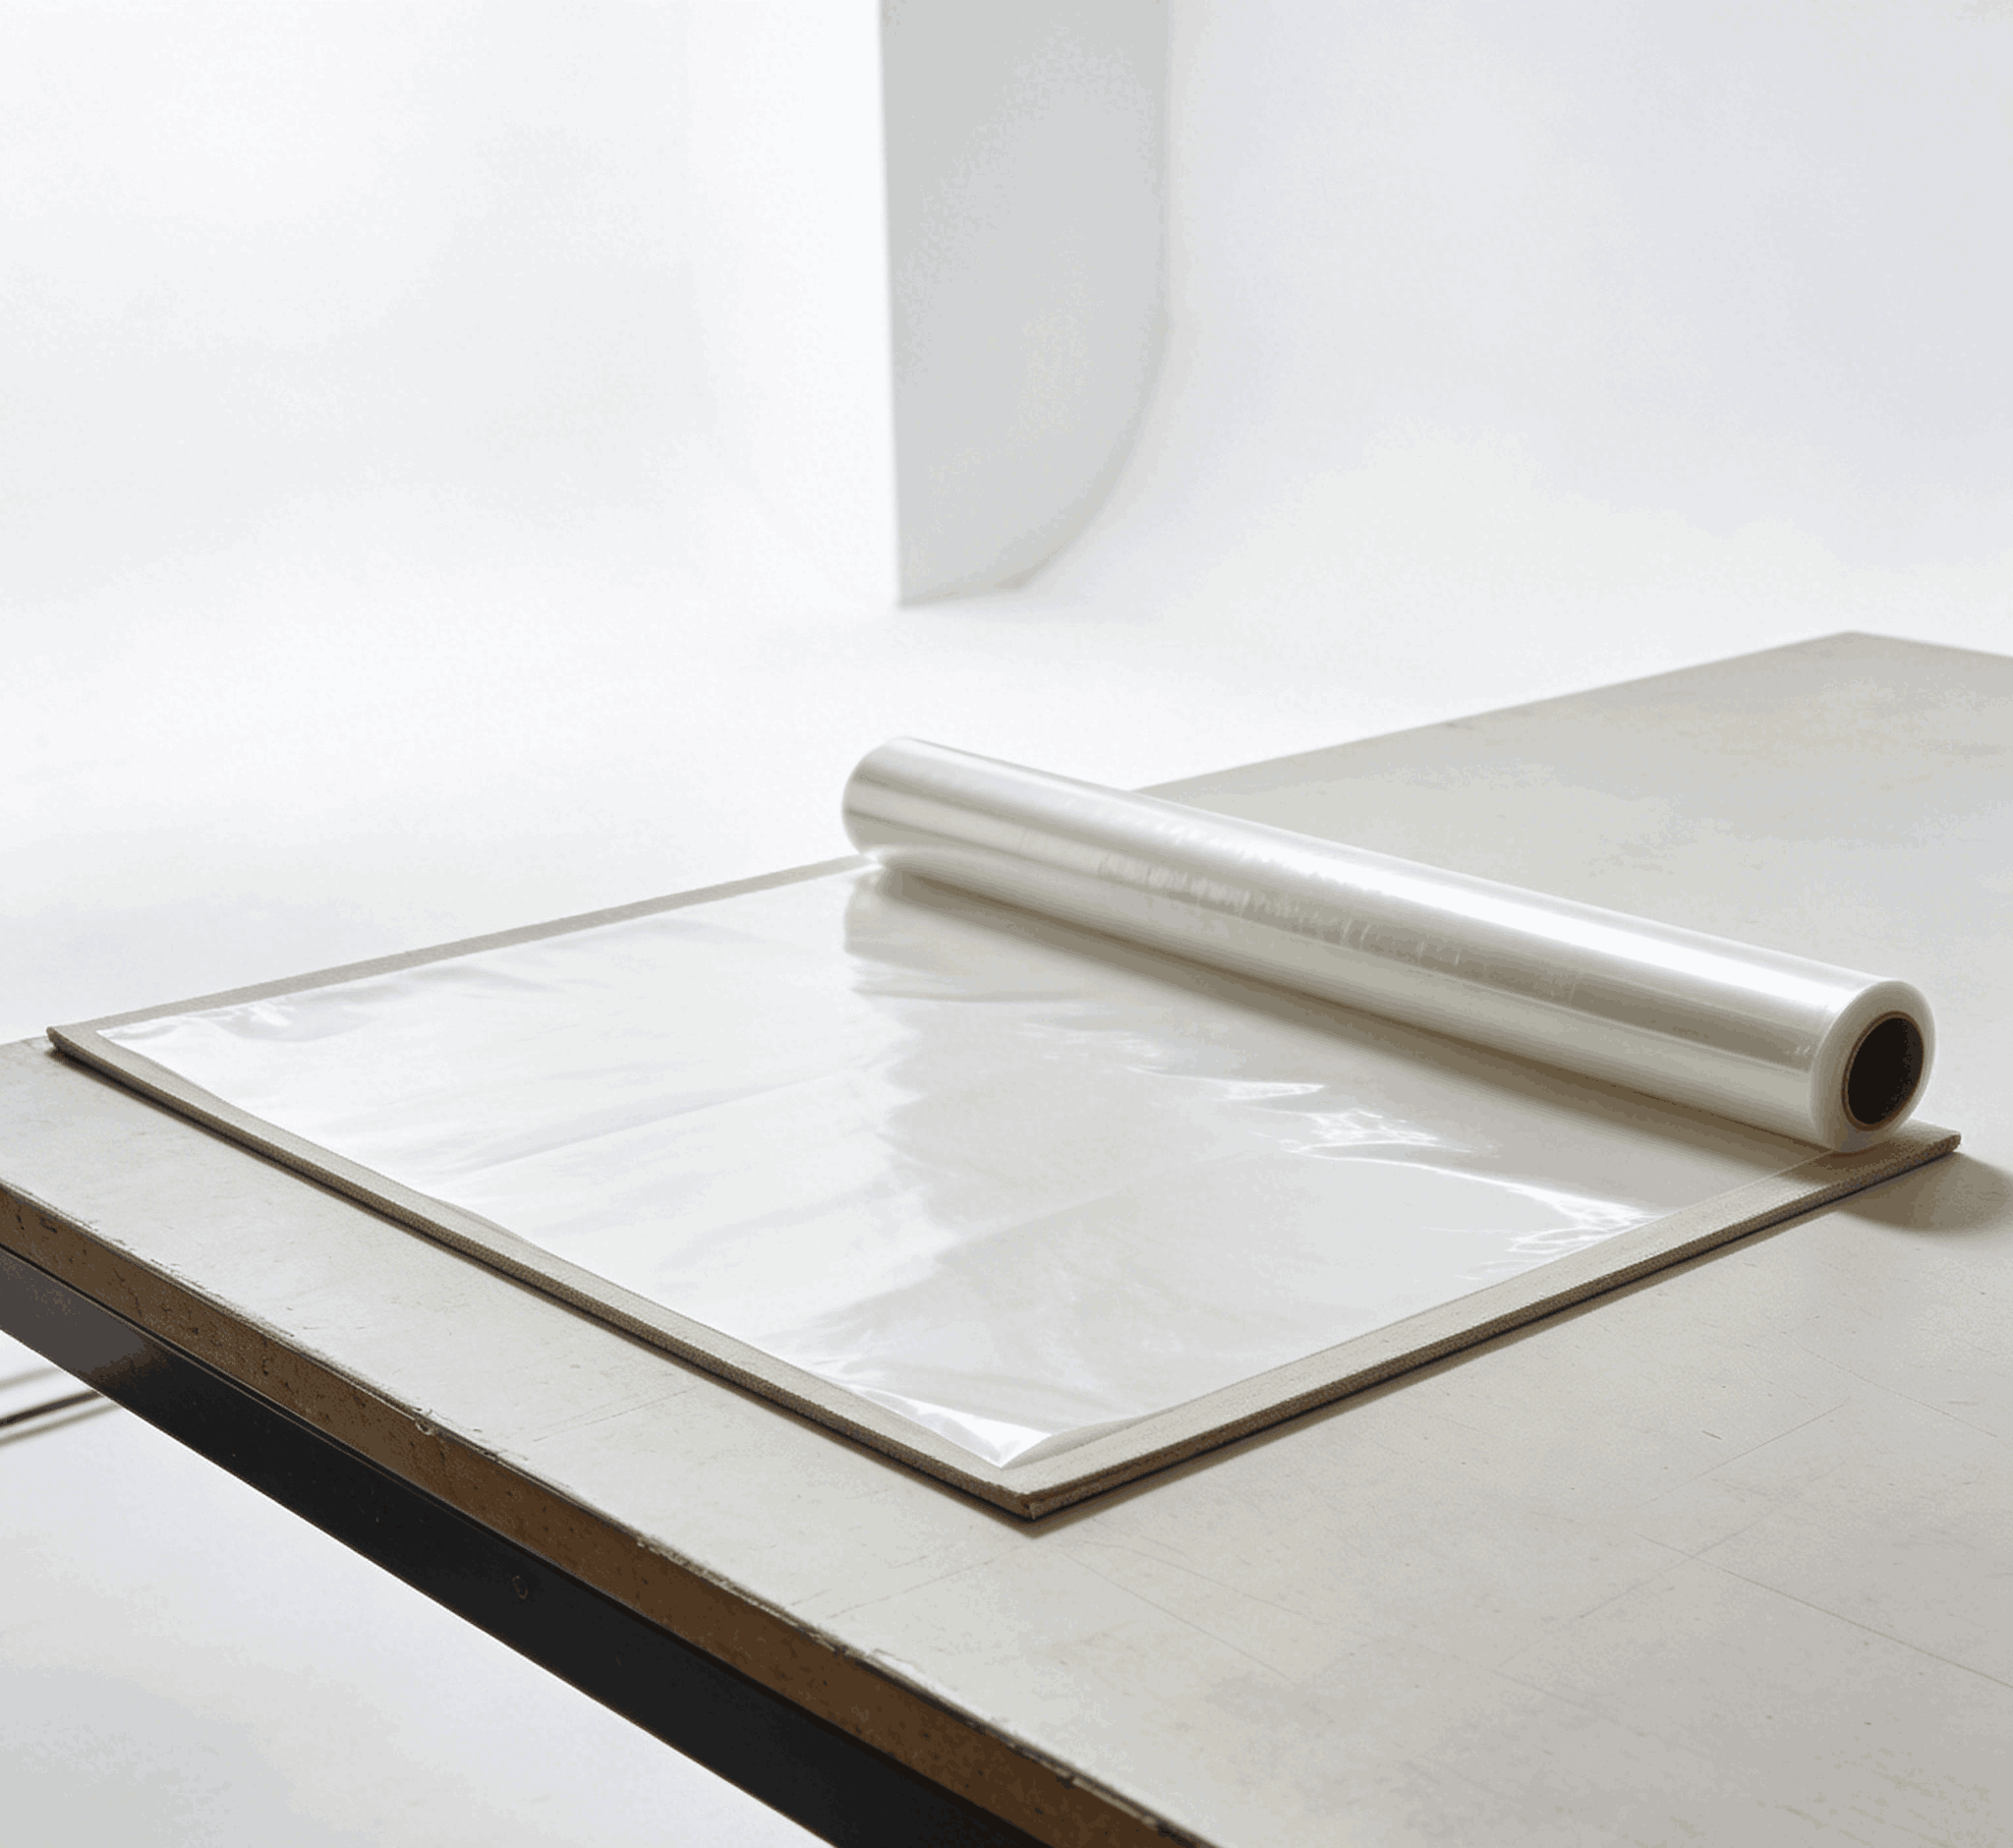
Next, align the DTF transfer film with the target area on the substrate. The printed side of the film should face down, directly touching the substrate. Use a ruler or alignment tool to ensure the design is centered and straight—this is especially important for symmetrical or directional designs. If the design is large or irregularly shaped, mark the desired position on the substrate with a removable pen (such as a fabric marker) beforehand to guide alignment.
Once aligned, secure the transfer film in place with heat-resistant tape. Apply small pieces of tape to the corners and edges of the film to prevent it from shifting during pressing. Be careful not to cover any part of the design with the tape, as this will block the heat and result in untransferred areas. If using a Teflon sheet, place it over the transfer film to protect both the film and the substrate from direct heat and prevent ink from sticking to the platen.
2.3 Perform Heat Pressing
With the transfer film secured, it’s time to start the pressing process. Close the heat press platen slowly and evenly to ensure uniform pressure distribution. Avoid slamming the platen shut, as this can cause the substrate or transfer film to shift. Once the platen is fully closed, start the timer (if it doesn’t start automatically).
During the pressing process, do not open the platen or adjust the parameters. Interrupting the process will disrupt the bonding between the transfer film and the substrate, leading to poor adhesion. Keep an eye on the timer to ensure you don’t exceed the set time—over-pressing can cause the ink to bleed or the substrate to shrink or discolor.
When the timer completes, open the platen slowly. Be cautious of hot air escaping from the press, and avoid touching the substrate or transfer film with bare hands (use heat-resistant gloves). Do not remove the transfer film immediately—allow it to cool down first, as specified in the next step.
2.4 Post-Pressing Handling
The cooling and peeling step is critical for achieving a smooth, durable transfer. DTF transfer films typically require either a cold peel or a warm peel, depending on the manufacturer’s instructions. A cold peel means waiting until the substrate and transfer film have cooled down completely (usually 2 to 5 minutes) before peeling. A warm peel means waiting 10 to 20 seconds after opening the press, while the substrate is still slightly warm but not hot.
To peel the transfer film, start at one corner and pull gently and evenly at a 45-degree angle. Avoid pulling straight up, as this can lift the ink from the substrate. If the film is difficult to peel, wait a few more seconds (for warm peel) or until it’s fully cooled (for cold peel). If the ink starts to peel off with the film, this indicates poor adhesion—this issue can be addressed by adjusting the temperature, pressure, or pressing time (see Section III for troubleshooting).
After peeling the transfer film, inspect the transferred pattern carefully. Check for full adhesion (no areas where the ink is lifting), sharpness of the design (no blurring or bleeding), and color accuracy (no fading or discoloration). If the pattern is satisfactory, set the finished product aside to cool completely before handling or packaging. If there are defects, note the issue and adjust the parameters before attempting another transfer on a scrap substrate.
III. Key Notes for Heat Press Operation
Even with careful preparation and execution, issues can arise during DTF heat pressing. The following key notes cover parameter calibration, safety precautions, and common problem troubleshooting, helping you avoid mistakes and achieve consistent results.
3.1 Parameter Calibration
Parameter calibration is essential for adapting to different substrates and DTF films. Always perform a test press on a scrap piece of the same substrate before starting a large batch. This test press allows you to verify that the temperature, pressure, and time are correct for the specific materials being used.
To conduct a test press, follow the same steps as a regular transfer: prepare the scrap substrate, align a small piece of transfer film, set the parameters, and press. After peeling the film, inspect the test transfer for adhesion, sharpness, and color. If the adhesion is poor (ink lifts easily), increase the temperature by 5 to 10°C, increase the pressure, or extend the pressing time by 5 seconds. If the pattern is blurred or the ink bleeds, reduce the temperature by 5 to 10°C or shorten the pressing time. If the substrate is damaged (shrunk, discolored, or burned), lower the temperature or reduce the pressure. Repeat the test press until the results are satisfactory, then use the calibrated parameters for the full batch.
3.2 Safety Precautions
Heat press machines operate at high temperatures, so safety should be a top priority. Always wear heat-resistant gloves when handling the substrate, transfer film, or any part of the press during operation. This prevents burns from the hot platen or substrate.
Never touch the hot platen directly with your hands or any flammable materials. Keep a fire extinguisher nearby in case of emergencies, and avoid leaving the heat press unattended while it’s turned on. When the machine is not in use, turn off the power and allow the platen to cool down completely before cleaning or storing.
Additionally, ensure that the heat press is placed on a stable, heat-resistant surface that can support its weight. Avoid placing the machine near water sources, as this increases the risk of electric shock. Follow the manufacturer’s instructions for proper use and maintenance to prevent equipment malfunctions.
3.3 Common Problem Troubleshooting
Even with proper calibration, common issues can occur during DTF heat pressing. Here are solutions to the most frequent problems:
1. Poor adhesion: This is the most common issue, often caused by insufficient temperature, low pressure, or short pressing time. First, check if the substrate was properly pre-treated (no dust, lint, or moisture). If pre-treatment is correct, increase the temperature by 5 to 10°C, increase the pressure, or extend the pressing time by 5 seconds. For synthetic substrates, ensure the temperature is not too high (which can melt the fibers and prevent adhesion).
2. Pattern blurring or ink bleeding: This is typically caused by excessive temperature or pressing time, or by using wet transfer film. Reduce the temperature by 5 to 10°C or shorten the pressing time. Ensure the transfer film is fully dry before pressing—if necessary, allow it to air-dry for an additional 30 minutes.
3. Substrate damage (shrinking, discoloration, burning): This occurs when the temperature is too high or the pressure is too great. Lower the temperature by 10 to 15°C and reduce the pressure. For delicate substrates, use a Teflon sheet to buffer the heat and avoid direct contact with the platen.
4. Transfer film tearing during peeling: This is usually due to peeling too early (for cold peel films) or too forcefully. Wait until the film is fully cooled (for cold peel) or allow it to cool for an additional 10 seconds (for warm peel). Peel the film gently at a 45-degree angle, rather than pulling straight up.
5. Uneven transfer: This is caused by uneven pressure distribution or a wrinkled substrate. Ensure the substrate is flat and wrinkle-free before pressing. Check the heat press platen for any warping or damage—if the platen is uneven, it may need to be replaced or calibrated. Adjust the pressure to ensure even distribution across the platen.
IV. Post-Operation Maintenance
Proper maintenance of the heat press and materials ensures the longevity of the equipment and consistent transfer quality over time. Follow these post-operation steps to keep your equipment in good condition.
4.1 Clean the heat press platen: After the platen has cooled down completely, wipe it with a clean, dry cloth to remove any ink residue, dust, or debris. For stubborn stains, use a mild, non-abrasive cleaner specifically designed for heat press platens—avoid harsh chemicals that can damage the platen’s surface. Never clean the platen while it’s hot, as this can cause the cleaner to evaporate quickly and potentially damage the platen.
4.2 Store materials properly: Store unused DTF transfer film in a dry, cool place away from direct sunlight and moisture. Exposure to sunlight or humidity can cause the film to degrade, leading to poor print quality and adhesion. Store auxiliary tools, such as heat-resistant tape and scissors, in a clean, dry container to keep them organized and prevent damage. Pre-treated substrates should also be stored in a dry environment to avoid moisture buildup.
4.3 Regular equipment inspection: Periodically check the heat press machine for parts wear and tear. Inspect the heating element to ensure it’s working correctly (no cold spots on the platen). Check the pressure gauge (if applicable) to ensure it’s accurate. Examine the platen for any scratches, dents, or warping—these can affect pressure distribution. Lubricate any moving parts (such as the platen hinges) according to the manufacturer’s instructions to keep the machine operating smoothly. If any parts are damaged or malfunctioning, contact a professional for repairs or replacement.
V. Summary
Using a heat press for DTF transfers requires a systematic approach, from thorough pre-operation preparation to careful post-operation maintenance. The key to success lies in three core principles: proper preparation of equipment, substrates, and the environment; precise control of temperature, pressure, and time during pressing; and adherence to safety guidelines and troubleshooting best practices.
By following the steps outlined in this guide—conducting thorough equipment inspections, pre-treating substrates, calibrating parameters with test presses, positioning the transfer film accurately, and handling the post-pressing process carefully—you can achieve consistent, high-quality DTF transfers for a wide range of applications. Remember to prioritize safety at all times, and perform regular maintenance to keep your heat press in optimal condition.
Whether you’re a hobbyist creating custom apparel or a professional running a printing business, mastering the use of a heat press for DTF transfers will allow you to unlock the full potential of this versatile printing method, producing durable, vibrant designs that stand the test of time.


PEPHAWK is proud to highlight ourintegrated one-stop service—seamlessly combining professional design, R&D, and manufacturing capabilities to deliver cohesive, end-to-end solutions for our valued clients.
Our core product range covers a diverse selection of high-quality accessories and silicone-based items, including:
- Garment Accessories: Silicone Labels, Micro Fiber Labels, TPU Labels, Leather Labels
- Electronic & Lifestyle Gadgets: Silicone Mobile Phone Skins, Silicone MP3 Skins, Silicone Chaplets, Silicone Bracelets
Beyond our core offerings, we also connect clients with complementary products through our trusted affiliated companies, ensuring all your needs are met under one partnership.
What sets us apart is our specialized expertise in key manufacturing processes: Silk Screen Printing, High-Frequency Welding, Sublimation Printing, Seamless Fabric Processing, and Laser Cutting. These capabilities allow us to serve a wide array of industries—from garments, shoes, caps, and gloves to electronic devices, bags, and sporting equipment—with products that blend durability, functionality, and aesthetic appeal.
At PEPHAWK, customer satisfaction is our top priority. We’re committed to providing responsive, thorough support, andguarantee a same-day response to all inquiries—no exceptions. You can rely on us for consistent quality, reliable delivery, and a partnership that’s as efficient as it is trustworthy.
Whether you’re looking for custom apparel labels, protective silicone skins, or tailored manufacturing solutions, PEPHAWK has the expertise and flexibility to bring your vision to life.
Badges for Coats: Thickness Matching Principles and Customization Solutions
Nike Patches: Classification and Characteristics by Key Materials




SEND MESSAGE