

DIY Clothing Tag Ideas for Upcycling Your Wardrobe
2024-11-29
Now that you have learned how to create your own DIY clothing labels, it's time to test your creativity. Starting today!
Clothing tags may seem like a small detail, but they can make a big impact on the overall look and feel of your wardrobe. Clothing tags serve a variety of functions, such as indicating the brand and care instructions of the garment. However, creating your own DIY clothing tags can take your personal style to the next level. In this article, we will explore the benefits of making DIY clothing tags and how to create them.
Materials Needed
Before starting your DIY clothing tag project, you need to gather the materials. The materials you'll need will vary depending on the design and technique you choose. Basic materials needed for most DIY clothing tags include:
- Cardstock paper or fabric
- Printer or stamps
- Scissors or paper cutter
- Hole puncher
- Twine or ribbon
Additional materials such as adhesive, embellishments or beads can be used depending on the design. When sourcing materials, consider the quality and durability of the materials to ensure your DIY clothing tags last as long as your garments. Many of these materials can be found at local craft stores or online retailers.
DIY Clothing Tag Design Ideas
Designing unique clothing tags can be a fun and creative process. There are countless ways to add a personalized touch to your clothing tags. Some ideas include:
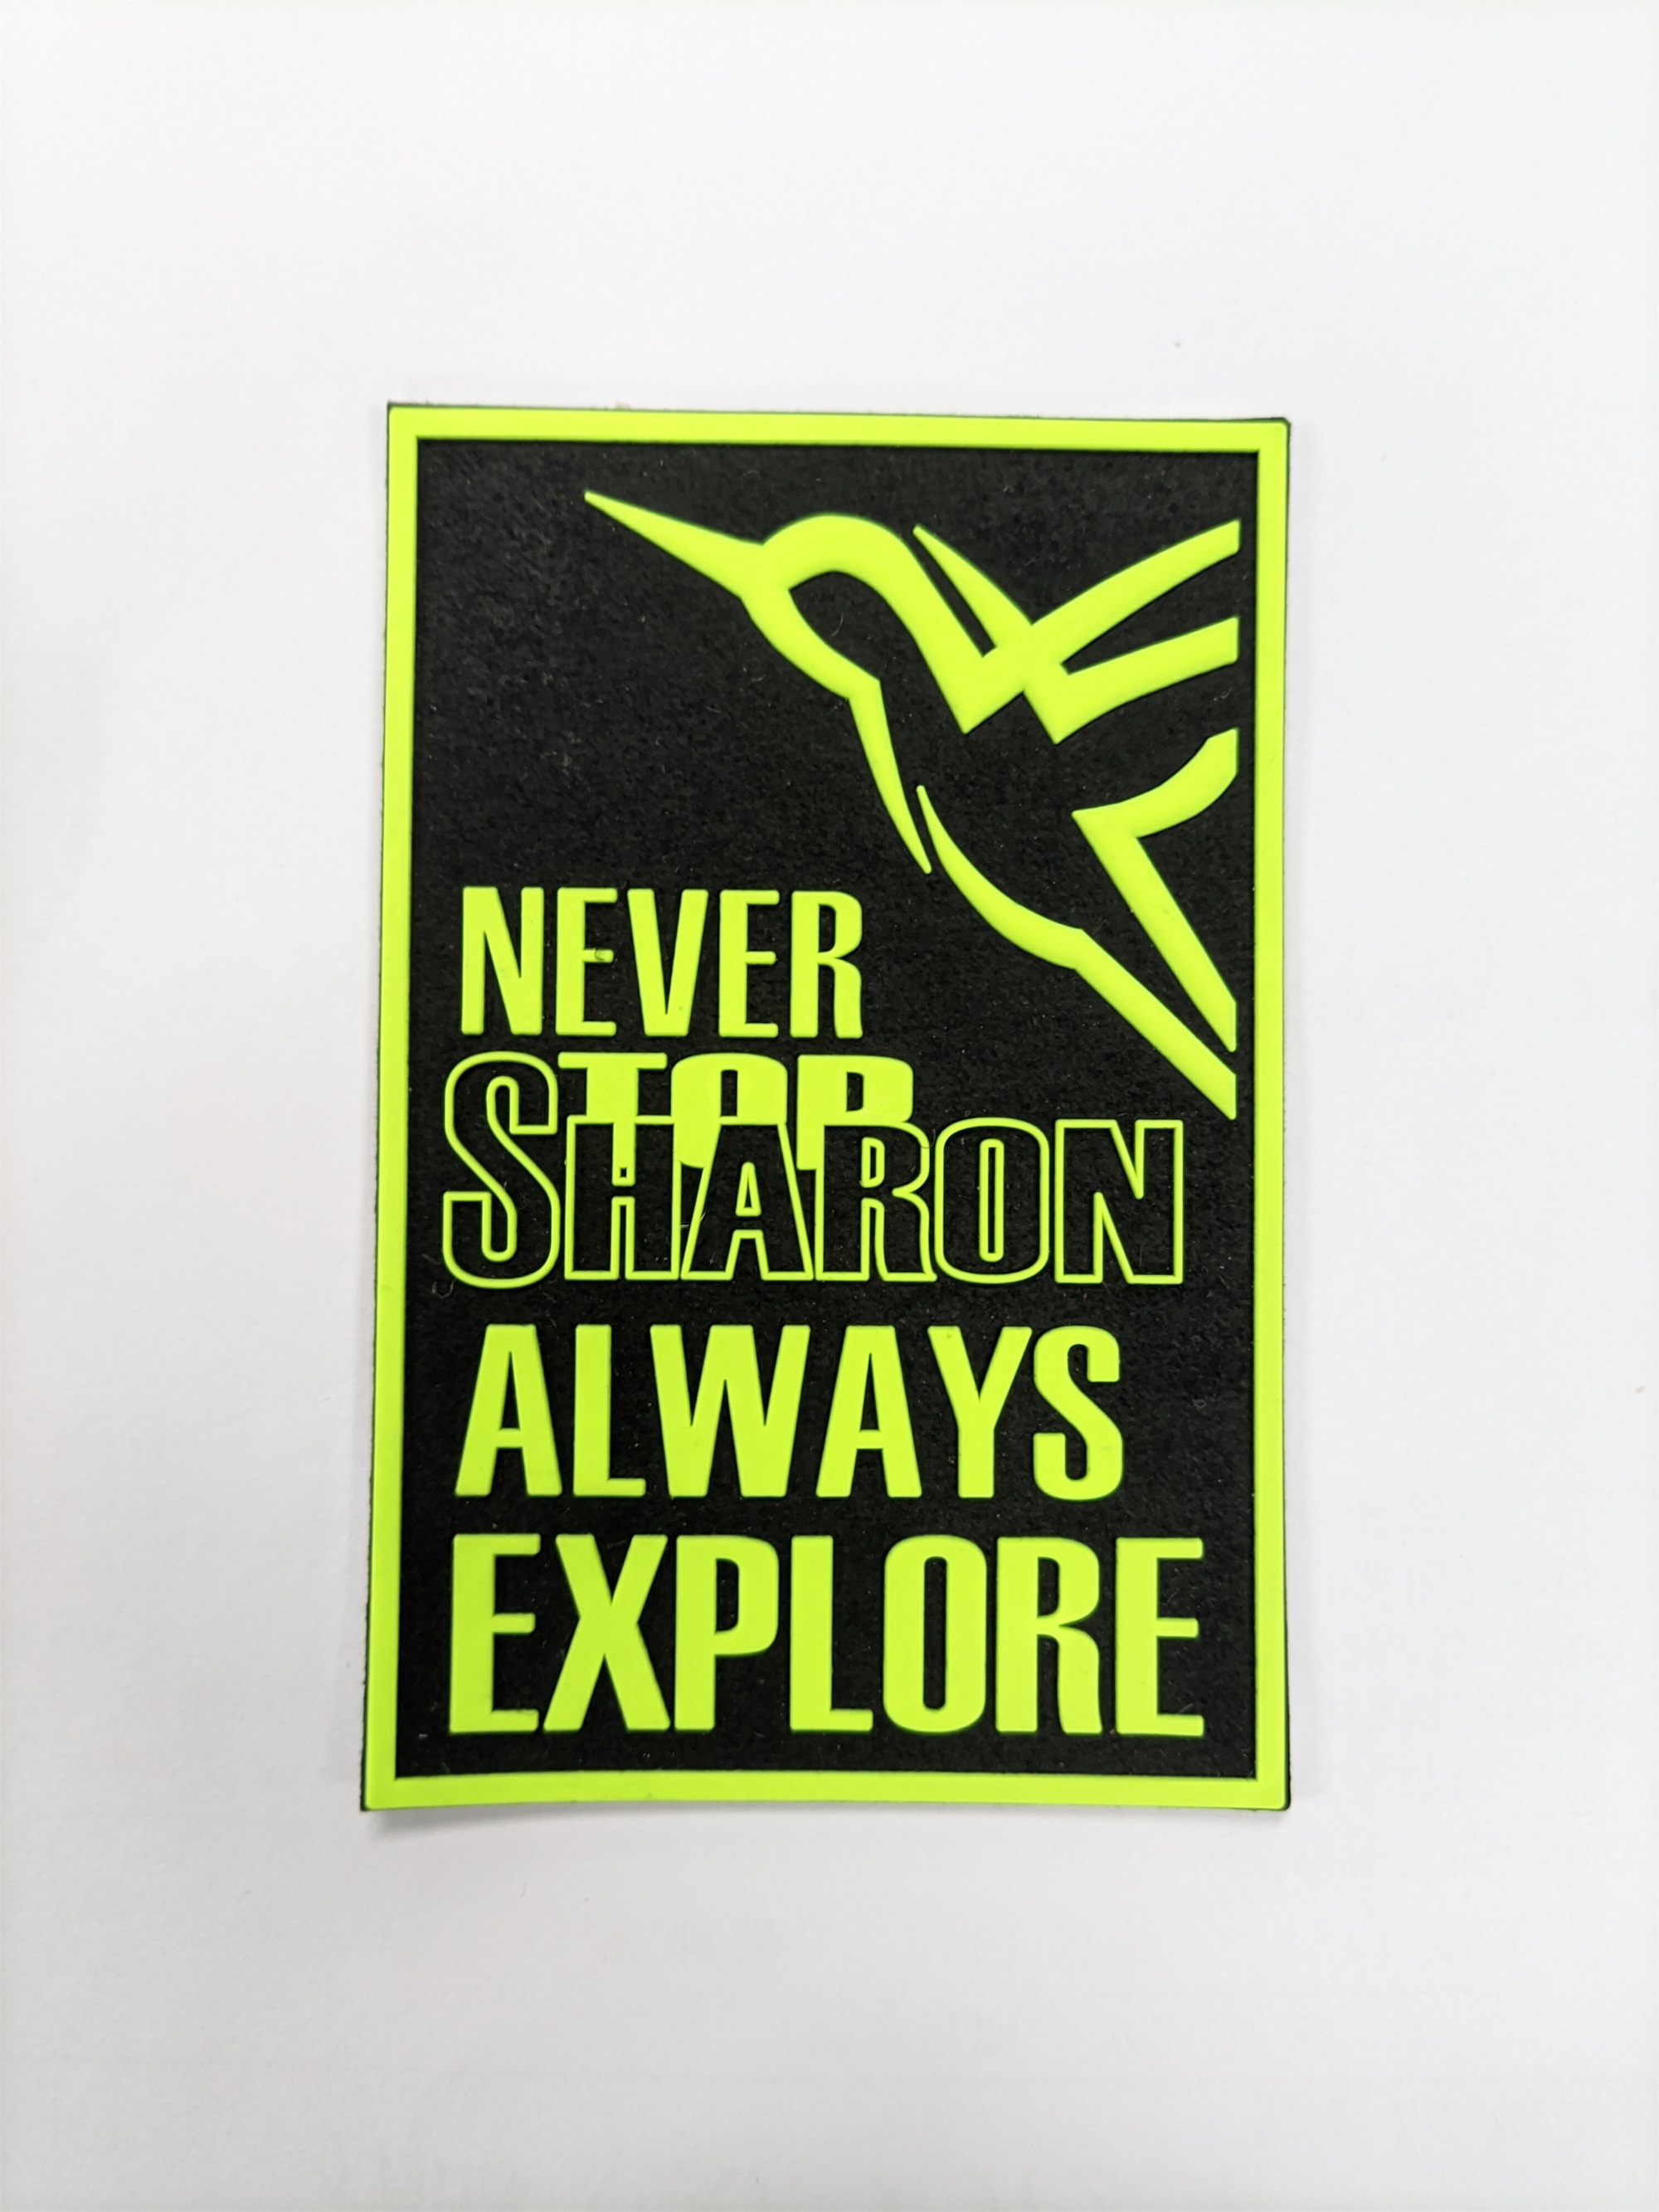
- Incorporating your brand logo or initials
- Choosing a unique shape or cut, such as a circle or triangle
- Adding embellishments or decorative elements such as lace or sequins
- Using bold typography or font
- Adding a pop of color to make it stand out
Consider the overall aesthetic of your wardrobe and how the clothing tags can enhance it. You can also draw inspiration from popular brands and designers or search online for DIY clothing tag ideas.
Making DIY Clothing Tags
Once you have your materials and design ideas, it's time to start making your DIY clothing tags. The process can vary depending on the design and technique you choose, but in general, you'll need to:
- Print or stamp the design on the material
- Cut out the tags to the desired size and shape
- Punch a hole for the twine or ribbon
- Attach the tag to your garment using the twine or ribbon
If you're using fabric for your clothing tags, you'll need to sew the edges or use fabric glue to prevent fraying.
Using DIY Clothing Tags in Your Wardrobe
There are various ways to incorporate your DIY clothing tags into your wardrobe. Here are some ideas:
- Use them as labels on your wardrobe organizer to help you locate outfits
- Attach them to your garment before storing it in your closet to help you remember when and where you wore it
- Use them as decorative elements on your garment to add a unique touch
- Add them to accessories such as hats, bags, or shoes to tie the outfit together
When it comes to caring for your DIY clothing tags, make sure to follow the care instructions to prevent damage during laundering or dry cleaning.
Conclusion
In conclusion, creating your own DIY clothing tags is a fun and easy way to enhance your wardrobe and express your personal style. All you need is some basic materials, design inspiration, and a little creativity to get started. With these tips, you'll be on your way to creating truly unique clothing tags that will make your wardrobe stand out.
Essential Tips for Care and Maintenance of Sew On Clothing Labels
Cost-Effective Solutions for Labeling with TPU Transfer Technology




SEND MESSAGE