

Create Custom Velcro Patches for Style, Function & Versatility
2026-04-29
Custom velcro patches have become a staple in fashion, tactical gear, team identity, and personal expression.
Whether you’re creating patches for your team, brand, or personal collection, getting the matching right is key to making your design stand out and serve its purpose. This guide breaks down everything you need to know about matching custom velcro patches, from style and material to usage and installation.
1. Understanding Custom Velcro Patches: Basics First
Before diving into matching, it’s important to grasp the core of custom velcro patches. These patches consist of two parts: the decorative front (your custom design) and a velcro backing (hook side, which attaches to the loop side on clothing, bags, or gear). Their biggest advantage is versatility—you can swap patches without damaging your items, making them perfect for seasonal updates, team changes, or personal style shifts.
When you create custom velcro patches, the goal is to balance aesthetics and functionality. A well-matched patch doesn’t just look good; it also holds up to regular use, fits its intended carrier, and aligns with your overall vision.
2. Style & Shape Matching: Start with the Foundation
The shape and style of your custom velcro patch set the tone for its overall look. Choosing the right shape and edge design ensures your patch complements its carrier and stands out (or blends in, if that’s your goal).
|
Element
|
Options
|
Best Matching Tips
|
|---|---|---|
|
Shape
|
Regular (square, round, rectangle); Irregular (custom cut to logo/artwork)
|
Regular shapes work for classic, professional looks (brands, teams); irregular shapes add uniqueness (personal art, niche hobbies).
|
|
Edge Design
|
Merrow border (stitched edge), Heat cut (clean, no stitch), Laser cut (precision for complex shapes)
|
Merrow border for durability (tactical gear, workwear); heat/laser cut for sleek, modern looks (fashion, streetwear).
|
|
Surface Craft
|
Embroidered, Woven, PVC, Rubber, Printed
|
Embroidered for texture (team patches, logos); PVC/rubber for weather resistance (outdoor gear); printed for detailed artwork (photos, complex designs).
|
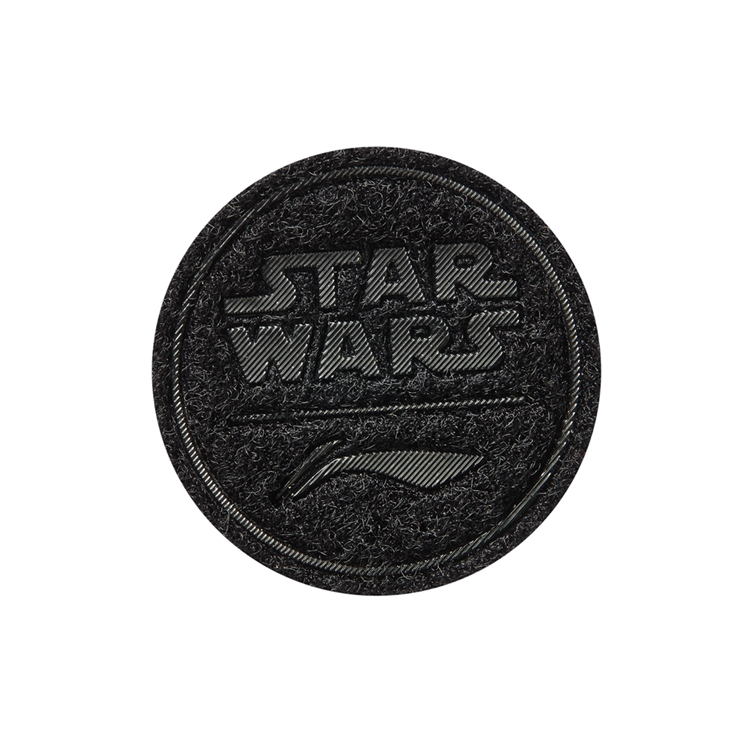
Pro tip: If you’re unsure, start with a simple regular shape and merrow border—this combination works for almost any use case and is easy to match with different carriers.
3. Material & Color Matching: Make Your Patch Pop (or Blend)
Material and color are crucial for ensuring your custom velcro patch is visible, durable, and cohesive with its surroundings. The right material choice depends on how you’ll use the patch, while color matching ensures it doesn’t clash with clothing or gear.
|
Material Type
|
Key Features
|
Color Matching Notes
|
|---|---|---|
|
Embroidered (Cotton/Polyester Thread)
|
Soft, textured, breathable
|
Use high-contrast thread colors for logos (e.g., white thread on dark patches) for visibility.
|
|
PVC/Rubber
|
Waterproof, durable, flexible
|
Solid, bold colors work best; avoid light colors on dark gear (prone to staining).
|
|
Woven
|
Smooth, detailed, professional
|
Subtle color gradients or monochromatic schemes for a polished look.
|
|
Printed (Heat Transfer)
|
Vibrant, detailed, lightweight
|
Match the patch’s background color to the carrier for a seamless look, or use contrast for emphasis.
|
Color rule of thumb: For tactical or work gear, stick to neutral colors (black, olive, tan) that blend in. For fashion or personal use, don’t be afraid to use bold contrasts—just ensure the patch’s colors don’t clash with the carrier (e.g., a bright red patch on a navy jacket works; bright red on neon pink does not).
4. Garment & Gear Matching: Fit the Carrier
A custom velcro patch only looks good if it fits its carrier. The size, position, and style of the patch should complement the item it’s attached to—whether it’s a jacket, hat, backpack, or tactical uniform.
|
Carrier Type
|
Ideal Patch Size
|
Best Position & Style
|
|---|---|---|
|
Jackets/Hoodies
|
3–4 inches (medium)
|
Chest (left side) or sleeve; embroidered or woven patches for texture.
|
|
Baseball Caps
|
2–3 inches (small)
|
Front (above brim) or side; small, simple shapes (round/square) to avoid overwhelming the hat.
|
|
Tactical Uniforms/Bags
|
3–5 inches (medium-large)
|
Chest, arm, or bag front; PVC/rubber or merrowed embroidered patches for durability.
|
|
Backpacks/Wallets
|
2–4 inches
|
Backpack front/pocket; wallet exterior; small to medium size to avoid bulk.
|
|
Workwear/Overalls
|
3–4 inches
|
Chest or shoulder; durable materials (merrowed embroidery, PVC) to withstand wear and tear.
|
Pro tip: Measure the carrier’s available space before you create custom velcro patches. A patch that’s too large will look bulky, while one that’s too small may be hard to see.
5. Usage Scenario Matching: Align with Your Purpose
The best custom velcro patches are tailored to their intended use. Whether you’re creating patches for a tactical team, brand promotion, street fashion, or a special event, matching the patch to the scenario ensures it serves its purpose.
|
Scenario
|
Patch Style & Material
|
Matching Tips
|
|---|---|---|
|
Tactical/Military
|
Dark colors (olive, black, tan), merrow border, embroidered/PVC
|
Keep designs simple (unit logos, morale symbols); avoid bright colors that attract attention.
|
|
Brand/Corporate
|
Professional colors (brand palette), woven/embroidered, regular shapes
|
Match patch colors to your brand guidelines; ensure logos are clear and recognizable.
|
|
Street Fashion/Hip-Hop
|
Bold colors, irregular shapes, printed/PVC, multi-piece sets
|
Mix and match small patches for a layered look; use contrasting colors to stand out.
|
|
Team/Club/Events
|
Team colors, embroidered, medium size
|
Include team name/logo; match patch color to team uniforms for cohesion.
|
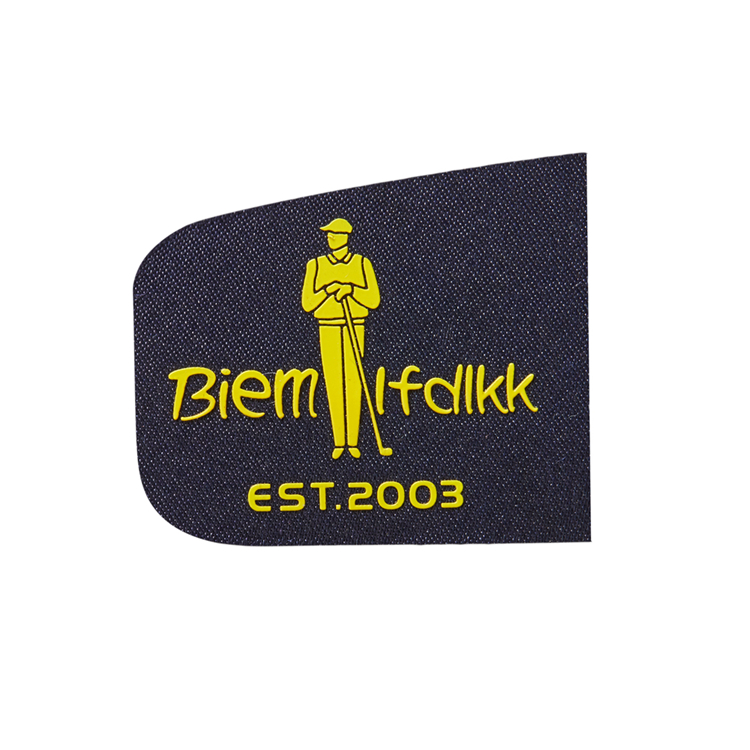
6. Structure & Installation Matching: Ensure Functionality
Even the best-designed patch won’t work if it’s not installed correctly. Velcro patches rely on a hook-and-loop system, so matching the patch’s backing to the carrier’s loop side is essential for a secure fit.
First, ensure your carrier has a loop side (soft, fuzzy side) of velcro—most tactical gear, jackets, and hats come with this pre-installed. If not, you can add a loop patch to any item. When you create custom velcro patches, the backing should be the hook side (rough, scratchy side) to attach to the loop.
For multi-patch setups, arrange patches in a balanced way: avoid overcrowding one area (e.g., don’t put 5 patches on a jacket sleeve). Stick to 1–3 patches per carrier for a clean look, or layer small patches for a more eclectic style.
Position matching is also key: chest patches (left side) are classic for logos and team patches; sleeve patches work for morale or decorative designs; hat patches are best small and centered.
7. Custom Design Matching Principles: Avoid Common Mistakes
When you create custom velcro patches, following these design principles will ensure your patch looks polished and functions well:
-
Size proportion: Match the patch size to the carrier (e.g., small patches for hats, medium for jackets).
-
Layout: Keep logos/slogans centered and easy to read; avoid overcrowding the design with too much text or artwork.
-
Environment: Choose materials based on use (e.g., waterproof PVC for outdoor gear, breathable embroidery for clothing).
-
Cohesion: If using multiple patches, stick to a consistent color scheme or style to avoid a messy look.
Final Thoughts: Create Custom Velcro Patches That Shine
Custom velcro patches are a versatile, fun way to express yourself, promote your brand, or unify your team. The key to success is matching every element—shape, material, color, and style—to your carrier and purpose. By following this guide, you’ll create custom velcro patches that look great, fit perfectly, and stand the test of time.
Whether you’re a beginner or a seasoned designer, remember: the best patches balance aesthetics and functionality. Don’t be afraid to experiment with colors, shapes, and materials—but always keep your audience and use case in mind. Now, it’s time to create custom velcro patches that make a statement!


PEPHAWK is proud to highlight our integrated one-stop service—seamlessly combining professional design, R&D, and manufacturing capabilities to deliver cohesive, end-to-end solutions for our valued clients.
Our core product range covers a diverse selection of high-quality accessories and silicone-based items, including:
- Garment Accessories: Silicone Labels, Micro Fiber Labels, TPU Labels, Leather Labels
- Electronic & Lifestyle Gadgets: Silicone Mobile Phone Skins, Silicone MP3 Skins, Silicone Chaplets, Silicone Bracelets
Beyond our core offerings, we also connect clients with complementary products through our trusted affiliated companies, ensuring all your needs are met under one partnership.
What sets us apart is our specialized expertise in key manufacturing processes: Silk Screen Printing, High-Frequency Welding, Sublimation Printing, Seamless Fabric Processing, and Laser Cutting. These capabilities allow us to serve a wide array of industries—from garments, shoes, caps, and gloves to electronic devices, bags, and sporting equipment—with products that blend durability, functionality, and aesthetic appeal.
At PEPHAWK, customer satisfaction is our top priority. We’re committed to providing responsive, thorough support, and guarantee a same-day response to all inquiries—no exceptions. You can rely on us for consistent quality, reliable delivery, and a partnership that’s as efficient as it is trustworthy.
Whether you’re looking for custom apparel labels, protective silicone skins, or tailored manufacturing solutions, PEPHAWK has the expertise and flexibility to bring your vision to life.
Custom Letter Jacket Patches: Personalizing Your Style
Rubberized Patches for Apparel Logos for Matching & Collocation




SEND MESSAGE